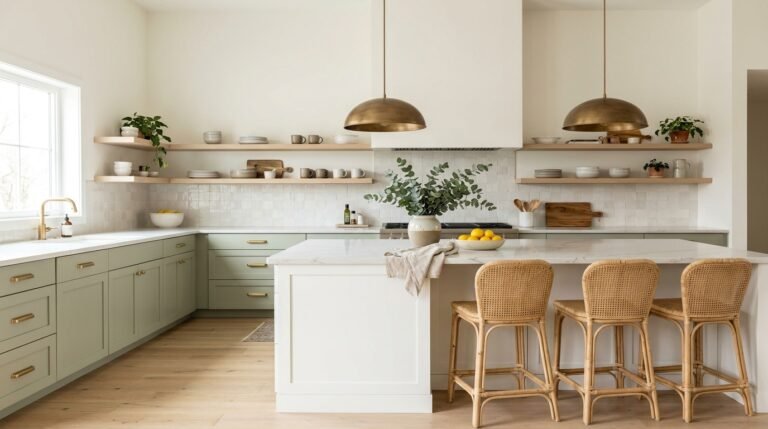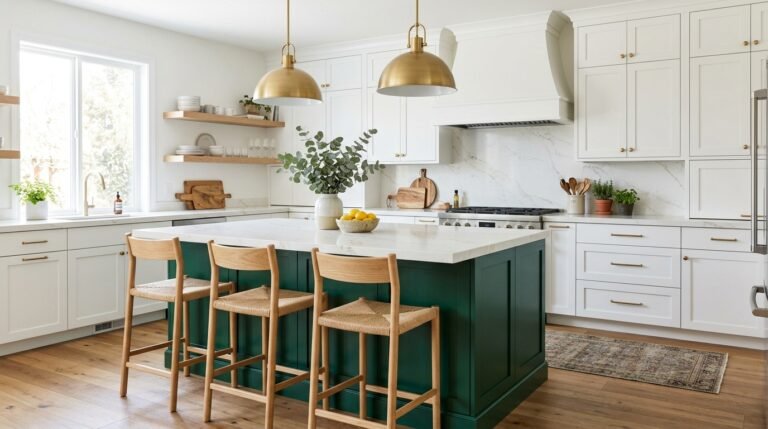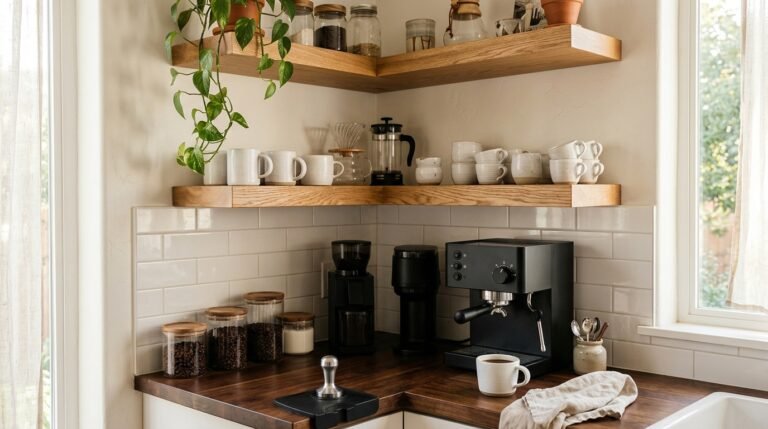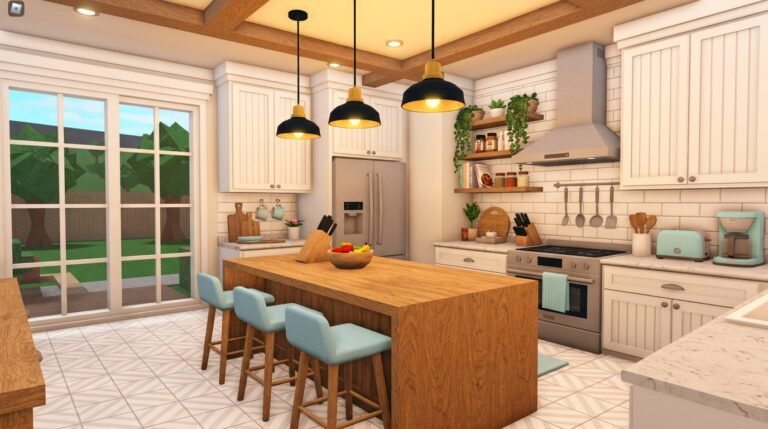
Kitchen remodel quotes can feel like a guessing game. If you’re asking how much should a 10×10 kitchen remodel cost, you’re not alone, and the answer is easier to find than you think. A small kitchen can cost anywhere from a few thousand dollars for a fresh look to well over fifty thousand for a high-end rebuild. In this guide, you’ll find 16 clear, visual ideas, from budget refreshes and cabinet refacing to lighting, appliances, and smart DIY choices. I’ve noticed that the happiest homeowners plan first and spend second. Scroll through, save your favorites, and build a kitchen budget that feels realistic and exciting.
Painted Cabinet Refresh
- Updates the biggest visual surface in the room for very little money.
- Avoids the cost and mess of tearing out working cabinets.
- New hardware makes old doors feel custom.
- Frees up budget for counters, lighting, or flooring.
Fresh paint can change a tired kitchen for the price of a weekend trip. Cabinets take up most of the visual space in a small room, so updating their color delivers the biggest change for the smallest spend. A full replacement can eat half your budget, while paint and new hardware often cost a few hundred dollars. If you are wondering how much should a 10×10 kitchen remodel cost, starting with this move shows how far a modest budget can stretch. Choose a durable cabinet enamel, clean the doors, and sand lightly so the finish grips and lasts well.
The details matter more than the color itself. In my experience, new pulls and soft-close hinges make painted doors feel brand new, and they usually add only a modest amount to the total. Stick with one finish, such as brushed brass or matte black, so the hardware looks deliberate. Remove the doors before painting, label each one, and work in thin coats to avoid drips. Allow several days for curing before you reload the shelves. You will notice the room feels brighter, cleaner, and more custom, and the savings can go toward the countertop, lighting, or flooring instead.
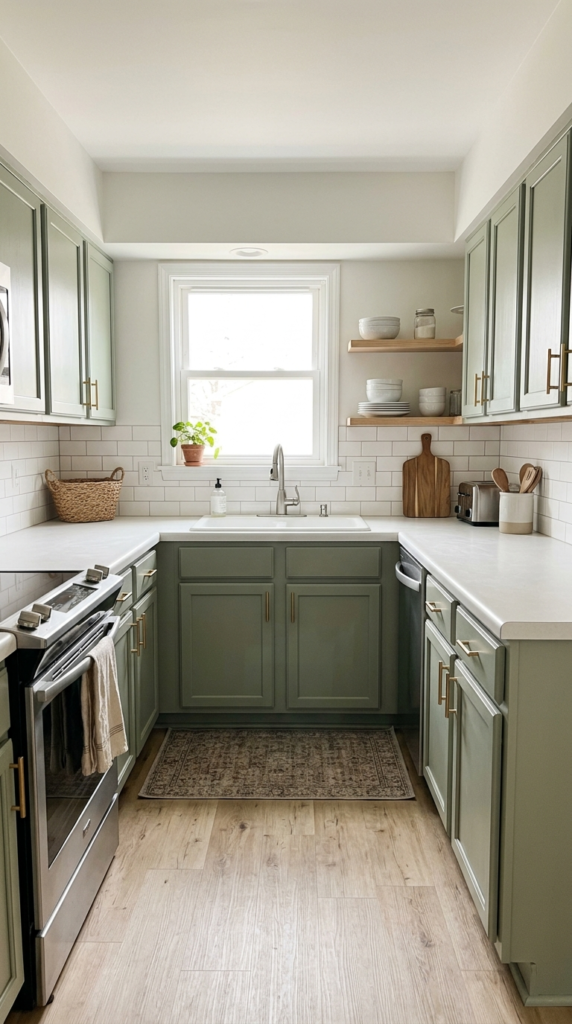
aminate Countertop Upgrade
- Modern laminate mimics stone at a fraction of the price.
- Fewer seams make a small counter run look larger.
- Installs faster than heavy slabs, so labor costs stay lower.
- Leaves room in the budget for lighting or better appliances.
Countertops are where budgets spiral, so smart choices here pay off. In a 10×10 room, you only need about thirty square feet of surface, which means material price matters more than people expect. Today’s laminate prints copy marble and quartz so well that guests rarely guess the difference. Edge profiles have improved too, with thicker fronts that look like solid stone. That’s why many designers recommend laminate for rentals, resale prep, and tight remodel budgets. Pair a quartz-look pattern with a simple stainless sink, and the whole work zone looks fresh, polished, and surprisingly high-end without a steep invoice.
Installation and care deserve a little planning. I’ve noticed that postformed laminate with a built-in backsplash curve is the cheapest route, while a separate backsplash gives a more custom look. Seal the seams near the sink with waterproof caulk, since standing water is laminate’s biggest enemy. Use trivets for hot pans and a cutting board for chopping, and the surface will stay smooth for years. Choose a matte or textured finish to hide fingerprints and light scratches. You will notice the counters brighten the whole room, and the money you save can upgrade lighting, hardware, or a better faucet.
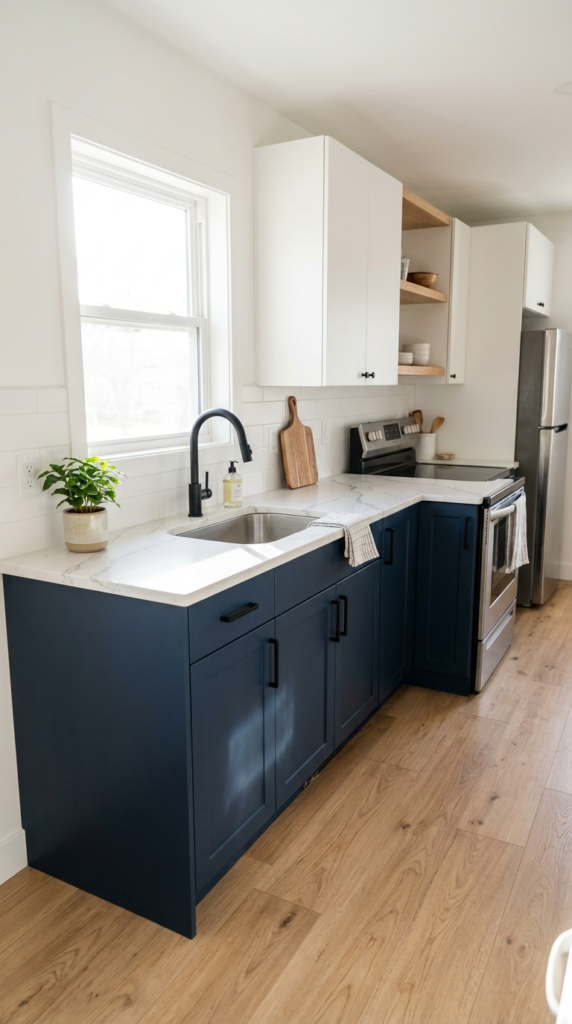
Open Shelf Swap
- Replaces costly upper cabinets with simple wood planks.
- Makes a compact room feel open and airy.
- Keeps daily dishes easy to grab.
- Lets you show off favorite pieces instead of hiding them.
Skipping upper cabinets is one of the fastest ways to shrink a remodel bill. Wall cabinets are expensive, and in a compact room they often make the walls feel heavy and crowded. Open shelves cost a fraction of the price, install in an afternoon, and instantly lighten the whole room. This is a smart move when your budget needs room to breathe. Use solid wood boards with sturdy brackets, and keep each shelf about ten inches deep so plates and bowls fit comfortably. The result is an airy, welcoming wall that feels modern, relaxed, and surprisingly personal.
Styling open shelves takes a little discipline, but it is easy to learn. I’ve seen this work well in many homes when the display sticks to white dishes, a few glass jars, and one or two plants. Keep everyday items at the front and rarely used pieces in a lower cabinet. Anchor brackets into studs, because stacked ceramics are heavier than they look. Wipe the shelves weekly to keep grease from building up near the cooktop. You will notice more light, more visible wall, and a kitchen that feels larger, all while keeping the budget under control.
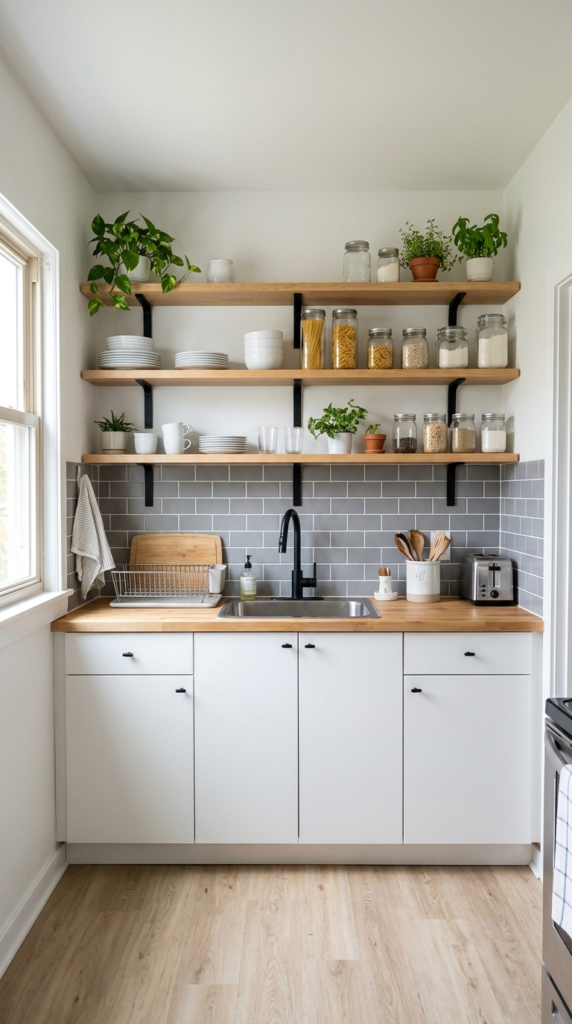
Peel and Stick Backsplash
- Costs a fraction of real tile and needs no grout or specialty tools.
- Installs in a single afternoon, so there is no labor bill.
- Gives a plain wall instant pattern and texture.
- Peels off later, which suits renters and resale prep.
A backsplash can be a weekend project instead of a major expense. Peel-and-stick tiles cost far less than ceramic or stone, and they need no grout, thin-set, or tile saw. In a compact cooking area, you only need a small amount of material, so even premium sheets stay affordable. The thick gel-backed versions look surprisingly close to real marble or subway tile from a few feet away. Clean the wall, measure twice, and press each sheet from the center outward. The finished wall looks polished, protects the paint from splashes, and adds a pop of style without a contractor.
Placement and prep decide how long the tiles last. I’ve noticed that sheets stick best on smooth, degreased, fully dry walls, so wipe the area with a mild cleaner first. Keep them a few inches away from the burner, since direct heat can loosen the adhesive over time. Use a sharp craft knife and a metal ruler for clean cuts around outlets. Choose a soft white or gray pattern to keep the look timeless. You will notice the kitchen feels finished and cleaner, and the money you saved can go toward better lighting, new hardware, or a sturdier faucet.
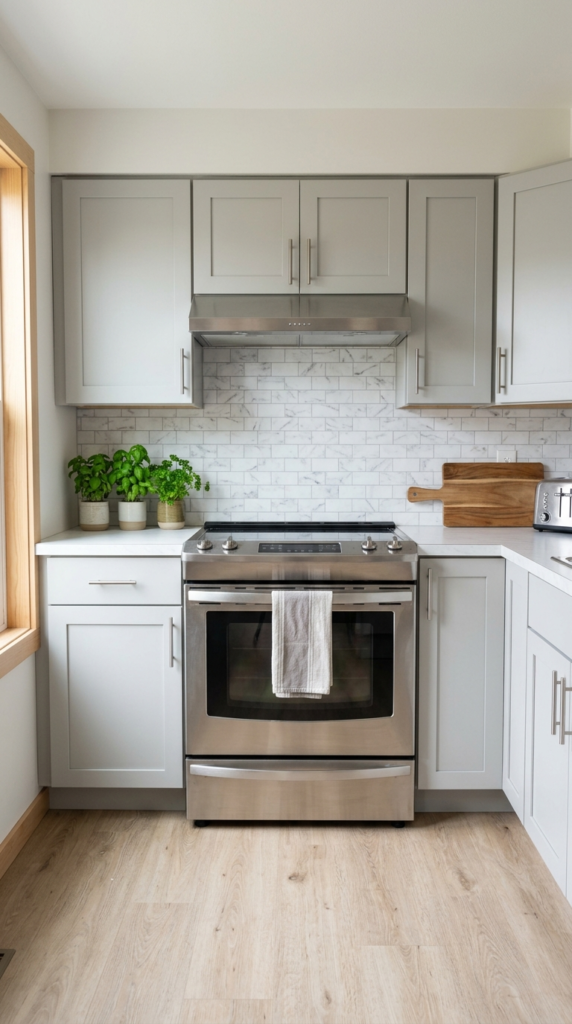
Vinyl Plank Flooring
- Waterproof planks handle spills, drips, and daily foot traffic.
- Looks like real wood at a much lower price per square foot.
- Click-lock installation can often go over an existing flat floor.
- The warm tone makes a small room feel softer and more connected.
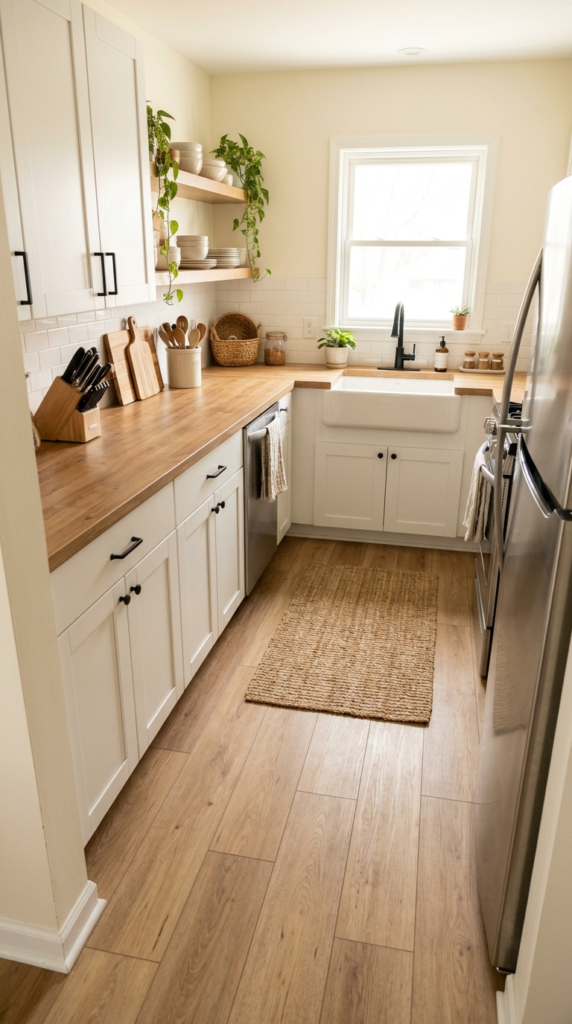
Floors are the quiet hero of a budget-friendly kitchen makeover. Luxury vinyl plank gives you the look of real oak without the price, and it shrugs off spills, dropped pans, and muddy boots. In a room this size, you will need roughly one hundred square feet of material, so choosing a mid-range product still keeps costs sensible. That’s why many designers recommend it for busy family homes. Pick a wide plank with a textured surface and a thick wear layer for the most realistic look. The result is a warm, durable base that ties cabinets, counters, and walls together.
Installation is where you can save even more. Click-lock planks float over a clean, flat subfloor, so many people finish the job in a single weekend with basic tools. This works especially well in homes where the old flooring was level and simply needed a fresh look. Leave a small gap along the walls for expansion, and hide it under baseboard trim. Run the planks lengthwise toward the window to make the space feel longer. You will notice the kitchen looks calmer and more connected, and cleaning becomes easier because there are no grout lines to scrub.
Under Cabinet Lighting
- Lights the counter exactly where you chop and prep.
- Plug-in LED strips cost little and need no electrician.
- Makes budget counters and tile look richer.
- Doubles as a soft night light for late-evening snacks.
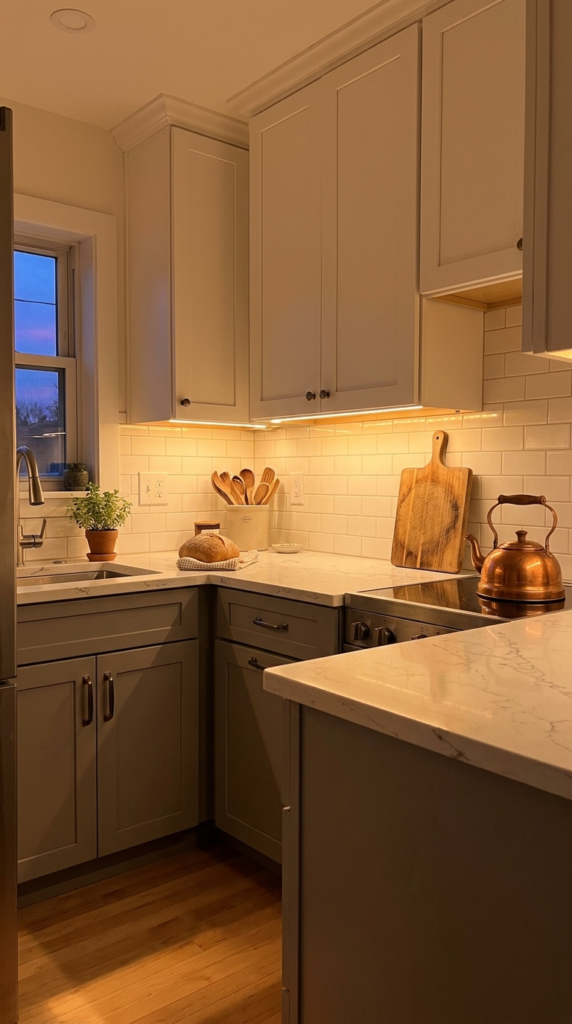
Good lighting makes affordable materials look expensive. Under-cabinet LED strips wash the countertop with even light, erasing the shadows that overhead fixtures cast while you chop and stir. Plug-in kits cost very little, and many stick on with adhesive, so no electrician is required. In a compact kitchen, this small upgrade often delivers more drama per dollar than any other change. Choose warm white around 2700 to 3000 Kelvin for a cozy glow, and place the strip near the front edge of the cabinet. The result is a counter that looks brighter, cleaner, and far more inviting.
Smart placement and control make the biggest difference. In my experience, hiding the strip behind a small front lip keeps the bulbs out of sight and prevents harsh glare on glossy counters. Add a dimmer or a simple remote so you can switch from bright prep light to a gentle evening glow. Wipe the cabinet underside before sticking anything on, and tuck the cord neatly behind the backsplash edge. You will notice the room feels larger after dark, and your countertop materials look richer, which helps a modest remodel feel thoughtfully designed rather than rushed or cheap.
please also read :17 what size kitchen trash can
Stock Cabinet Layout
- Standard sizes cost much less than custom cabinets.
- Ships quickly, so your project doesn’t sit waiting for weeks.
- A simple L-shaped or U-shaped layout needs very few filler pieces.
- Crown molding makes basic boxes look built-in.
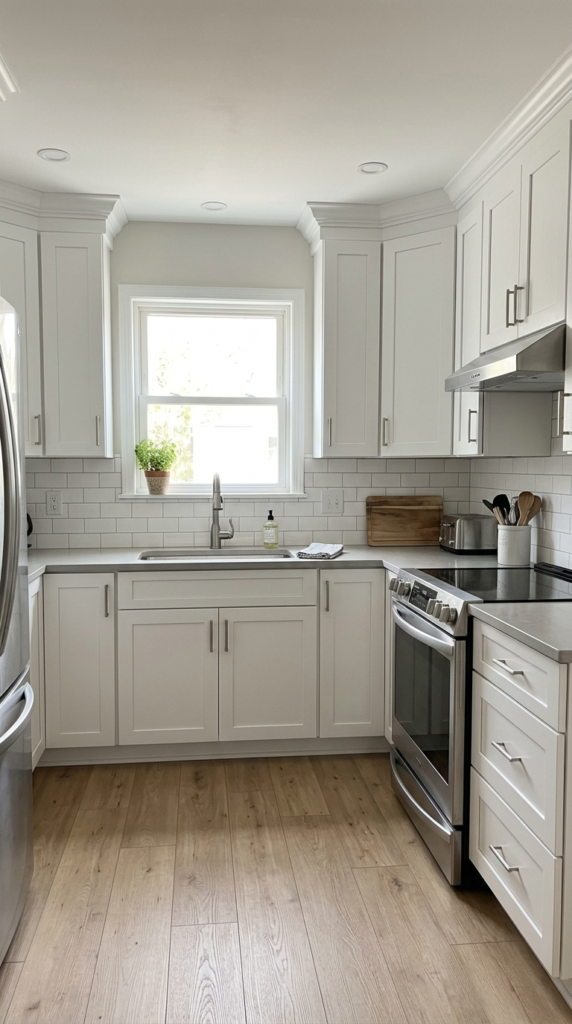
Cabinets are the biggest line item in most remodels, so this is where smart planning saves real money. Stock cabinets arrive in standard sizes, ship quickly, and cost much less than custom or semi-custom boxes. In a ten-by-ten room, a simple L-shaped or U-shaped layout uses those standard widths with few filler pieces. If you are asking how much should a 10×10 kitchen remodel cost, cabinet choice often decides whether the total lands near the low or high end. Pick solid plywood boxes, add crown molding for height, and the finished run looks tailored rather than off the shelf.
Measure twice before ordering, because a single inch can change which cabinet sizes fit. I’ve noticed that mapping every wall on graph paper, including windows and outlets, prevents expensive reorders. Keep the sink, range, and refrigerator in a tight triangle so cooking feels effortless. Order a few extra filler strips and a matching toe kick to close small gaps cleanly. Many home centers offer free design help, which is worth using. Once installed, you will notice the room feels organized and complete, and the savings over custom cabinets can pay for better counters, lighting, or a sturdier faucet.
Stainless Appliance Bundle
- Bundle pricing often cuts the total cost by hundreds of dollars.
- Matching finishes make the whole room look planned.
- Standard sizes drop into existing openings without extra carpentry.
- Energy-efficient models lower your monthly bills over time.
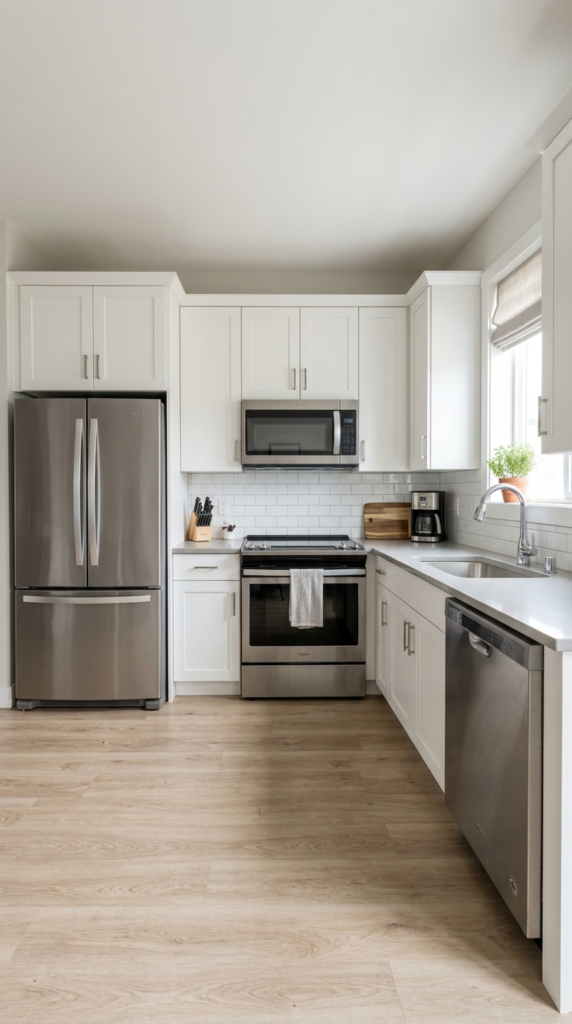
Appliances can quietly drain a remodel budget if you buy them one by one. Retailers often discount a full package of refrigerator, range, dishwasher, and microwave, and the savings add up quickly. Matching stainless finishes also make a compact kitchen look calm and intentional instead of mismatched. Shop during holiday sales, when many brands offer extra rebates. Choose standard-width models, because they fit existing openings and avoid costly cabinet changes. In a small room, a counter-depth refrigerator keeps the walkway open, and a slide-in range gives the cooking wall a clean, built-in look.
Features matter less than reliability, so read reviews before you commit. In my experience, a simple range with sturdy knobs and a quiet dishwasher with a good rack system beats a pricey model loaded with screens. Check the energy rating labels, since efficient machines lower monthly bills for years. Measure doorways and delivery paths too, because a refrigerator that cannot enter the room becomes an expensive headache. Ask about haul-away and installation fees before paying. You will notice the finished room feels cohesive and modern, and the money you save by bundling can go toward countertops or lighting.
Pull Down Faucet Upgrade
- A small purchase that gets used dozens of times a day.
- The pull-down spray makes rinsing pots and cleaning the sink easier.
- Single-bowl sinks fit compact cabinets and hold large pans.
- A matching finish ties in your cabinet hardware.
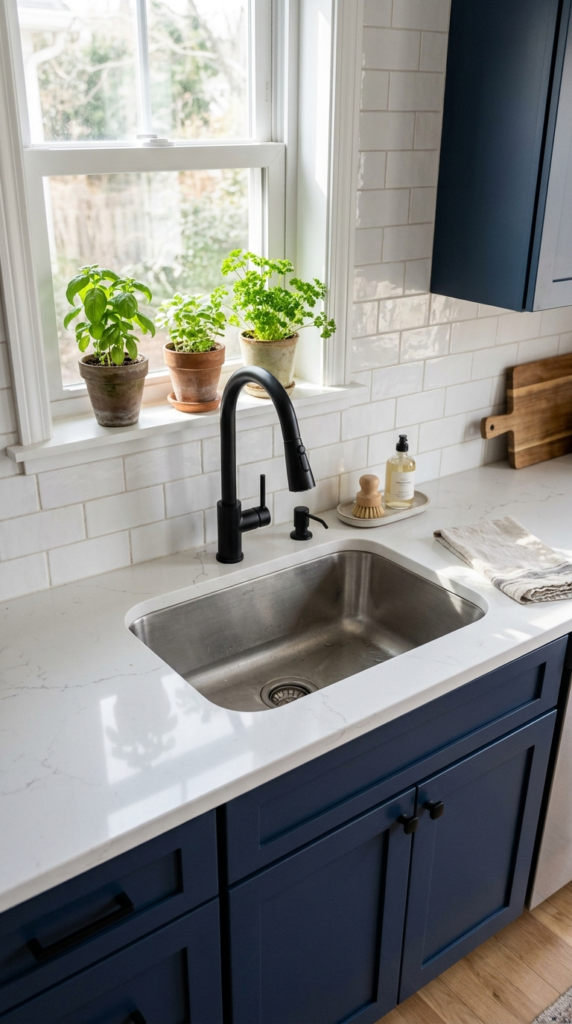
The sink is the hardest-working spot in the room, so a small upgrade here feels huge. A pull-down faucet costs far less than most remodel items, yet you use it dozens of times every day. The spray head rinses pots, fills tall pitchers, and cleans the basin without awkward juggling. Pair it with a deep single-bowl sink, which fits compact cabinets and swallows large baking sheets. That’s why many designers recommend this duo for smaller kitchens. Choose a finish that matches your cabinet pulls, such as matte black or brushed brass, and the whole wall looks coordinated.
Quality shows up in the details you cannot see. I’ve seen this work well in many homes when the faucet has a solid brass body and a ceramic disc valve, which resists drips for years. Check that the hose reaches the corners of the sink, and choose a spot-resistant finish to hide water marks. Before buying, confirm how many holes your counter has so the new fixture fits. A plumber can often swap everything in an hour. You will notice smoother daily routines, a brighter, cleaner-looking sink area, and a budget that still has room for finishing touches.
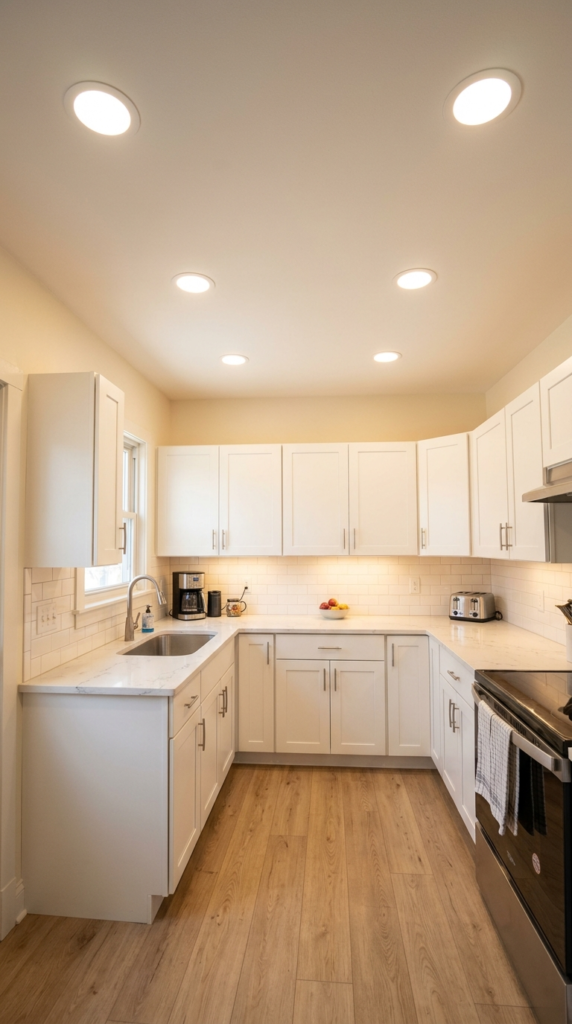
Recessed Ceiling Lights
- Removes the dark corners that one center fixture leaves behind.
- Slim LED discs sit flat, so the ceiling looks clean and modern.
- Dimmer switches let you set a bright prep mode or a soft dinner mood.
- Efficient bulbs lower the electric bill over time.
One old ceiling fixture rarely lights a kitchen well, and recessed lights fix that fast. Slim LED discs spread even light across counters, sink, and cooktop, so you stop cooking in your own shadow. In a compact room, four to six lights usually cover the whole space. Wafer-style models install without deep ceiling cavities, which keeps labor costs sensible. Choose warm white around 3000 Kelvin for a welcoming feel, and space the lights about three feet from the wall so they shine across cabinet fronts. The ceiling looks tidy, the room feels larger, and every surface looks cleaner.
Layout and controls make the difference between fine and fantastic. In my experience, centering lights over the counter edge rather than the room middle puts light where you actually work. Add a dimmer switch rated for LEDs, and you can move from bright prep light to a gentle evening glow. Hire a licensed electrician for any new wiring, since this is not a safe place to cut corners. Ask for airtight, insulation-rated housings to reduce drafts. You will notice shadows disappear, colors look truer, and the whole remodel feels more expensive than the invoice suggests.
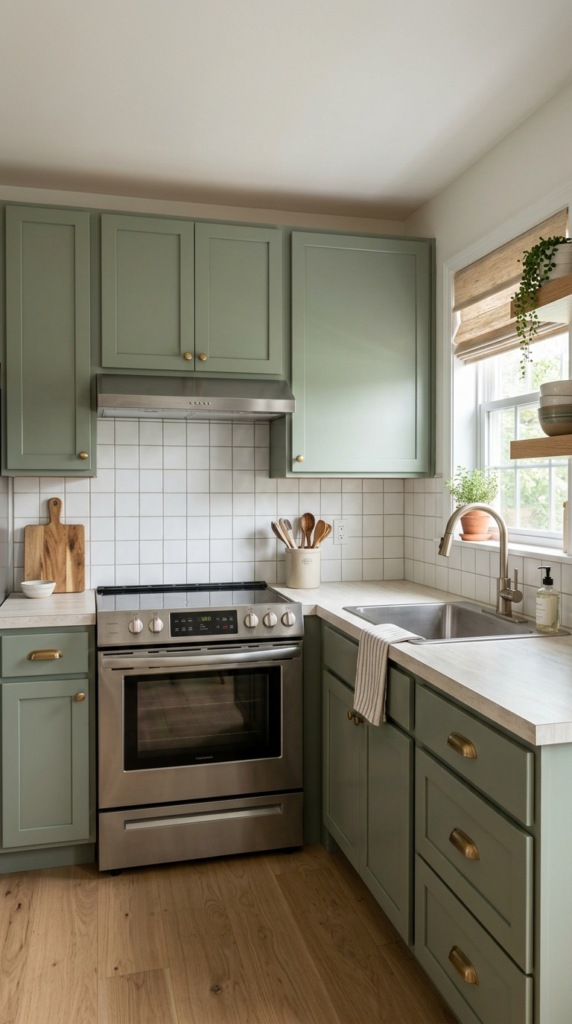
Budget Tile Backsplash
- Basic ceramic tile costs very little per square foot.
- A small kitchen only needs about thirty square feet of coverage.
- Simple grid layouts cut faster and waste less material.
- Protects walls from grease and water far longer than paint.
A tiled wall is a classic upgrade that does not need a luxury budget. Plain white ceramic tile costs very little per square foot, and a compact kitchen only needs a modest amount to finish the job. Skip mosaics and fancy shapes, since cutting and labor are where prices climb. A simple grid layout installs faster and wastes less material. This is one of the smartest ways to protect walls from grease and water while adding clean, lasting style. Pair white tile with colorful cabinets or warm brass hardware, and the whole room looks designed instead of just repaired.
Doing part of the work yourself can trim the bill even more. I’ve noticed that many homeowners handle demolition, painting, and cleanup, then hire a pro only for the tile setting. Buy about ten percent extra for cuts and mistakes, and keep a few spare tiles for future repairs. Choose a stain-resistant grout in a soft gray, which hides cooking splatters better than bright white. Seal the grout after it cures to extend its life. You will notice the wall wipes clean in seconds, and the polished backdrop makes everything on the counter look better.
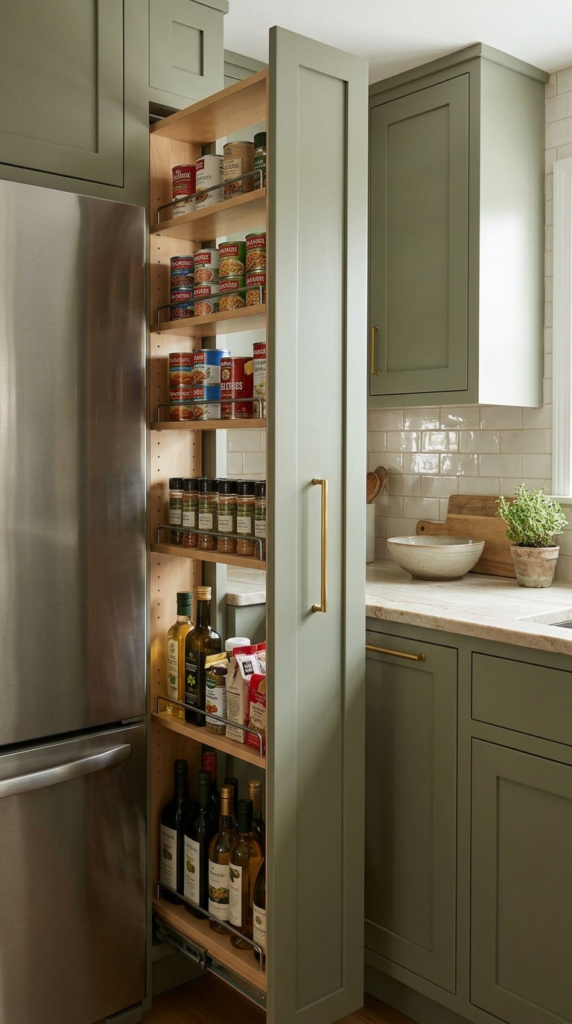
Pantry Pullout Cabinet
- Turns a narrow gap into hidden, full-height storage.
- Brings every shelf into view so nothing gets lost in the back.
- Often costs less than adding a second wall of cabinets.
- Keeps counters clear, which makes a small room feel bigger.
Storage is the secret reason a small kitchen feels either calm or chaotic. A slim pullout pantry fits into gaps as narrow as six inches, turning dead space into a full-height organizer. Every shelf slides into view, so cans, spices, and oils never vanish behind other items. Because it uses an existing cabinet opening, it often costs less than extending the cabinet run. That’s why many designers recommend it for compact rooms. Match the front to your other doors, and the pantry blends in as if the whole kitchen was planned around it from the start.
Choose hardware that can carry real weight. I’ve seen this work well in many homes when the unit uses full-extension ball-bearing slides rated for at least a hundred pounds. Keep heavy jars on the lower shelves and light snacks higher up. Add small bins for packets and bags so they do not tip. Measure the opening width, depth, and height carefully before ordering, and confirm the door clearance next to the refrigerator. You will notice counters clearing off, cooking becoming faster, and the entire room feeling larger, all without adding a single square foot.
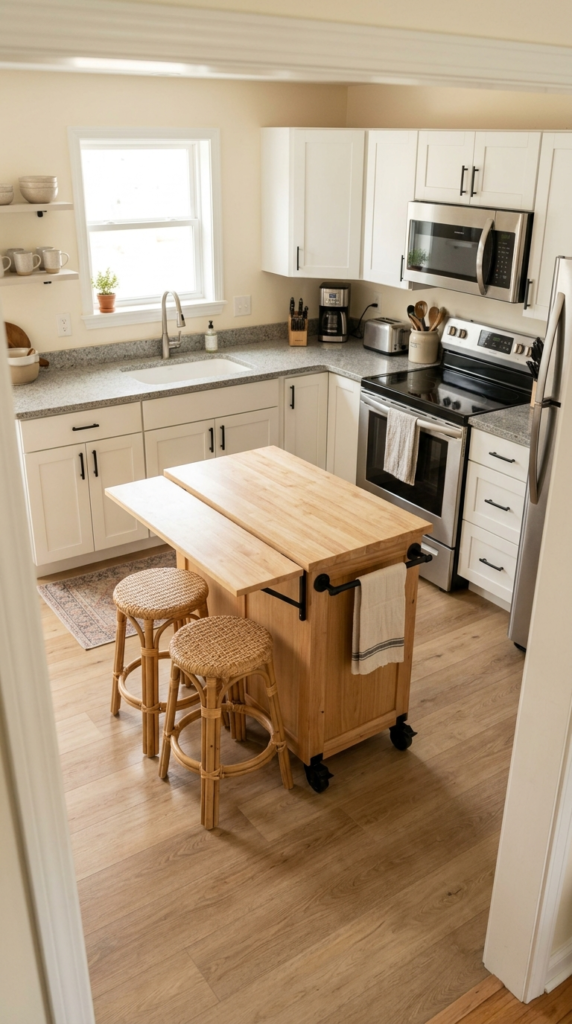
Rolling Island Cart
- Adds prep space and storage without building a permanent island.
- Rolls out of the way, so walkways stay open.
- Costs far less than a custom island or a new base cabinet.
- Doubles as a serving station or breakfast spot with two stools.
Extra counter space doesn’t require a built-in island. A rolling cart gives you a prep surface, storage shelf, and casual seating spot for a fraction of the cost of custom cabinetry. In a compact room, the ability to roll it away is a huge advantage, because walkways stay open when you are not cooking. Look for a solid wood or butcher block top, locking wheels, and a lower shelf for baskets. Many carts cost less than a single new base cabinet. Pair it with a couple of stools, and your tiny kitchen suddenly feels social and flexible.
Size is the detail that makes or breaks this idea. In my experience, you need at least thirty-six inches of clear walkway around the cart, so measure before you buy. Choose a model about as tall as your counters, usually thirty-six inches, so it works as an extension of your prep zone. Add hooks for towels and a small tray for oils and salt, and the cart earns its keep every day. When guests arrive, roll it beside the stove for serving. You will notice better workflow, less clutter on the counters, and a room that feels useful.
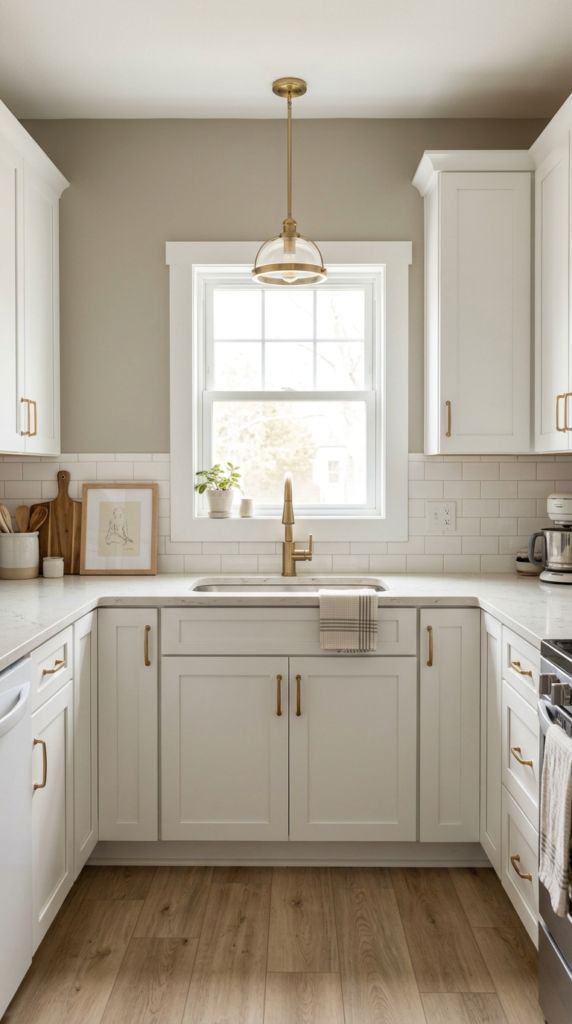
Soft Neutral Wall Paint
- One of the cheapest upgrades with one of the biggest visual effects.
- Light neutrals reflect daylight and make a small room feel open.
- Ties cabinets, counters, and flooring into one palette.
- Fresh trim sharpens every edge for a polished finish.
A gallon of paint is the cheapest design tool you own. Wall color sets the mood for everything else, so a warm greige or soft cream instantly pulls cabinets, counters, and flooring into one harmonious palette. Light shades reflect daylight and make a compact room feel more open, while fresh trim brightens every edge. Choose a scrubbable satin or semi-gloss finish, because kitchens collect grease and steam. Most small rooms need only one or two gallons, so the cost stays tiny compared with cabinets or appliances. The change looks crisp, clean, and high-end once the dingy walls disappear.
Preparation is where the pros earn their reputation. I’ve noticed that washing walls with a degreasing cleaner before painting prevents peeling near the stove. Fill nail holes, sand lightly, and apply a quality primer on any stained spots. Tape edges carefully and cut in with an angled brush before rolling the flat areas. Test two or three sample swatches on different walls, since morning and evening light change how colors read. Let each coat dry fully before adding the next. You will notice the room feels cleaner and larger, and the fresh backdrop makes every other upgrade look sharper.
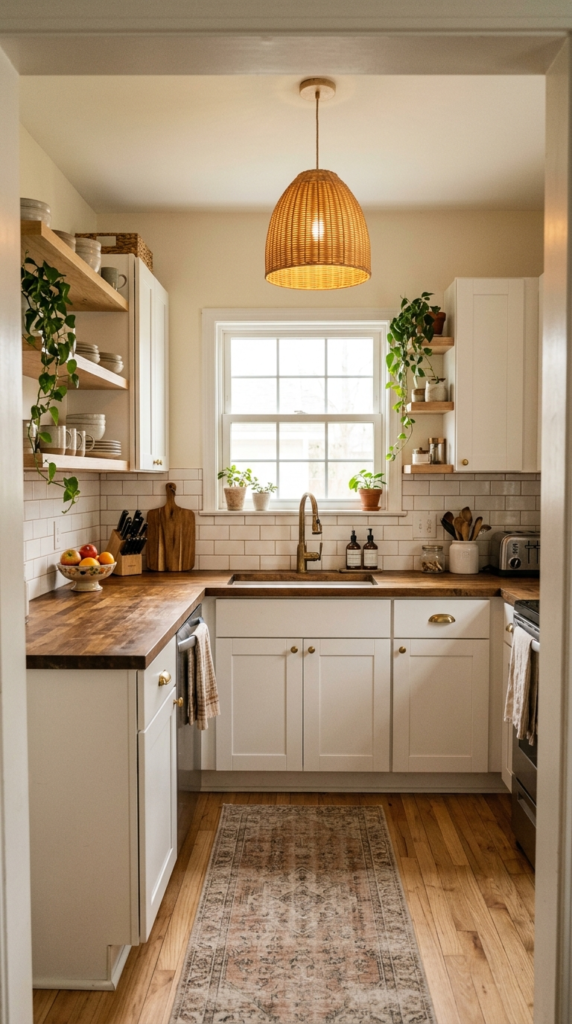
Single Pendant Light
- Creates an instant focal point with one affordable fixture.
- Adds warmth and texture that basic cabinets can’t provide.
- Plug-in swag kits skip the cost of new wiring.
- Gives a soft evening glow that overhead lights miss.
One beautiful fixture can make a budget kitchen feel designed. A single pendant adds character, warmth, and a focal point that draws the eye upward, away from simple cabinets and standard counters. Woven rattan, matte black metal, and opal glass shades all look stylish at modest prices. Hang it over a sink, a cart, or a small dining nook so it serves a purpose. If you are wondering how much should a 10×10 kitchen remodel cost, remember that small statement pieces like this deliver big personality for under a hundred dollars. The result feels warm, welcoming, and thoughtfully finished.
Height and size decide whether a pendant looks elegant or awkward. That’s why many designers recommend hanging the bottom of the shade about thirty to thirty-six inches above the counter. Choose a diameter roughly one-third the width of the surface below. Use a plug-in swag kit if wiring changes would add cost, and tuck the cord along the ceiling with small hooks. Pick a warm bulb around 2700 Kelvin and add a dimmer if possible. You will notice the room glows beautifully in the evening, the ceiling feels more interesting, and the kitchen gains a cozy personality.
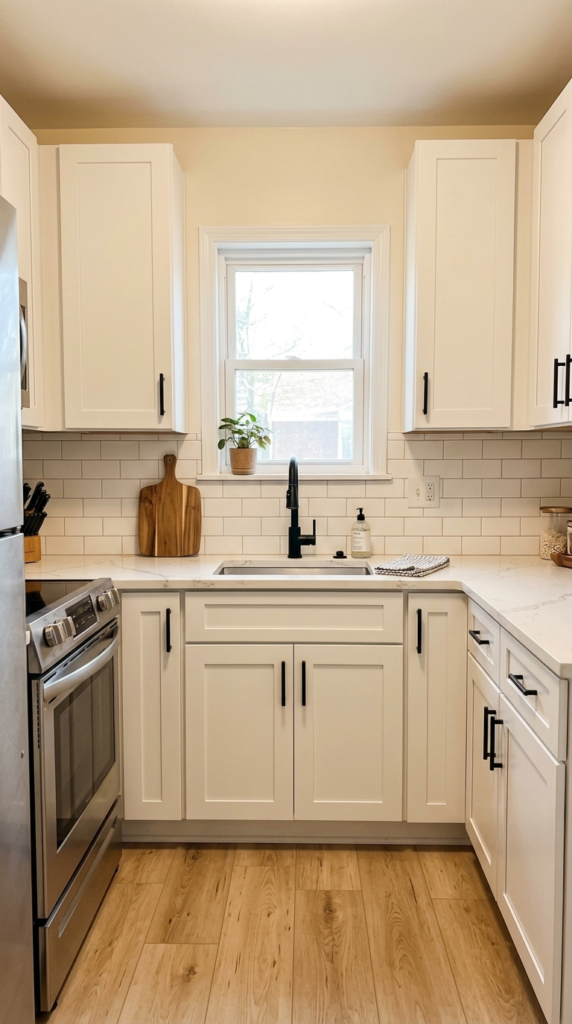
Cabinet Door Swap
- Replaces only the visible parts, so you keep the sturdy boxes.
- Costs far less than a full cabinet replacement.
- Custom-sized doors arrive by mail, with no demolition needed.
- New hinges and pulls make the whole run feel updated.
Replacing only the doors can transform a kitchen without replacing a single cabinet box. If your existing frames are sturdy and the layout works, new shaker-style doors and drawer fronts deliver a fresh look for a fraction of full replacement cost. Many online shops build doors to your exact measurements, so delivery is simple and results look custom. Choose a classic shaker profile in white, soft gray, or deep green, and the room instantly feels current. Add matching hinges and pulls while the doors are off. The finished cabinets look brand new, and your budget stays comfortably intact.
Measuring is the step that decides success. I’ve noticed that measuring each opening twice, then ordering one sample door first, prevents costly mistakes. Check that the existing boxes are square and solid, since warped frames won’t hold new doors properly. Remove the old hinges, label each opening, and clean the frames before painting them to match. Choose soft-close hinges for a quiet, premium feel. Wipe the new doors with a damp cloth and protect them with clear sealant. You will notice straighter lines, a cleaner look, and a budget that still leaves room for counters or lighting.
Conclusion
The right plan turns a stressful remodel into a project you can actually enjoy. Now that you know how much should a 10×10 kitchen remodel cost at every level, from a simple refresh to a full splurge, you can choose with confidence. I’ve seen how small, smart changes like these can completely transform a space without wrecking a budget. Pick one idea that fits your goals and start planning this week. Save this post on Pinterest so you can return anytime, and share it with a friend who’s dreaming about a new kitchen. Your best kitchen is closer than you think.