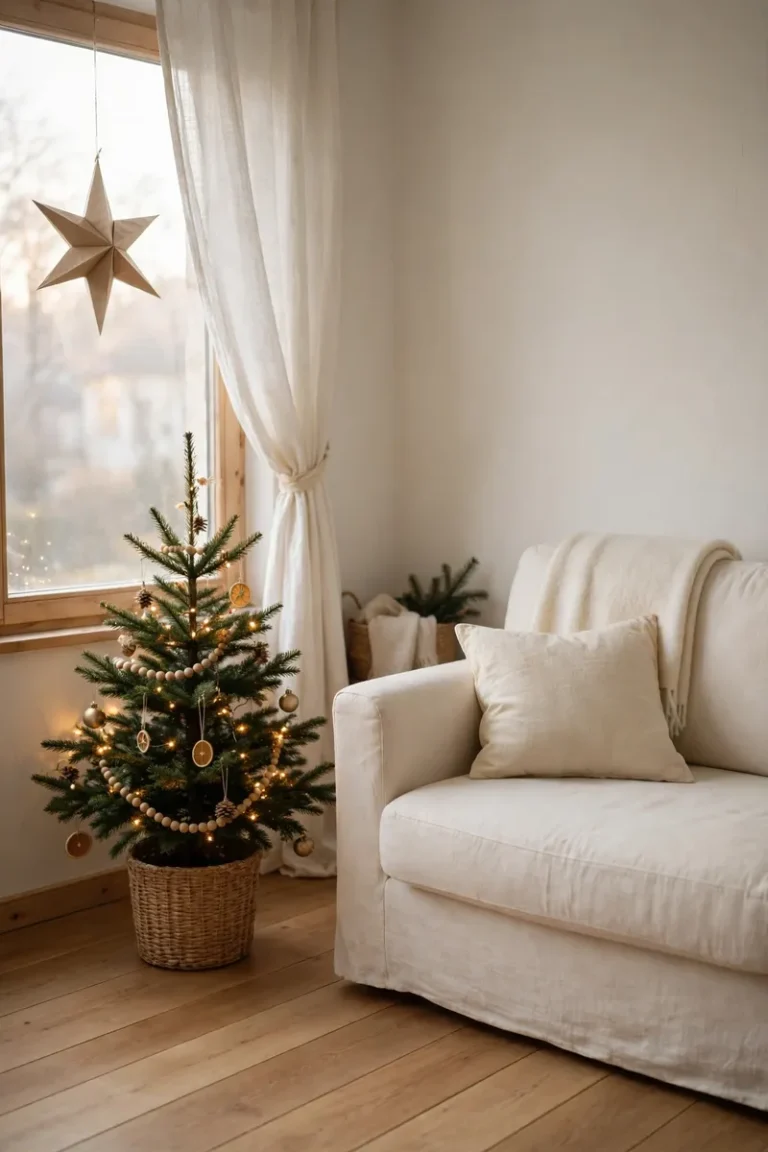
The middle of the table is where every eye lands first, and that is why christmas table centerpieces deserve more thought than the rest of the room. A good one does not need to be big or costly. It needs to sit low enough for conversation, leave room for the food, and give the table one clear focal point. The ideas below cover fresh greenery, candlelight, fruit, glass and living bulbs, and each one carries a real size, price or step so you can build it with confidence. Pick the one that fits your table and your week, and start with that.
Cedar Runner Glow
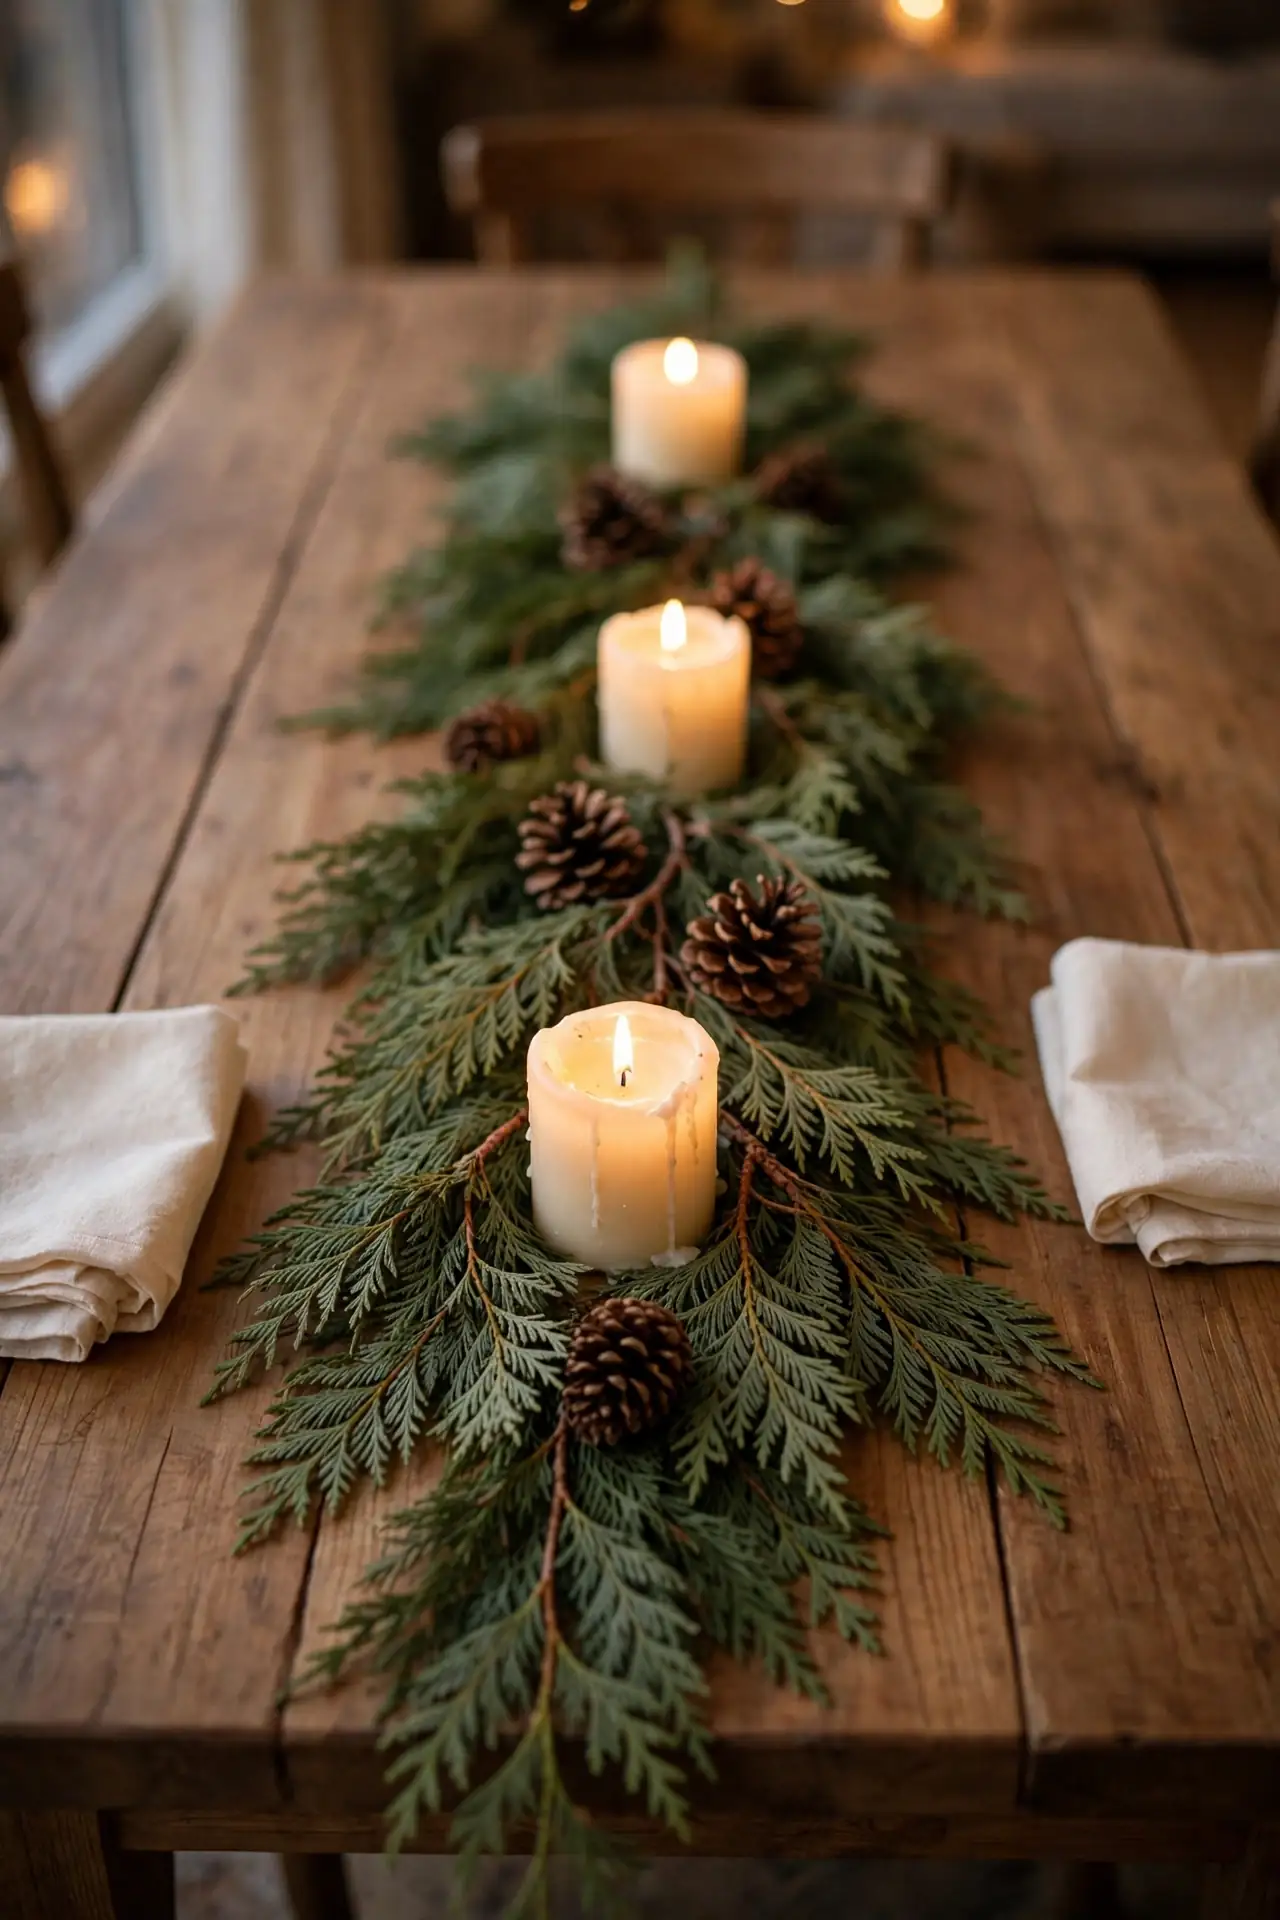
- Lay a fresh cedar runner about 120 cm long down a six seat table, or a third of the table length
- Tuck 15 to 20 pinecones along it in small clusters
- Set three short pillar candles, 8 cm tall, into gaps so flames sit above the greenery
- Mist the cedar every 2 to 3 days and keep it away from heat vents
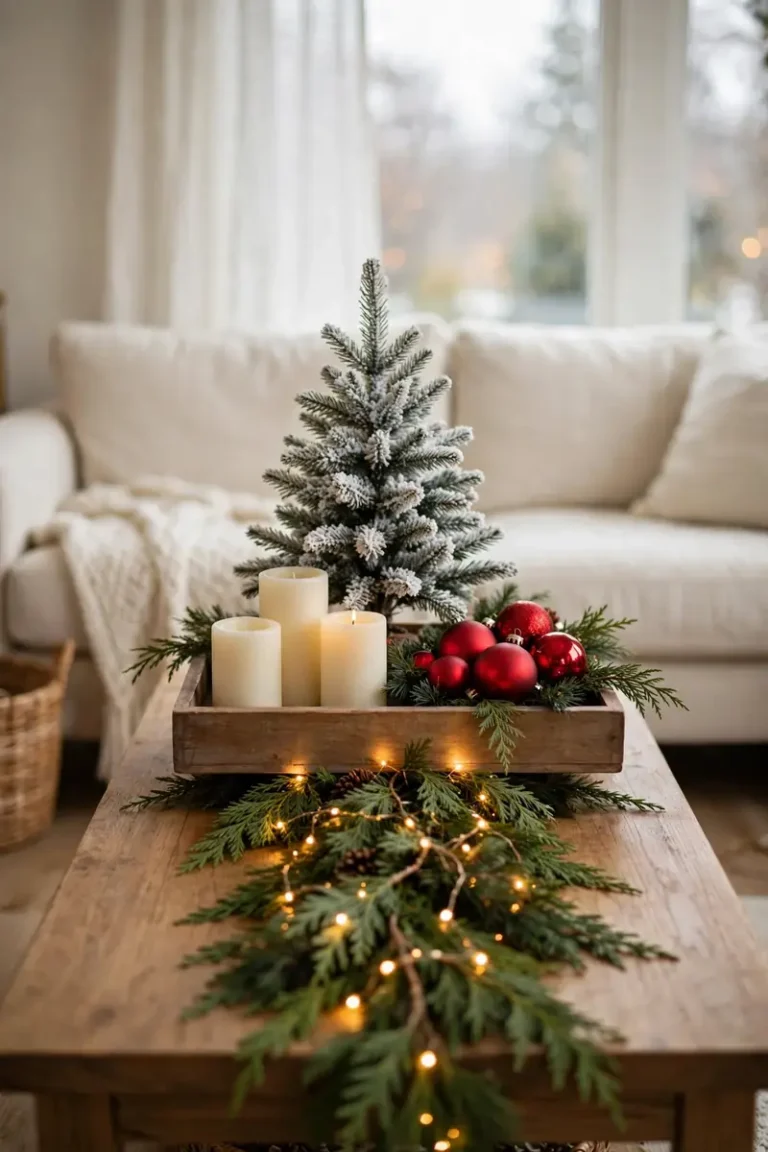
A cedar runner turns a plain table into a woodland path, and it costs almost nothing if you cut the branches yourself. Lay the branches in a loose line down the centre, about 120 cm long for a six seat table, and let the ends overlap so no bare table shows through. Tuck 15 to 20 pinecones along it in small clusters, then push three short pillar candles, 8 cm tall, into the gaps so the flames sit above the greenery line. The scent fills the room fast, and the green looks rich against wood, linen or a white cloth.
The mistake is building it too early and watching it dry out before the meal. Fresh cedar, pine and fir hold for three to four weeks indoors, but only if you soak the stems in a bucket of water overnight first and mist the runner every two to three days. Keep it away from heat vents, windows and open flames, because dry heat turns green needles brown in days. When the meal ends, lift the runner off in one piece and lay it on the sideboard, so the table is clear for pudding and the greenery keeps working all evening.
Taper Candle Trio
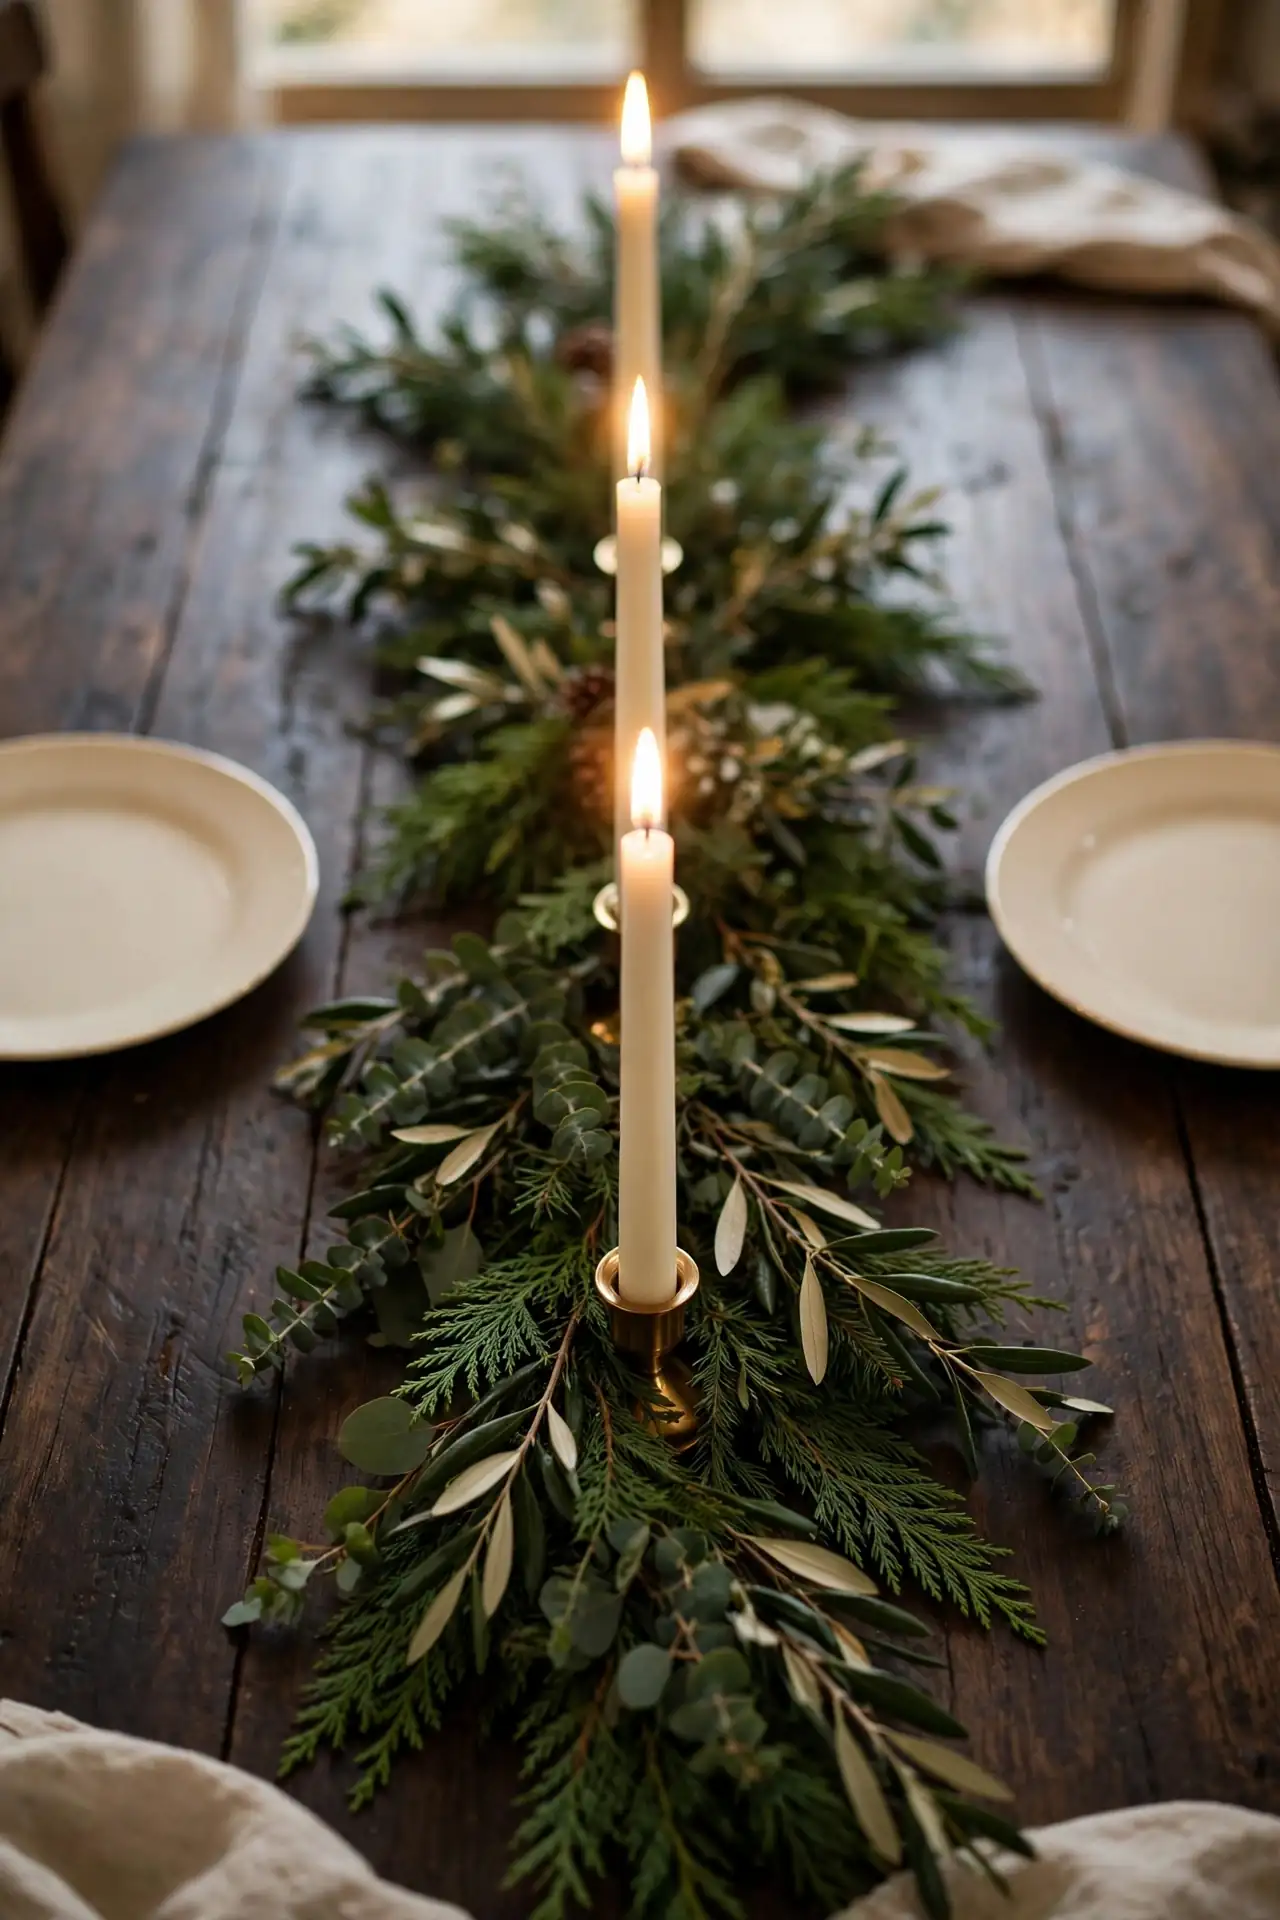
- Stand three slim taper candles in brass holders down the centre of the table
- Choose tapers 10 to 12 inches tall so the flames rise above eye level
- Keep the holders heavy and steady so they cannot tip
- Trim each wick to one quarter inch before you light it
Slim tapers are the one tall thing that never blocks a conversation, because guests simply look straight past them. Three tapers in brass holders, 10 to 12 inches tall, give the table height, warmth and glow without a wide arrangement in the way. Space them evenly down the centre, about a foot apart, and keep the bases on a narrow runner or a bare wood table so the line reads clean. The flames sit above eye level, which is why a tall thin candle works where a tall wide arrangement fails.
Keeping the tapers straight matters most, so pick holders with a heavy base that cannot tip when someone reaches across the table. Trim each wick to one quarter inch before lighting, and the flame stays small, steady and clean instead of tall and smoky. Never leave them burning when the room empties, even for a few minutes, and blow them out before bed, because an open flame beside dry greenery is a risk no dinner is worth. When the meal ends, the holders lift off the table in seconds and the centre is clear again.
Floating Cranberry Bowl
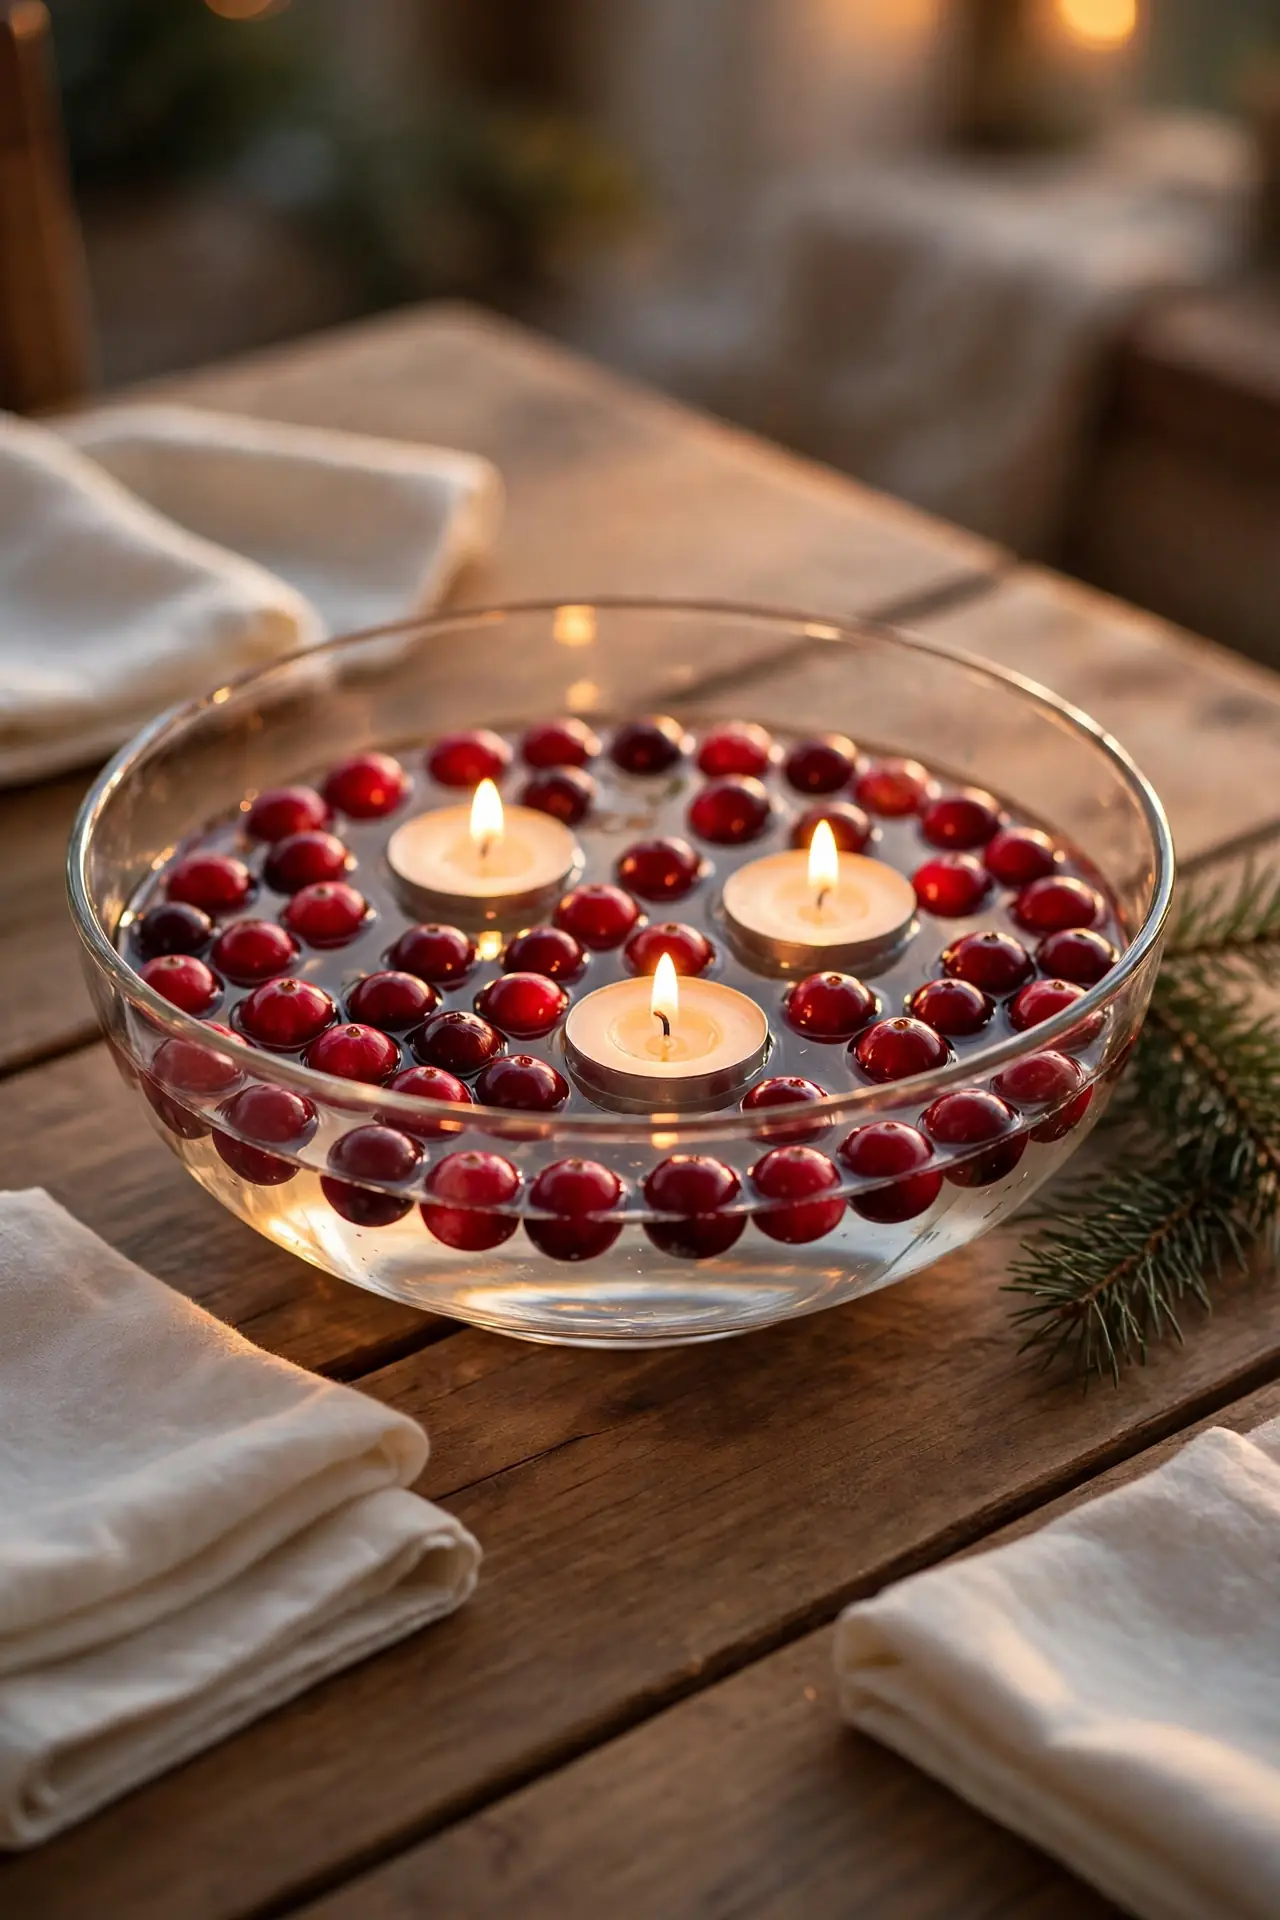
- Fill a wide shallow bowl with two to three inches of water
- Drop in a handful of fresh cranberries so they float on the surface
- Float three small candles on top of the water
- A bag of cranberries costs about 3 to 4 dollars and lasts several days
A bowl of water, cranberries and floating candles is the cheapest centrepiece in this list, and it photographs better than most costly ones. Fill a wide shallow bowl with two to three inches of water, drop in a handful of fresh cranberries, and float three small candles on the surface. The red berries bob gently against the glass, the flames reflect in the water, and the whole thing takes five minutes to build. One bag of cranberries costs about 3 to 4 dollars, which makes this the easiest last minute idea here.
The water is the safety system, which is why this idea suits a table full of people. A floating candle that tips simply goes out, so there is no wax on the cloth and no flame near a sleeve. Change the water every two days and the berries stay bright for several days, and when they start to soften, swap in a fresh handful from the same bag. Keep the bowl in the middle of the table where everyone can see it, and use flameless floating candles if children sit close.
Lantern Glow Center
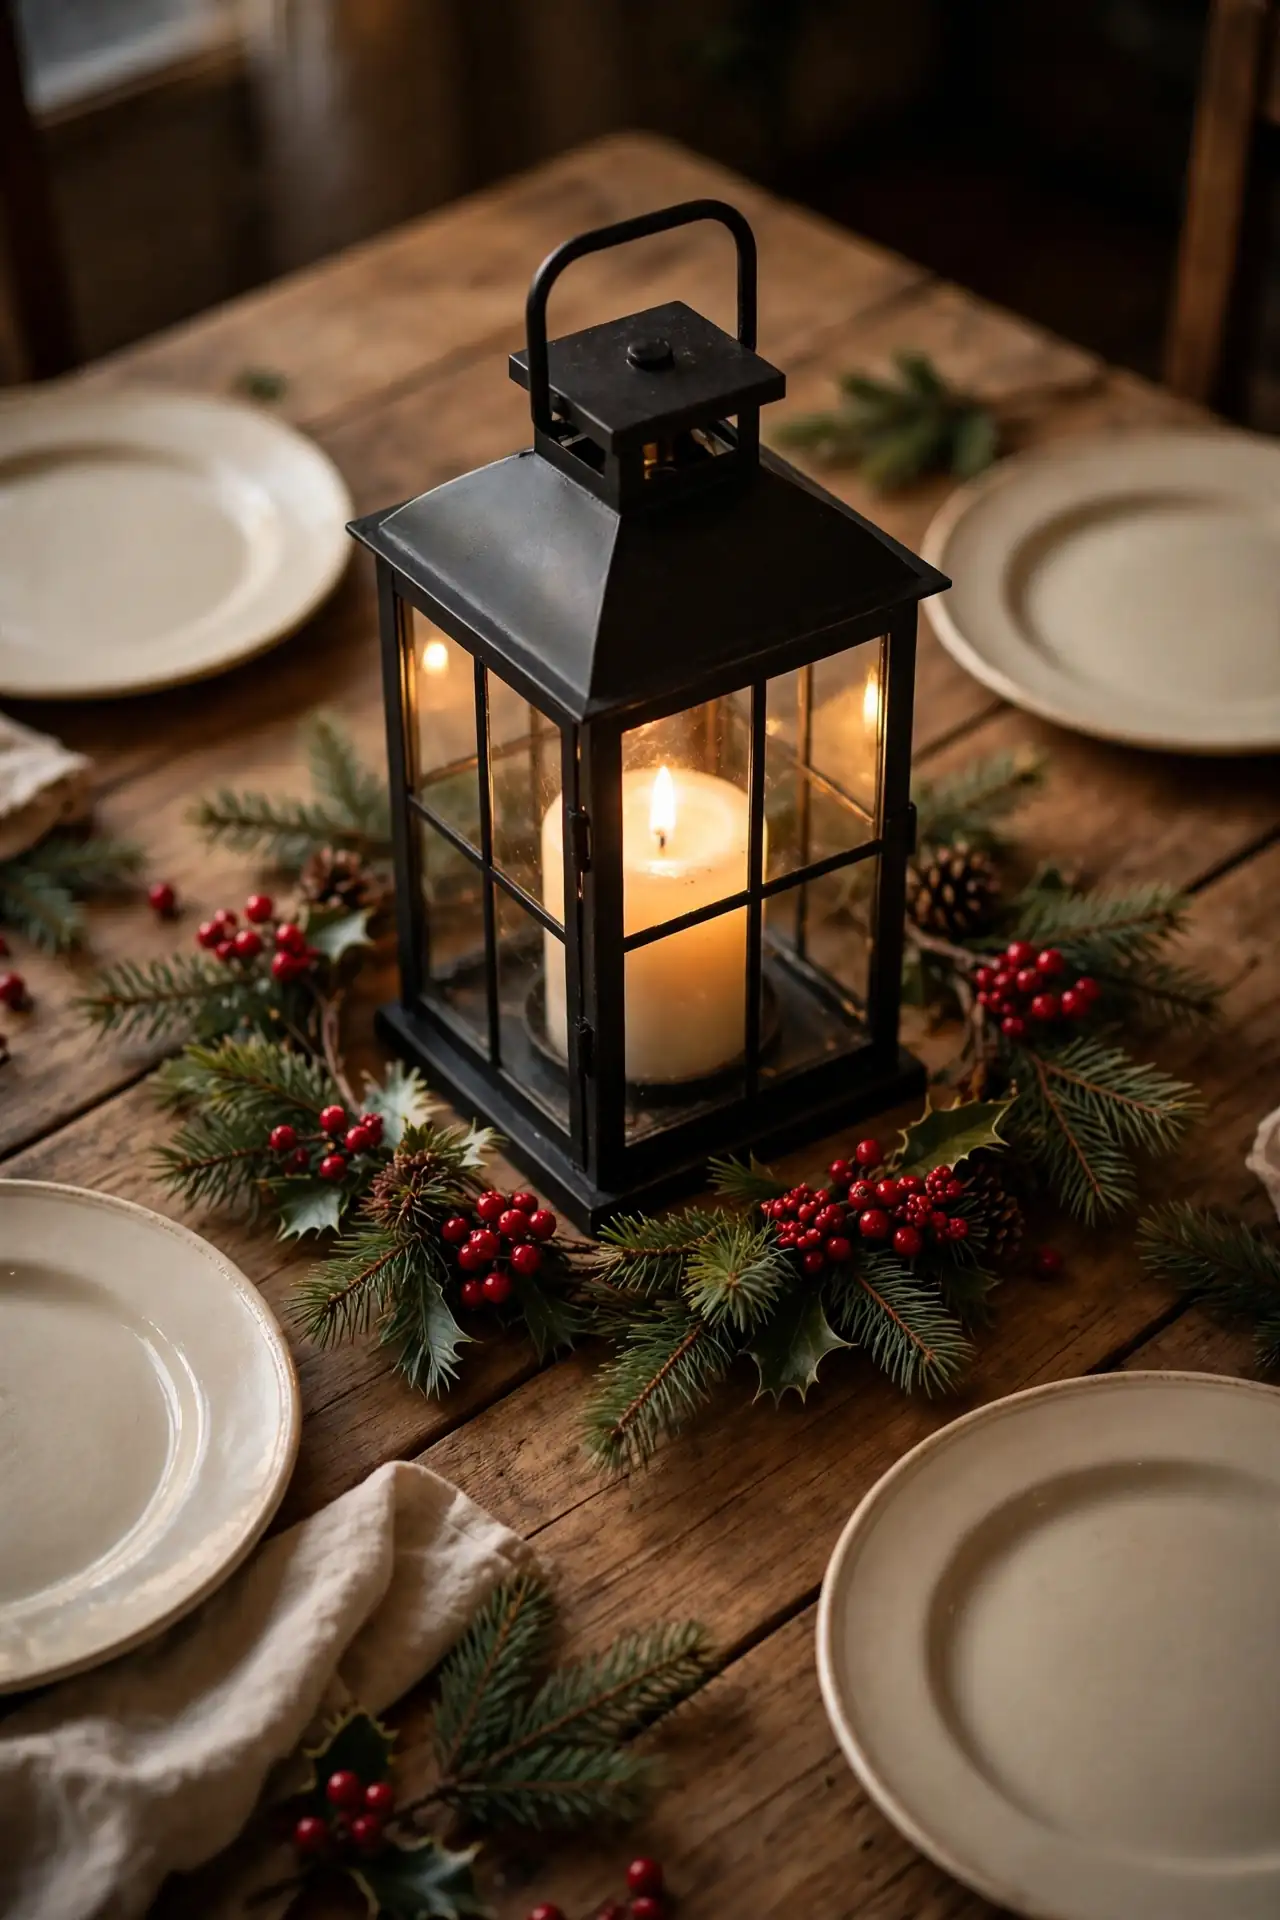
- Set one lantern in the centre of the table, about 10 to 12 inches tall
- Put a pillar candle inside, real or flameless, with the flame below the rim
- Keep 12 inches of clear space around the lantern
- Set the lantern on a tray so wax drips never reach the table
A lantern is the centrepiece for anyone who loves warm real candlelight but worries about an open flame. The glass walls keep the flame away from sleeves, napkins and dry greenery, and the light glows softly and warmly through the panes instead of glaring across the table. Choose a lantern about 10 to 12 inches tall with a sturdy handle, set a pillar candle inside with the flame below the rim, and keep 12 inches of clear space around it. The whole thing sits on a tray, so wax drips never reach the wood.
The real advantage is how easily it moves, because a lantern lifts off the table in one hand and sets down anywhere. When the food arrives and the table gets crowded, carry it to the sideboard and it keeps glowing there through the whole meal. When guests leave, carry it back and the table is dressed again in seconds, with no rebuilding at all. Use a flameless candle inside if the lantern will sit near greenery or fabric, and keep the glass clean so the light stays bright and clear all evening.
Dried Orange Garland

- Slice oranges about one quarter inch thick and pat them dry
- Bake at 200 degrees Fahrenheit for 2 to 3 hours, flipping once
- Lay the slices along a pine runner with cinnamon sticks
- Store spare slices in a sealed glass jar for a few weeks
Dried orange slices glow like stained glass when candlelight hits them, and they cost almost nothing at all to make. Slice oranges about one quarter inch thick, pat them dry with a clean paper towel, and bake them at 200 degrees Fahrenheit for 2 to 3 hours, flipping once halfway through. Lay the slices in a loose line along a pine runner with cinnamon sticks tucked between them, and the table smells of citrus and spice before anyone sits down. The slices keep for a few weeks in a dry place, so make them early.
Going low and slow is the secret, because a hot oven browns the slices instead of drying them. Blot each slice thoroughly with a paper towel before it goes in, and check every 30 minutes after the first two hours, since thin slices dry faster than thick ones. Prop the oven door open an inch or two with a wooden spoon so the humidity escapes. When the slices feel dry and no longer sticky, let them cool completely on the tray, then store the spares in a sealed glass jar in a dry cupboard.
Pinecone Wood Bowl
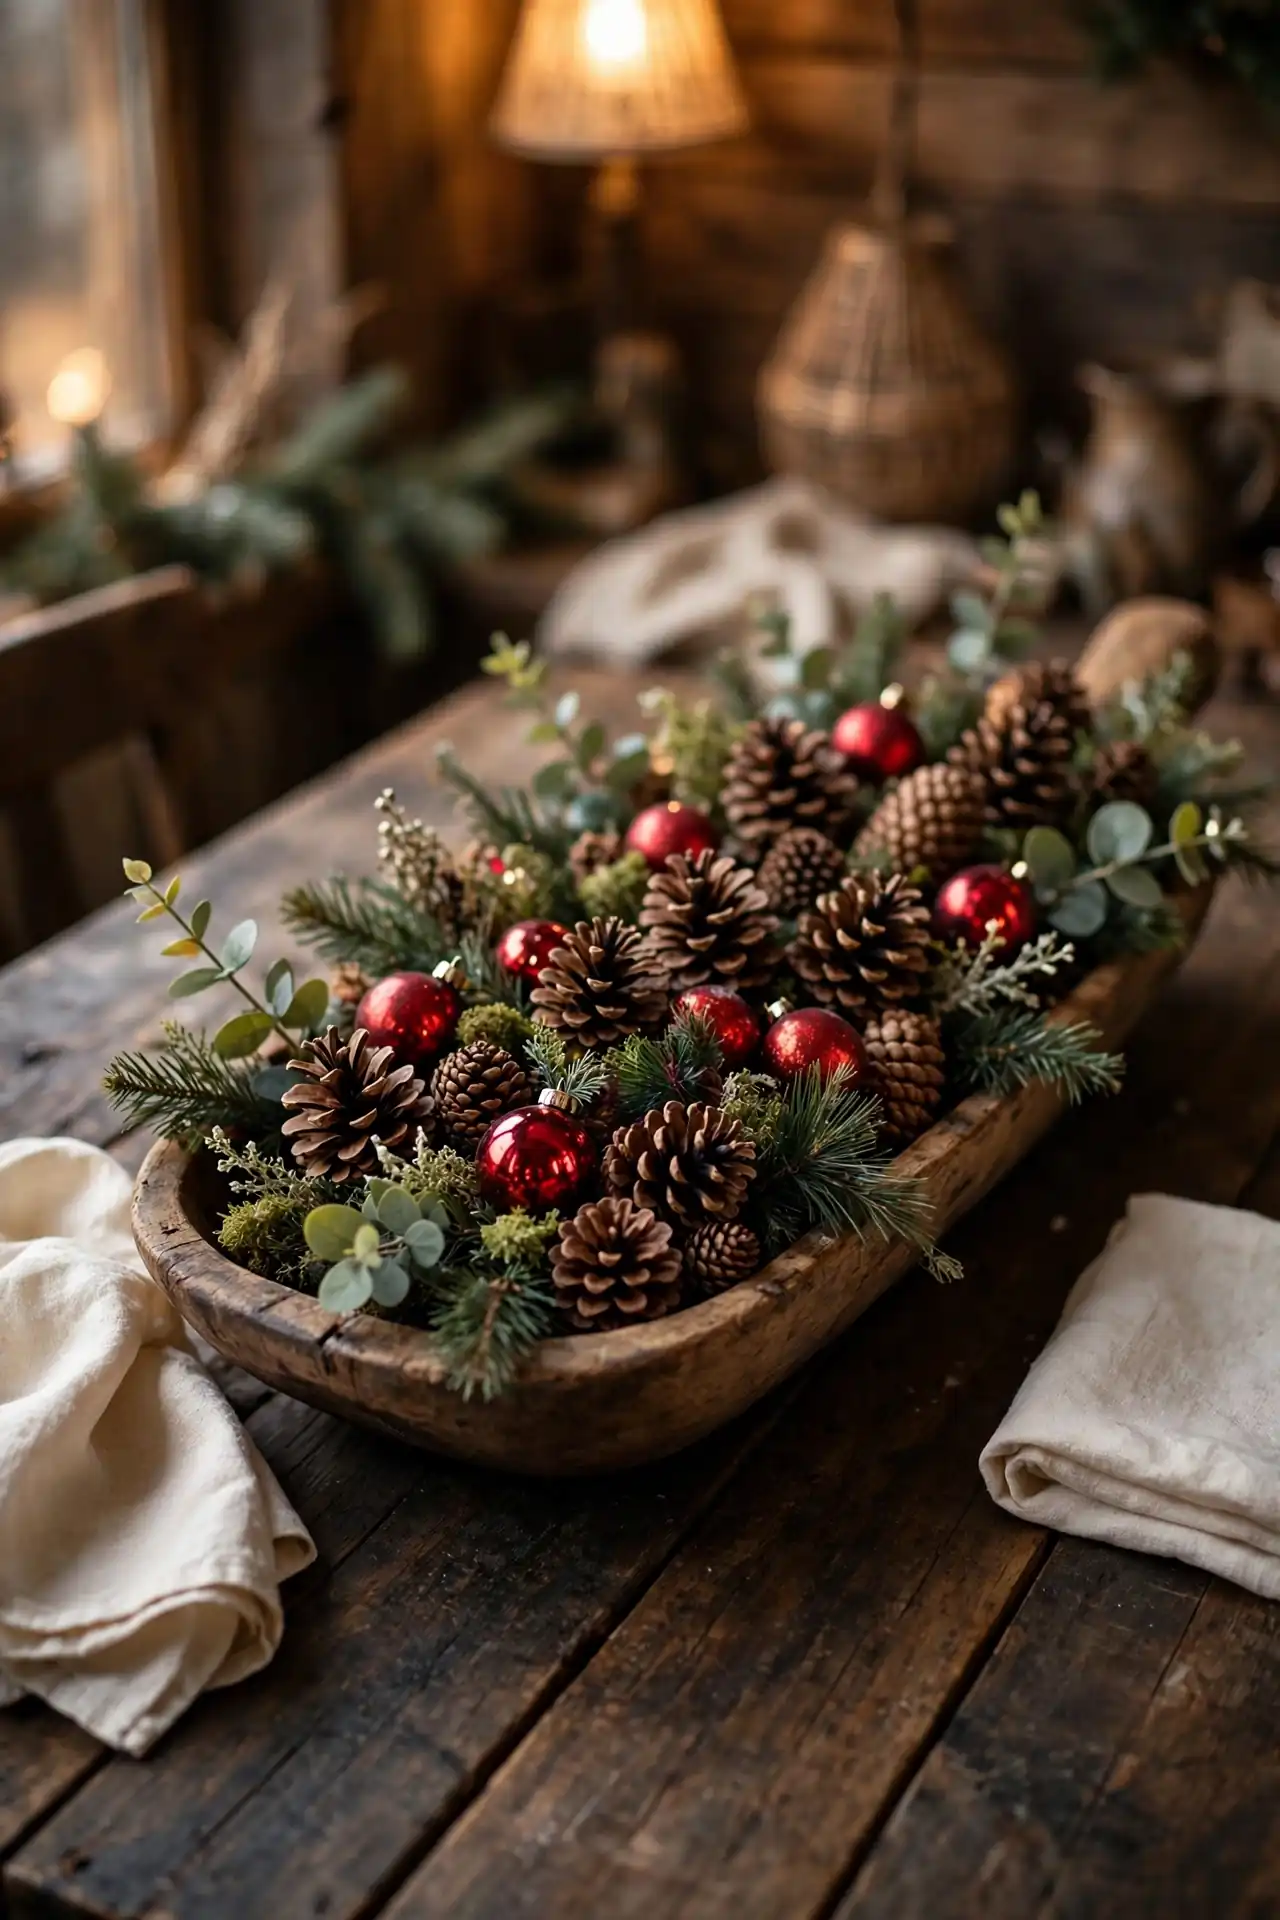
- Fill a wooden dough bowl about 16 to 20 inches long with pinecones
- Use 12 to 15 pinecones in mixed sizes, with a few small ornaments
- Tuck in sprigs of faux greenery so no bare wood shows
- No water needed, and the whole bowl packs away for next year
A wooden bowl full of pinecones is the centrepiece that asks nothing of you all month long. Fill a long wooden dough bowl about 16 to 20 inches long with 12 to 15 pinecones in mixed sizes, add a few small shiny red ornaments, and tuck in sprigs of faux greenery so no bare wood shows. There is no water to change, no flame to watch, and nothing to wilt, which makes it the safest choice for a table with children. The bowl sits low, so conversation flows straight across it.
The before and after is the whole point, because an empty bowl looks plain while a full one looks gathered and warm. Pick pinecones with open scales, since closed ones look like plain brown lumps, and mix two sizes so the bowl reads as collected from a walk rather than bought in a shop. If a pinecone sheds, shake it outside before it goes in the bowl, and brush off any loose dirt. When January comes, lift the bowl off the table and store it whole in a cupboard, ready to set out again next December without any extra work.
Paperwhite Pot Display
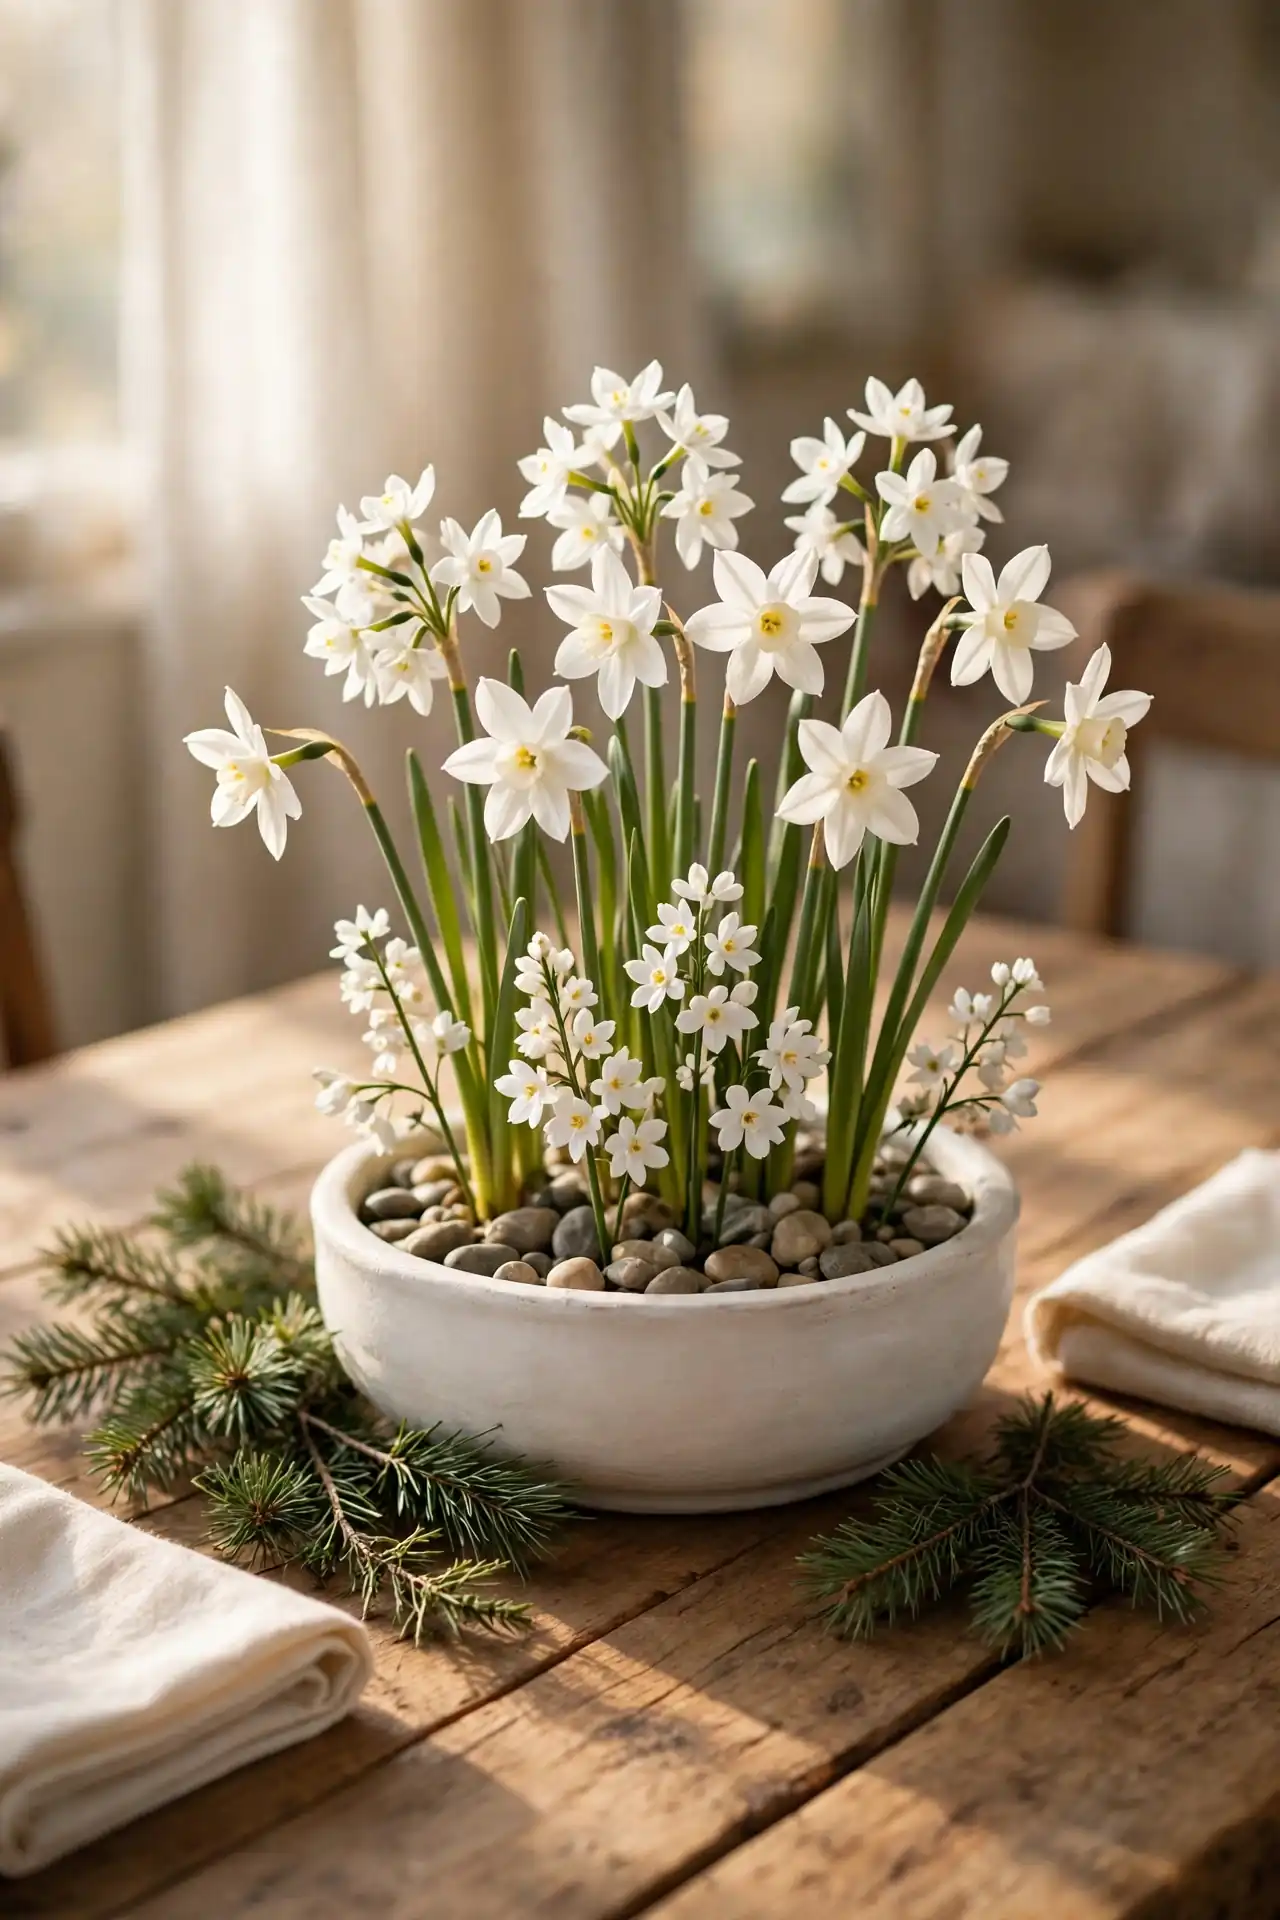
- Plant paperwhite bulbs 3 to 5 weeks before Christmas for blooms on the day
- Set six bulbs in a 6 to 8 inch pot or a shallow dish of pebbles
- Keep them cool and dim, around 60 to 65 degrees, for the first 1 to 2 weeks
- Use a dilute alcohol solution once shoots are a couple of inches tall
Paperwhites are the only centrepiece that grows while you wait, and they ask for almost nothing at all. Plant the bulbs 3 to 5 weeks before Christmas, six bulbs in a 6 to 8 inch pot or a shallow dish with 2 to 3 inches of pebbles and water. Keep them somewhere cool and dim, around 60 to 65 degrees, for the first 1 to 2 weeks so the roots build before the shoots stretch. The white star flowers open in clusters, and their sweet scent drifts gently across the table all evening.
Timing is everything here, because bulbs planted too early finish before the guests arrive. Start a new small dish every 10 to 14 days from mid November, and by the time one batch fades the next is opening. Once the shoots are a couple of inches tall, water with a dilute alcohol solution, about one part 70 percent isopropyl to ten parts water, which keeps the stems short and strong instead of tall and floppy. Keep the bulbs away from dogs and cats, since the bulbs are the most poisonous part.
Amaryllis Showpiece Pot
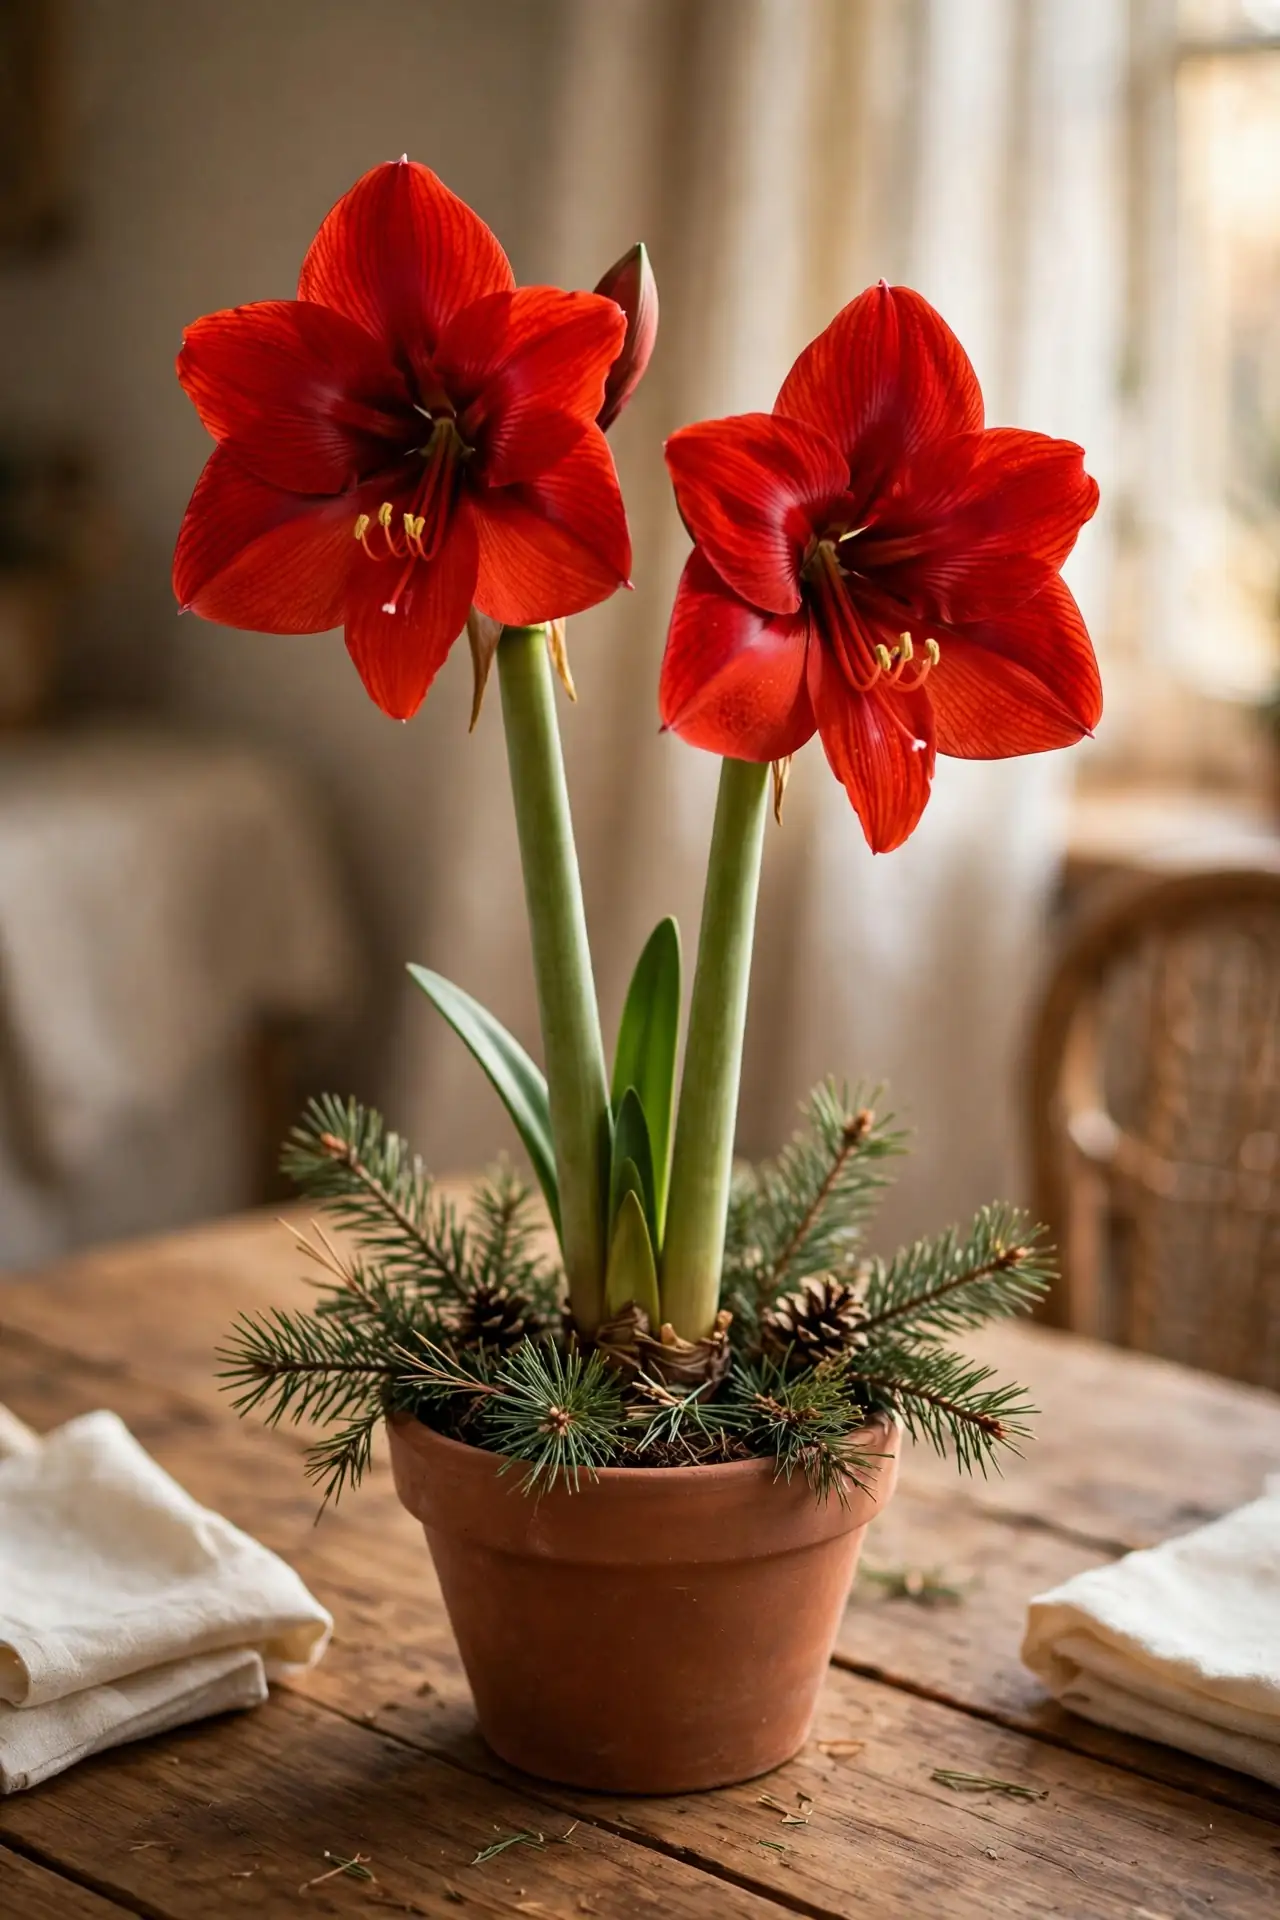
- Pot an amaryllis bulb 6 to 8 weeks before Christmas for blooms on the day
- Choose a top size bulb around 26 to 28 cm, which usually throws two stalks
- Use a pot just 1 to 2 inches wider than the bulb, top third exposed
- One stalk carries up to four huge lily like blossoms
An amaryllis is the showpiece centrepiece, because one bulb produces blooms the size of a dinner plate. Pot it 6 to 8 weeks before Christmas, in a pot just 1 to 2 inches wider than the bulb, with the top third of the bulb exposed above the soil. A top size bulb around 26 to 28 cm in circumference will usually throw two flower stalks instead of one, and each stalk carries up to four huge lily like blossoms. The tall stems rise above the table like a living sculpture.
The patience pays off, because amaryllis runs on a fixed clock that does not care how busy December gets. Plant by early November for Christmas colour, water lightly until a shoot appears, then water as the surface dries and never let the pot sit in standing water. Keep the pot where the flowers can be seen from every seat, since the blooms face outward and turn toward the light all day. When the flowers fade, cut the stalk down and keep the bulb in a cool dry place, because it can bloom again next year with a little care.
Ornament Glass Bowl

- Fill a wide glass bowl with 12 to 15 ornaments in mixed sizes
- Stick to two colours only, such as red and gold, so the bowl reads calm
- Lay a bed of faux greenery underneath so no glass shows bare
- Keep candles out of the bowl, since ornaments and flame do not mix
A glass bowl of ornaments is the fastest centrepiece in this list, because it takes about two minutes and no skill at all. Fill a wide glass bowl with 12 to 15 ornaments in mixed sizes, lay a thick bed of faux greenery underneath, and the bowl is done. Stick to just two colours only, such as red and gold, because a bowl of every colour looks like a toy box while two colours look chosen. The clear glass shows the ornaments from every side, so the bowl works well from any seat.
The colour discipline is what separates a smart bowl from a messy one, so hold the line when you shop and do not add a third colour at the last minute. Mix matte and shiny finishes in the same two colours, and add a few small pinecones to break up the shine. Keep the bowl low and wide rather than tall and narrow, since a tall bowl blocks faces across the table. When the season ends, lift the ornaments out, wrap them in tissue, and the same bowl serves summer fruit on the same table.
Mini Village Scene
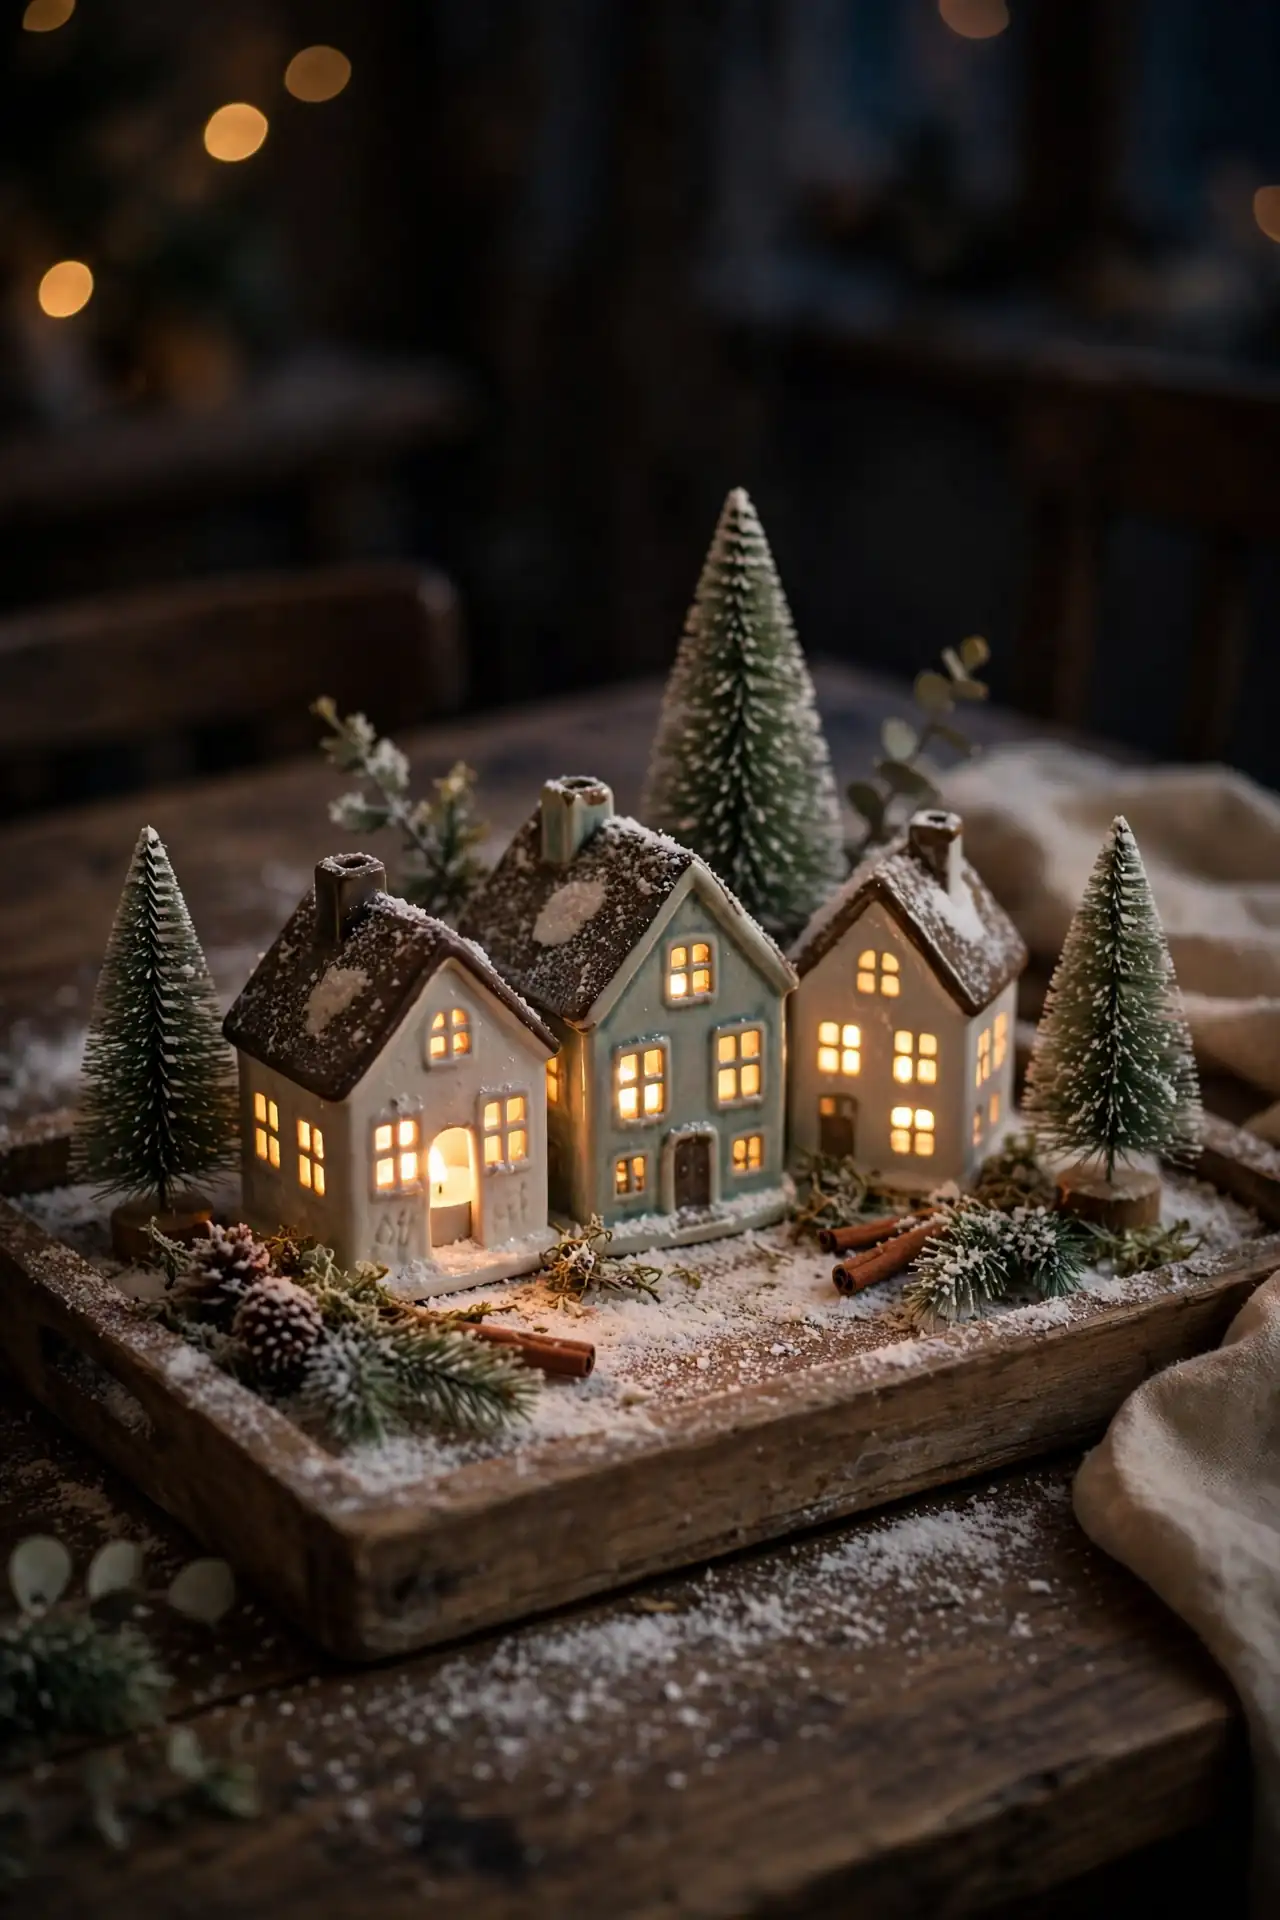
- Build the scene on a wooden tray so it lifts off in one move
- Place the tallest house at the back and the smallest at the front
- Add 3 to 5 bottle brush trees and a spoonful of faux snow
- Set one battery tea light inside each house so the windows glow
A tiny village turns the middle of the table into a story, and guests lean in to look. Build it on a wooden tray with two or three small ceramic houses, place the tallest at the back and the smallest at the front, and add 3 to 5 bottle brush trees between them. Dust the tray with a spoonful of faux snow so the houses look planted, and set one battery tea light inside each house so the windows glow after dark. The whole scene fits on a tray barely wider than a serving dish.
The layering is what makes the difference between a village and a row of boxes, so build from the back. Put the tallest house at the back of the tray and the smallest at the front, so the village reads from every seat in one glance. Do not crowd it, because three houses with space between them look like a village, while six packed tight look like a toy box tipped over. Keep the tea lights on a timer so they switch off by themselves, and the tray stays safe even when the room is empty.
Hurricane Pillar Glow

- Set a real pillar candle inside a tall glass hurricane on a sturdy base
- Keep the flame below the rim of the glass
- Leave 12 inches of clear space around the hurricane in every direction
- Blow the candle out before bed and whenever the room empties
A pillar inside a glass hurricane is the safest way to burn a real candle indoors, and it is also one of the prettiest. The glass doubles the flame in reflection, so one candle looks like two, and the hurricane keeps the flame away from sleeves, napkins and dry greenery. Set the pillar on a flat sturdy base inside the glass, with the flame below the rim, and leave 12 inches of clear space around it in every direction. The light is warm and steady, not flickering in every draft.
The clear zone is the rule that matters most, because more than half of home candle fires start when something that can burn sits too close to the flame. Measure the 12 inches from the flame itself, not from the base of the glass, and keep greenery, ribbons and paper well outside that clear circle. Trim the wick to one quarter inch before lighting so the flame stays small and steady. Blow the candle out every night before bed and whenever the room empties, since December is the peak month for candle fires.
Eucalyptus Bud Vases
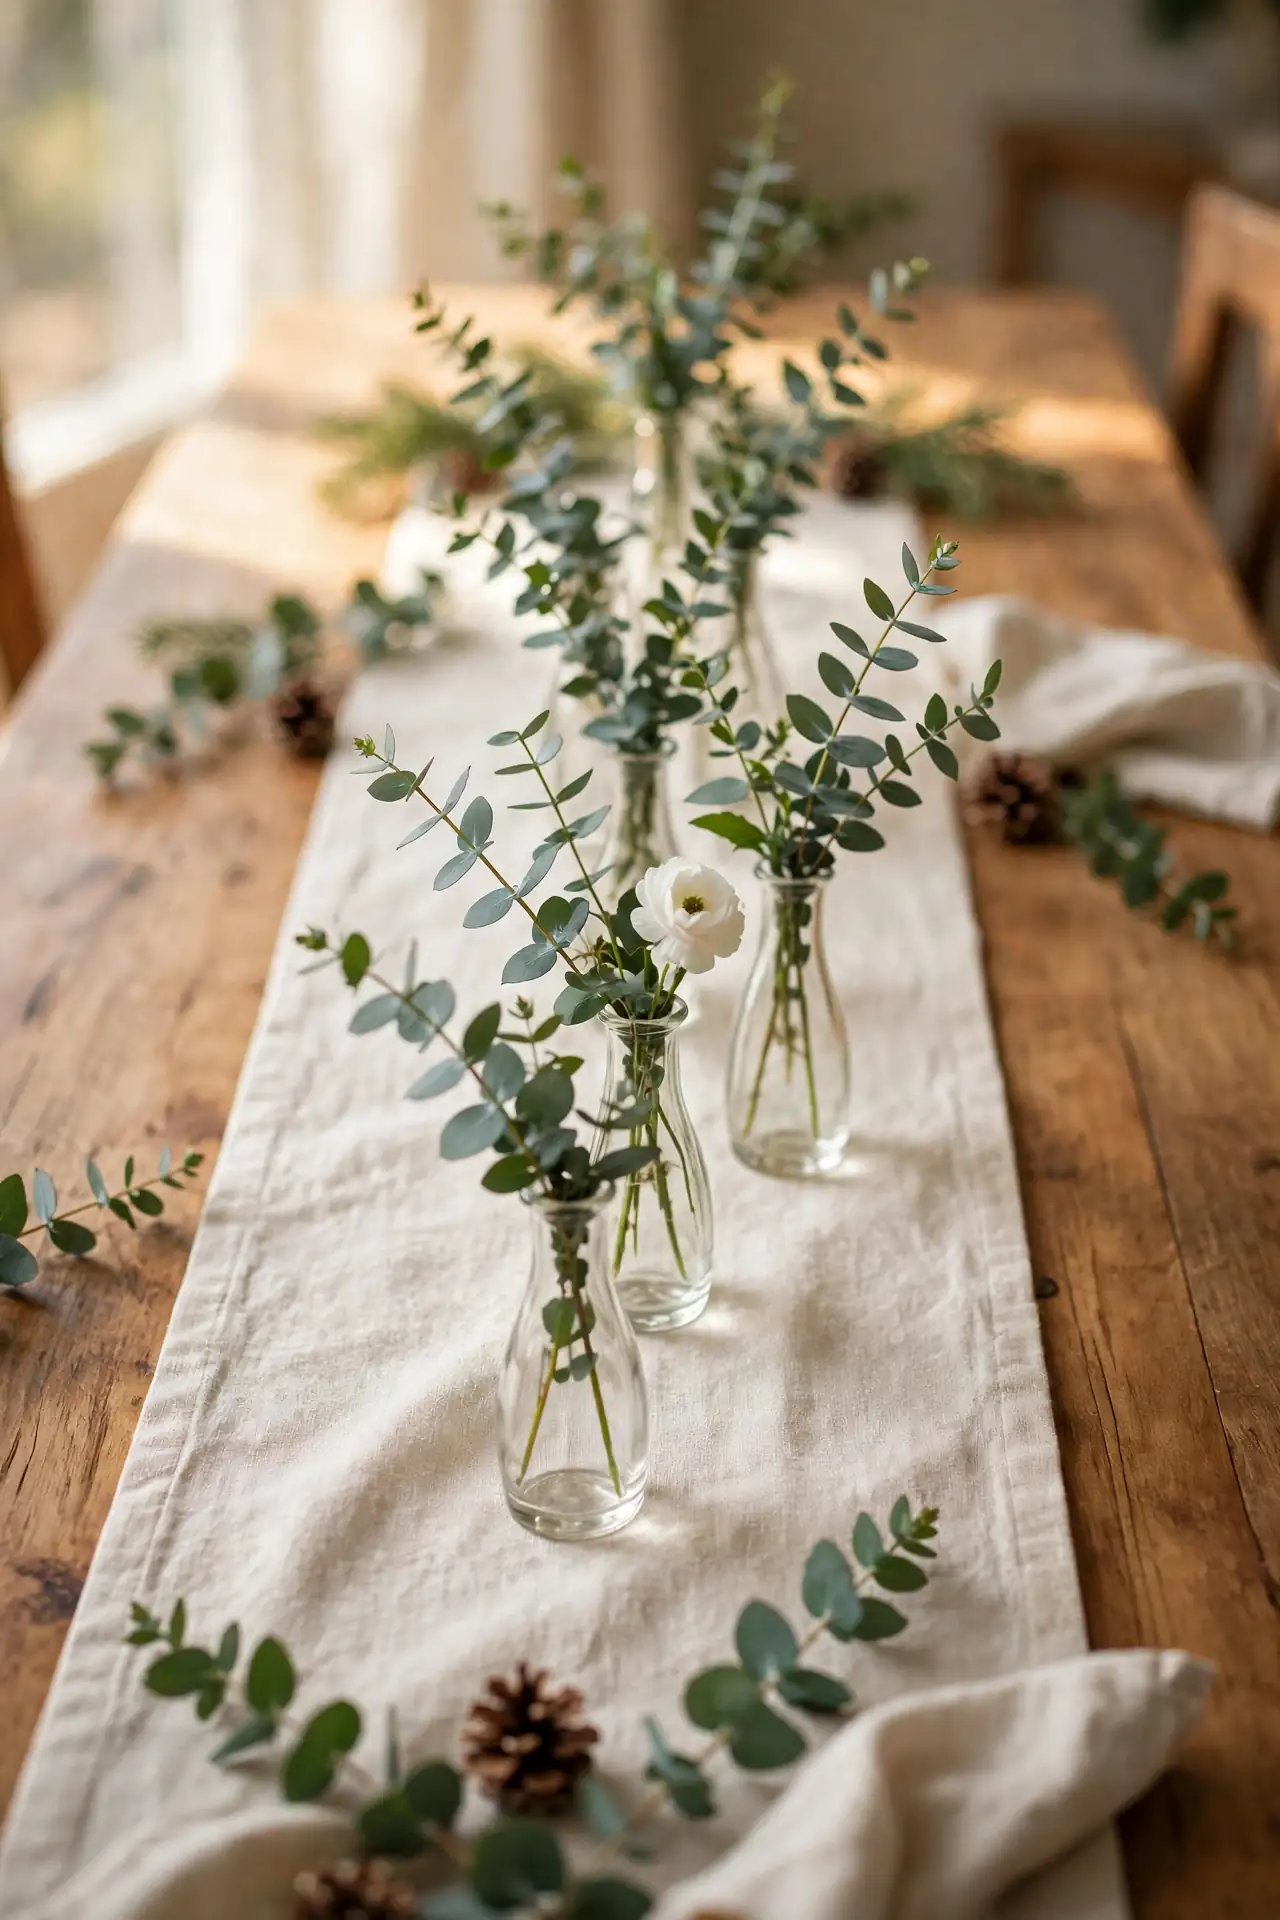
- Line up 3 to 5 small bud vases down the centre of the table
- Put one eucalyptus sprig in each vase, no water needed
- Space the vases about a foot apart so each one gets its own patch of table
- Fresh eucalyptus keeps its shape for two to three weeks out of water
A row of bud vases is the centrepiece for a table that needs to stay simple, because each vase holds just one sprig. Line up 3 to 5 small bud vases down the centre, put one eucalyptus sprig in each, and space them about a foot apart so each one gets its own patch of table. Fresh eucalyptus keeps its shape for two to three weeks out of water, and it dries gracefully instead of wilting, so the row looks good from the first dinner to the last. The silver green leaves suit any colour scheme.
The beauty is how little space it takes, because five small vases use less width than one wide arrangement. Serving dishes fit easily on either side, and the vases lift off one by one when the food arrives, then go straight back after. If a sprig starts to curl, swap it for a fresh one from the same bunch, since eucalyptus is sold in generous bundles that last for weeks. Add one small white flower to a single vase if the row feels too plain, and leave the rest green and simple.
Berry Wreath Ring
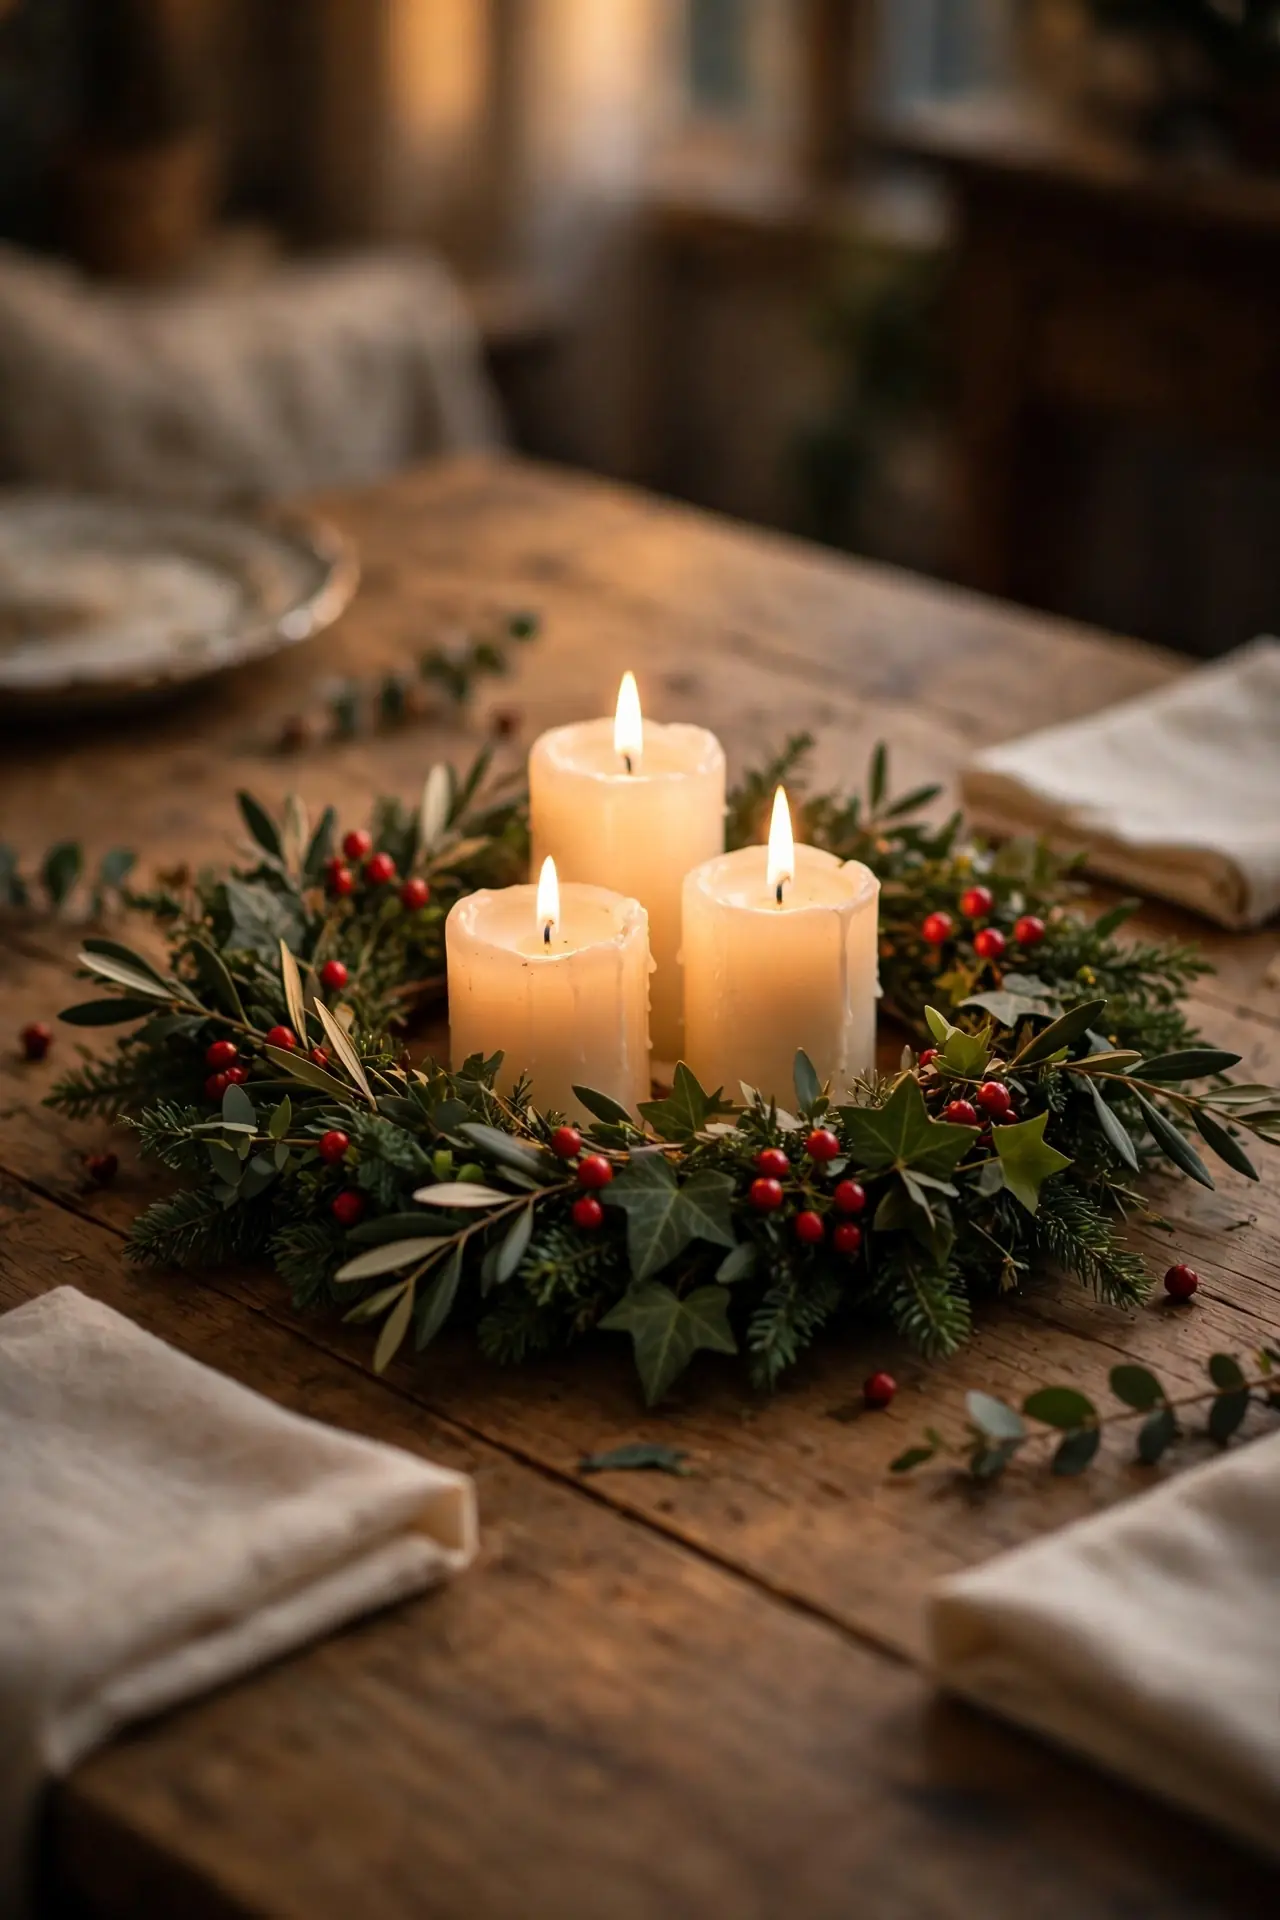
- Lay a small wreath ring flat in the centre, 12 to 14 inches across
- Set three pillar candles inside the ring, not tucked into the greenery
- Use flameless candles if any greenery touches the flame
- Mist the wreath every 2 to 3 days so the berries stay bright
A wreath laid flat makes a perfect natural ring for candles, because the circle frames the light. Lay a small fresh wreath ring flat in the centre of the table, 12 to 14 inches across, and set three short pillar candles inside the ring. The red berries and green leaves circle the flames like a frame, and the whole thing reads as one finished piece of decor instead of separate parts. Keep the candles right in the middle, not tucked into the greenery, so no flame ever touches a dry leaf.
The safety rule is simple here, because fresh greenery dries indoors within days and a real flame inside it is a hazard. If any leaf or berry touches a candle, use flameless LED candles in the ring instead, which give the same warm glow with no flame at all. Mist the wreath lightly every 2 to 3 days so the berries stay bright and red, and keep it away from heat vents. When the meal ends, lift the ring off the table and hang it on the wall, where it works twice as hard.
Gingerbread House Center
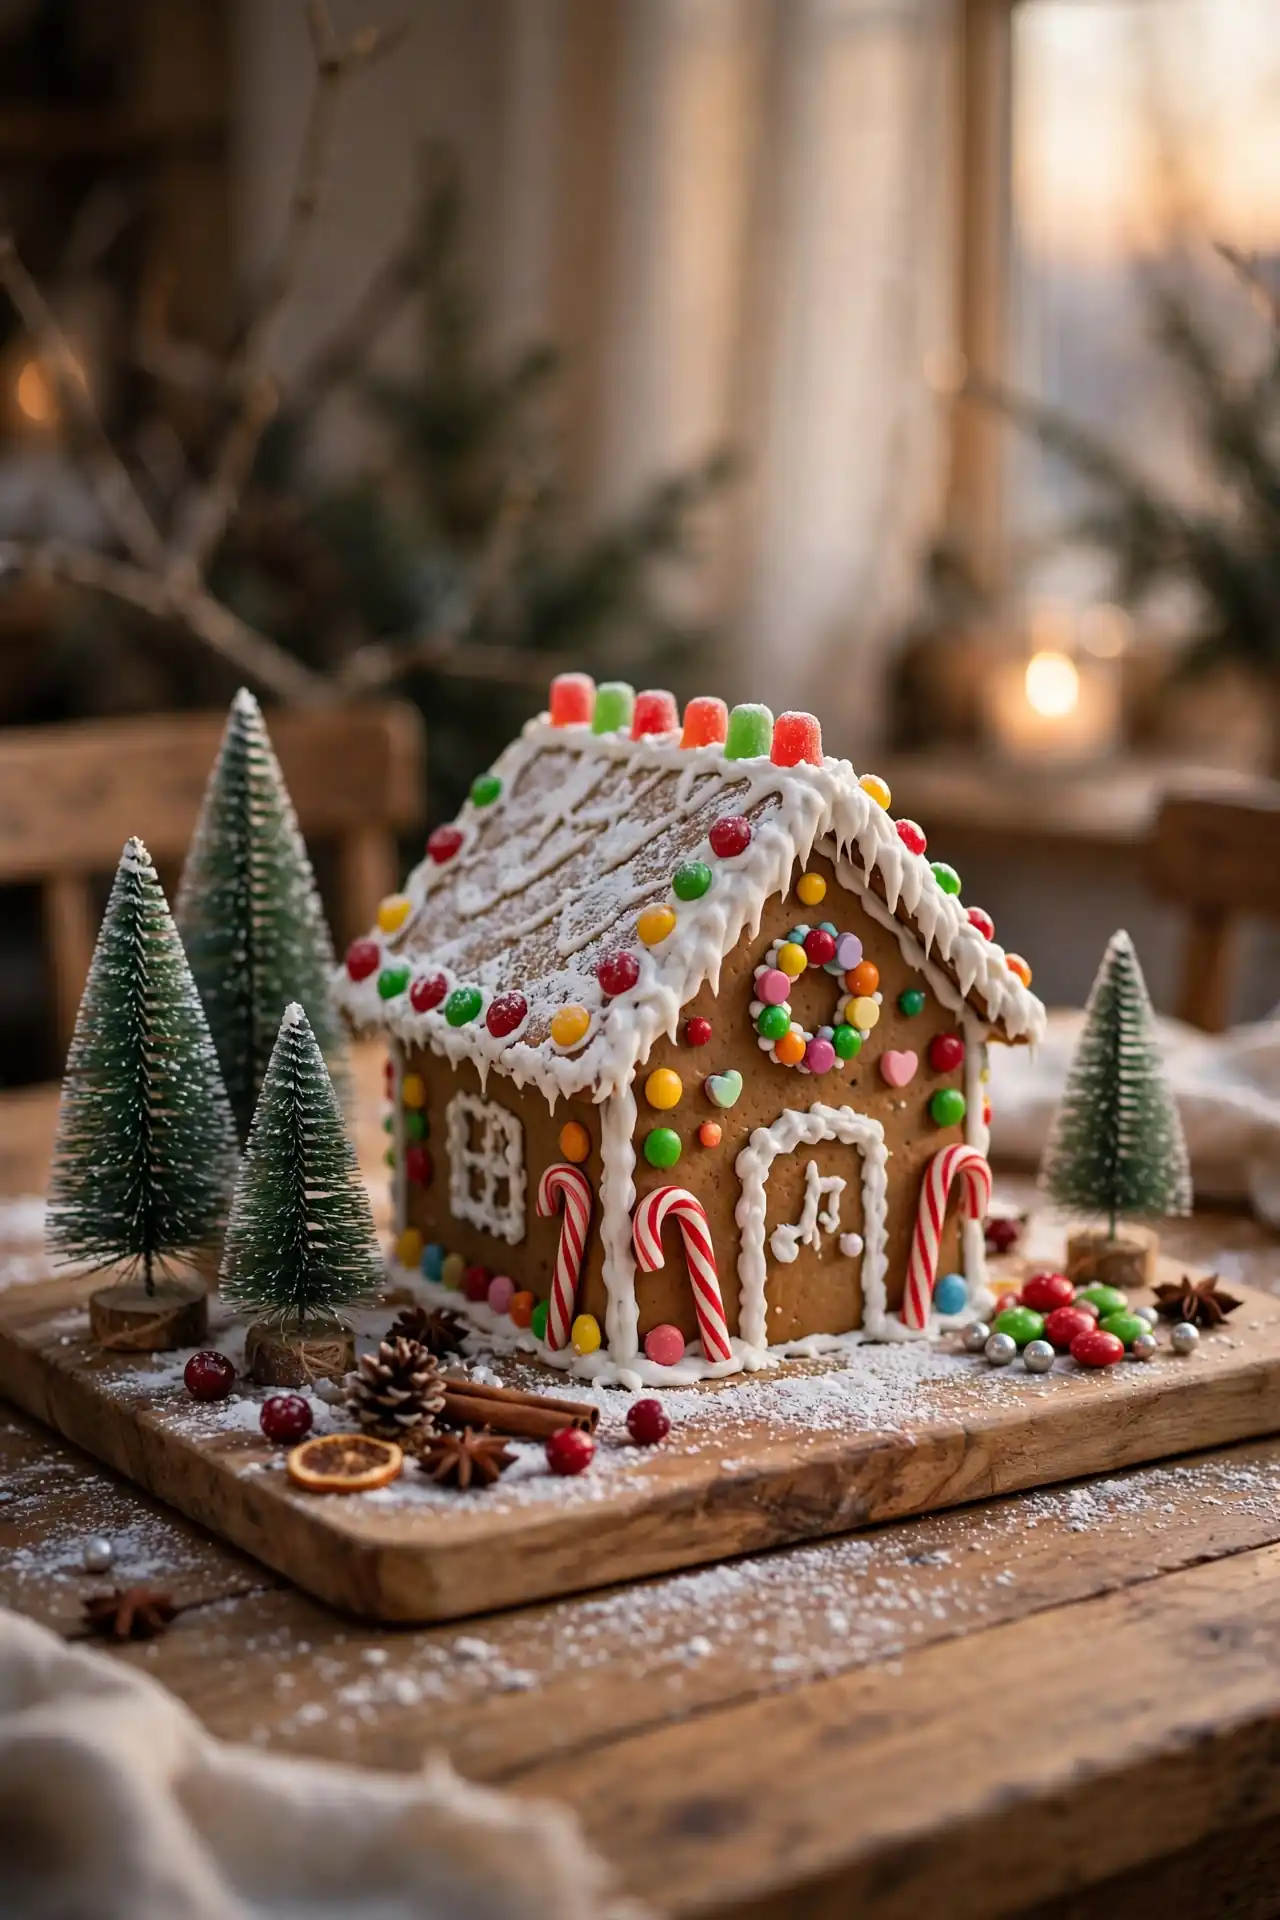
- Build the house on a sturdy board about 12 inches square
- Bake the walls one evening and assemble them the next day
- Keep the house about 8 to 10 inches tall so it never blocks faces
- Let children add the candy details, and keep the house dry
A gingerbread house is the centrepiece that doubles as dessert conversation, because everyone wants to look at it closely. Build it on a sturdy board about 12 inches square, bake the walls one evening and assemble them the next day, so the icing has time to set hard. Keep the house about 8 to 10 inches tall so it never blocks faces across the table, and let children add the candy details, since their uneven rows are part of the charm. Dust the board with icing sugar so it looks like snow.
The staging is what saves the project, because rushing the whole thing in one evening ends with sliding walls and sticky hands. Bake the wall and roof pieces first, let them cool fully, then glue them with thick royal icing and leave the house quite alone overnight before decorating. Keep the finished house somewhere dry, since humidity softens the walls, and set it in the middle of the table where every seat gets a good view. When the meal ends, the house moves to the sideboard for display and keeps working hard all week.
Mercury Glass Glow
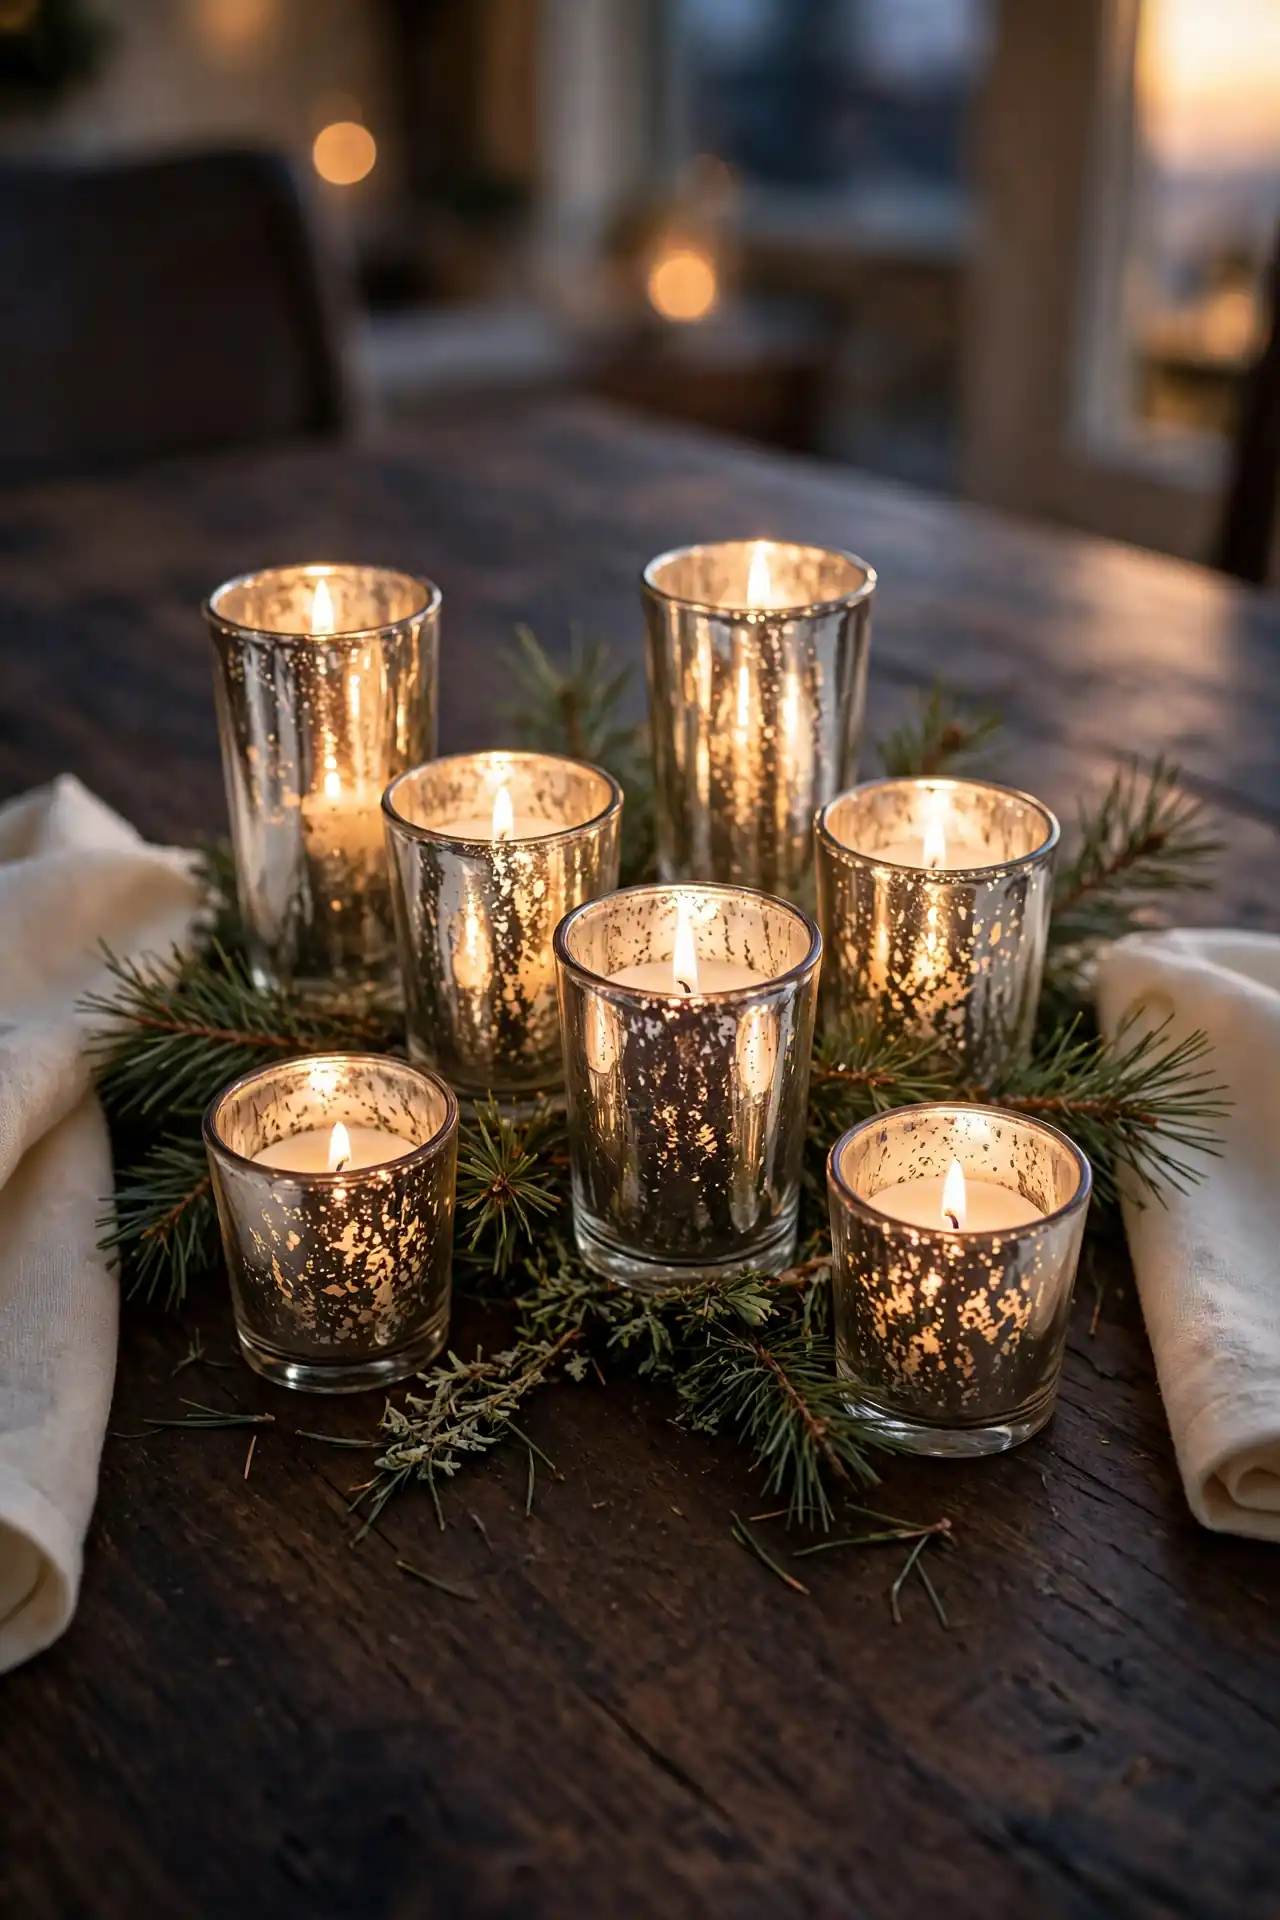
- Group 5 to 7 mercury glass votives in the centre, odd numbers look best
- Mix two heights so the light falls at different levels
- Use flameless tea lights inside so the glass never gets hot
- The mirrored glass doubles every flame, so a few votives light the table
Mercury glass turns a handful of tea lights into a chandelier, because the mirrored surface doubles every flame and throws the light in all directions. Group 5 to 7 votives in the centre, since odd numbers look best, and mix two heights so the light falls at different levels instead of one flat line. Use flameless tea lights inside, so the glass never gets hot and the votives can sit close together without worry. The silvered glass catches the lamplight too, which means the table glows even before the candles switch on for the evening.
The grouping is what makes it work, because one lone votive looks lost while five look like a collection. Cluster them tight together in the middle, with the tallest votives at the back and the shortest at the front, so the light layers instead of lining up flat. Add a few fresh sprigs of greenery between the votives if the group feels bare, but keep the leaves well clear of any real flame. When the evening ends, the votives pack neatly into one small box, ready for next year again.
Tiered Cake Stand
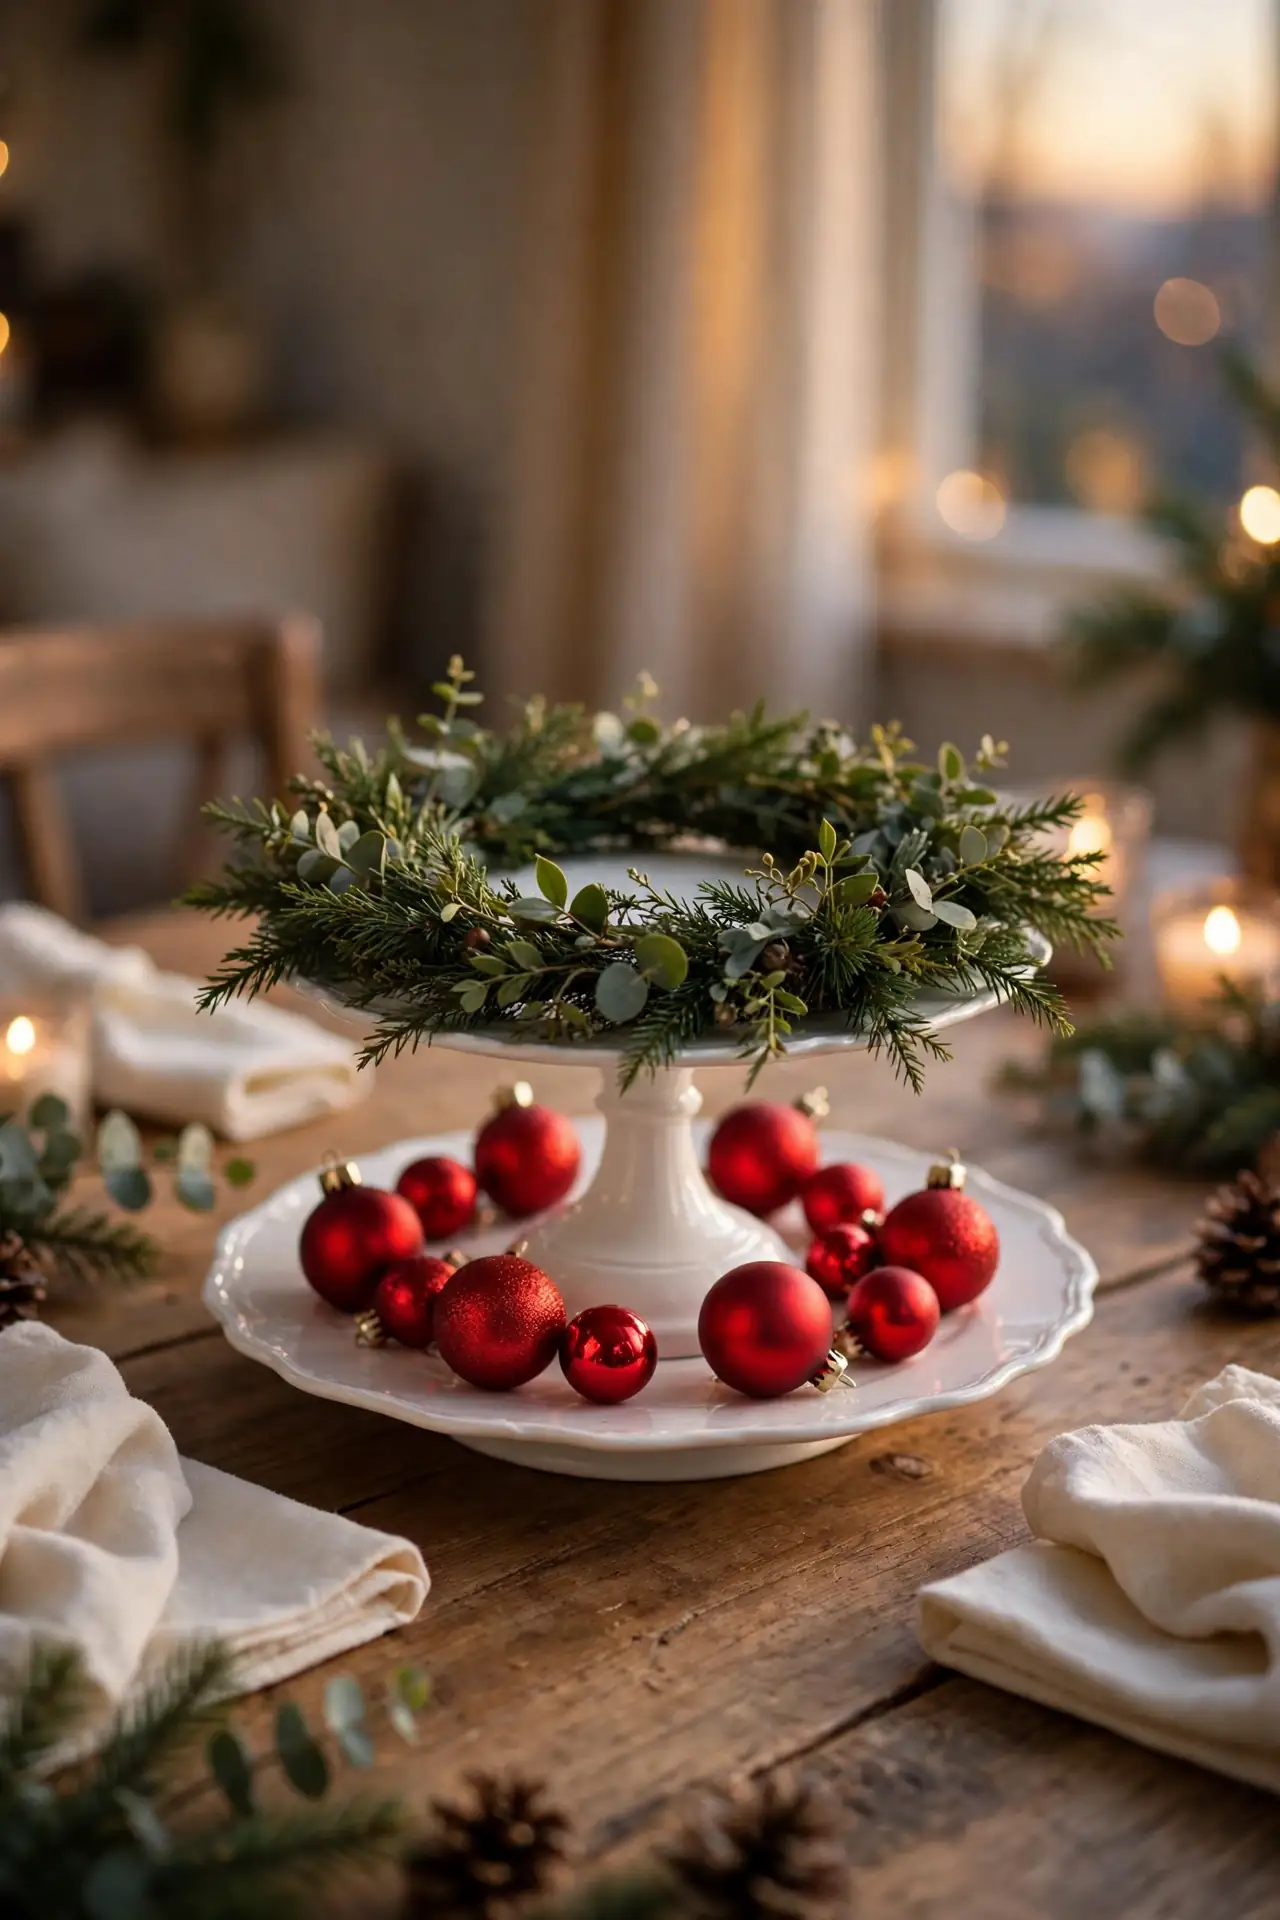
- Set a two tier cake stand in the centre of the table
- Fill the lower tier with ornaments and the upper tier with greenery
- Keep the whole stand under 12 inches tall so faces stay visible
- The open stand lifts off in one move when the food arrives
A two tier cake stand turns the centrepiece vertical without blocking a single face, because the stand is open all the way through and the eye passes straight past it. Fill the lower tier with ornaments and the upper tier with greenery, and keep the whole stand under 12 inches tall so guests can see each other across it. The layers give the table height and interest, while the open frame lets eyes and conversation pass straight through. It looks arranged and thoughtful, not crowded, which is the whole point of a good centrepiece.
The lift off is the practical win, because a stand moves as one piece when the food arrives and the table needs room. Carry it to the sideboard, set the serving dishes down, and carry it back for pudding without rebuilding anything at all. Choose a stand with a heavy base so it cannot tip when someone reaches across, and keep the top tier light, since a heavy top makes the stand wobbly. A white ceramic stand suits any colour scheme, and a clear glass one disappears against the table.
Candlelit Tray Trio
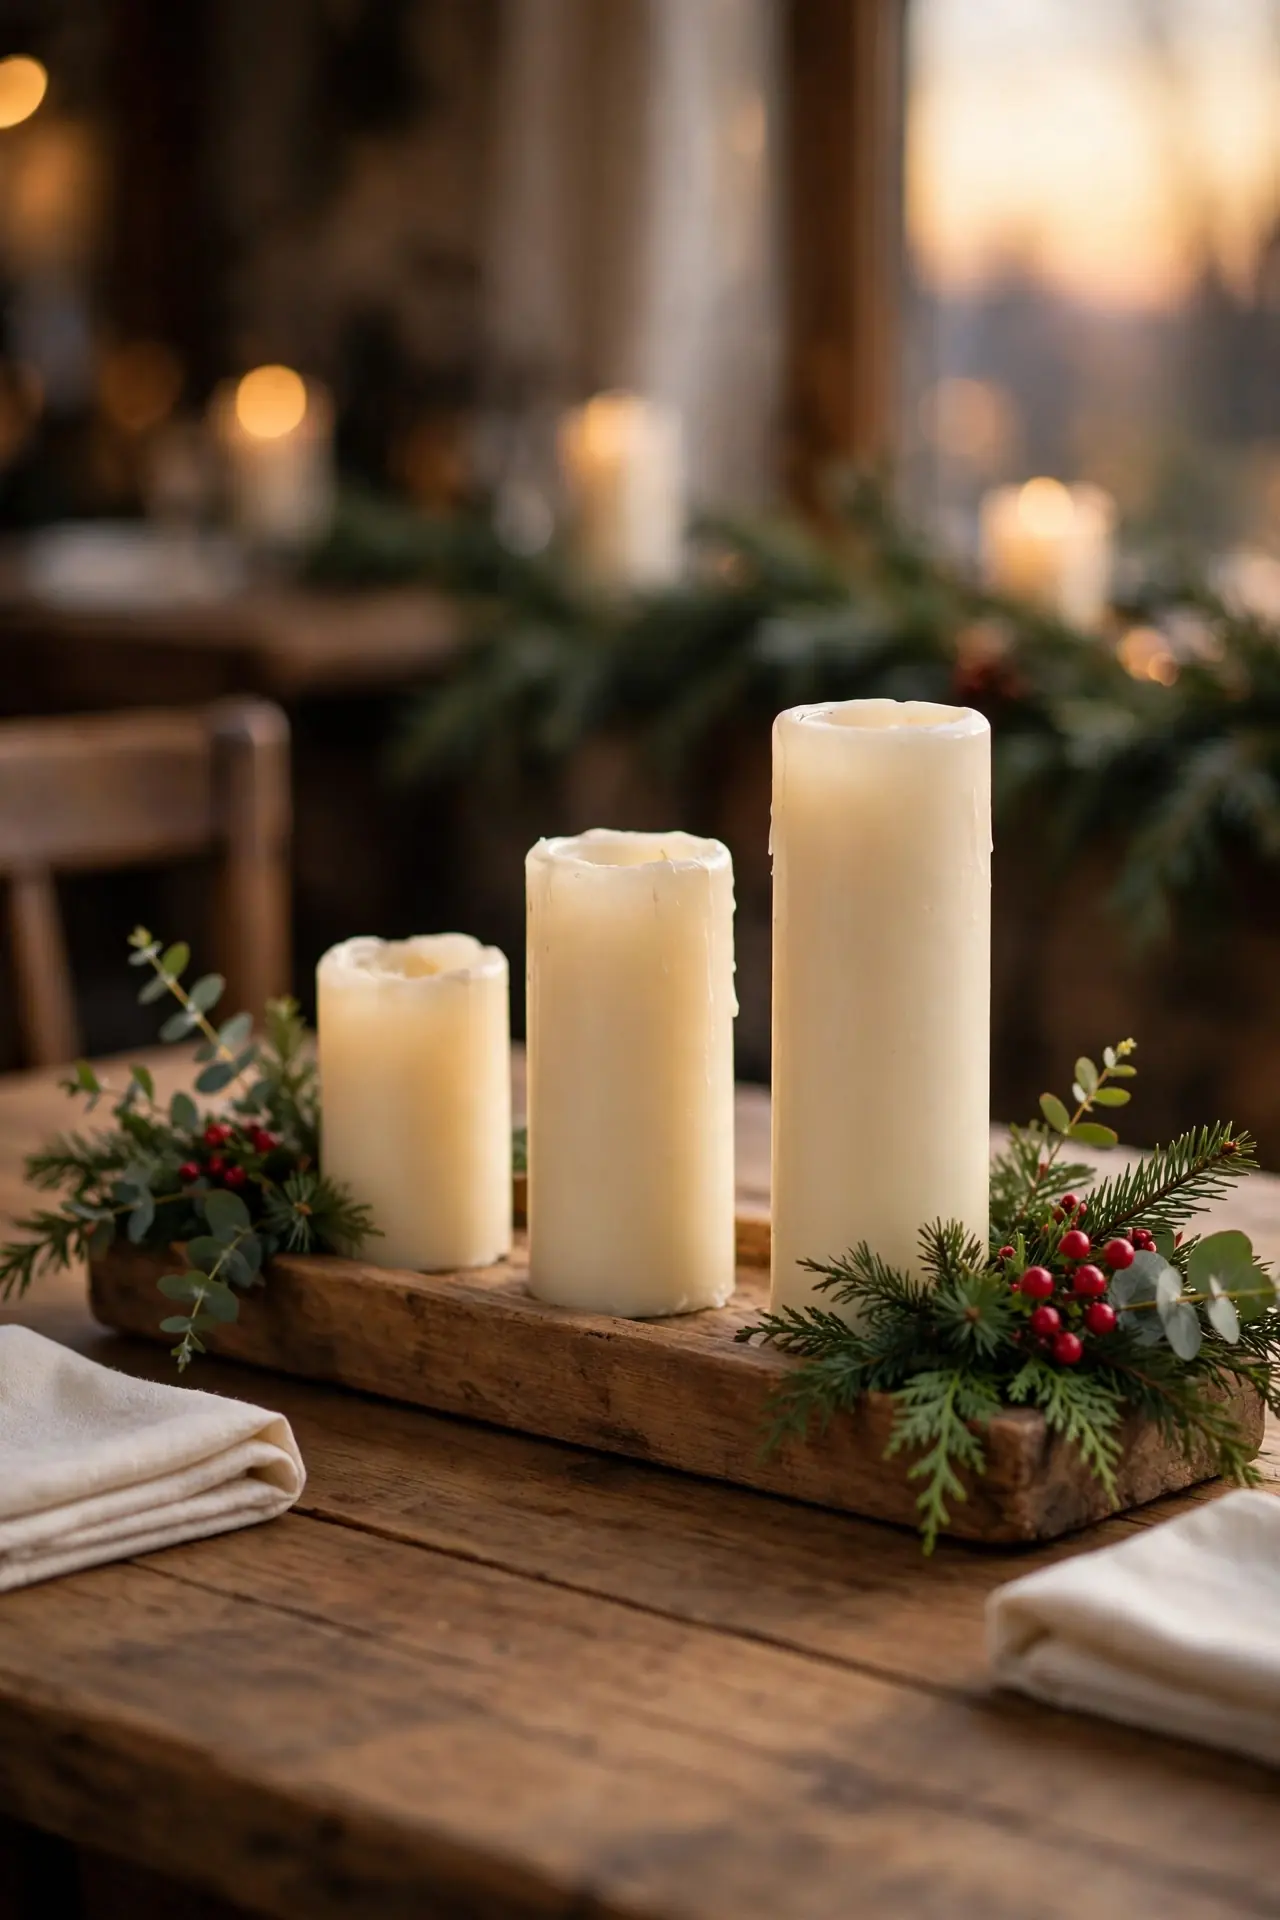
- Set a wood or metal tray about 16 to 20 inches long in the centre
- Stand three pillar candles on it in 3, 6 and 9 inch heights
- Lay greenery at the two ends of the tray, never between the candles
- Keep every flame at least 12 inches from anything that can burn
A tray with three pillars in different heights is the classic centrepiece for a reason, because the steps of light look planned. Set a wood or metal tray about 16 to 20 inches long in the centre, and stand three flameless pillars on it in 3, 6 and 9 inch heights. Lay the greenery at the two ends of the tray, never between the candles, and add a few red berries to tie the ends together. The tray catches drips and lifts off in one move, which is why it suits a busy table.
The height steps are the design, so resist the urge to make all three candles exactly the same size. The tallest at the back, the middle in the centre and the shortest at the front gives the eye a gentle little staircase to follow. Keep every flame at least 12 inches away from anything that can burn, and if the tray is too short for that gap, switch the real candles for flameless ones. Set the tray down on the table, step back, and check it from a seated height before you light anything.
Snowy Mason Jars
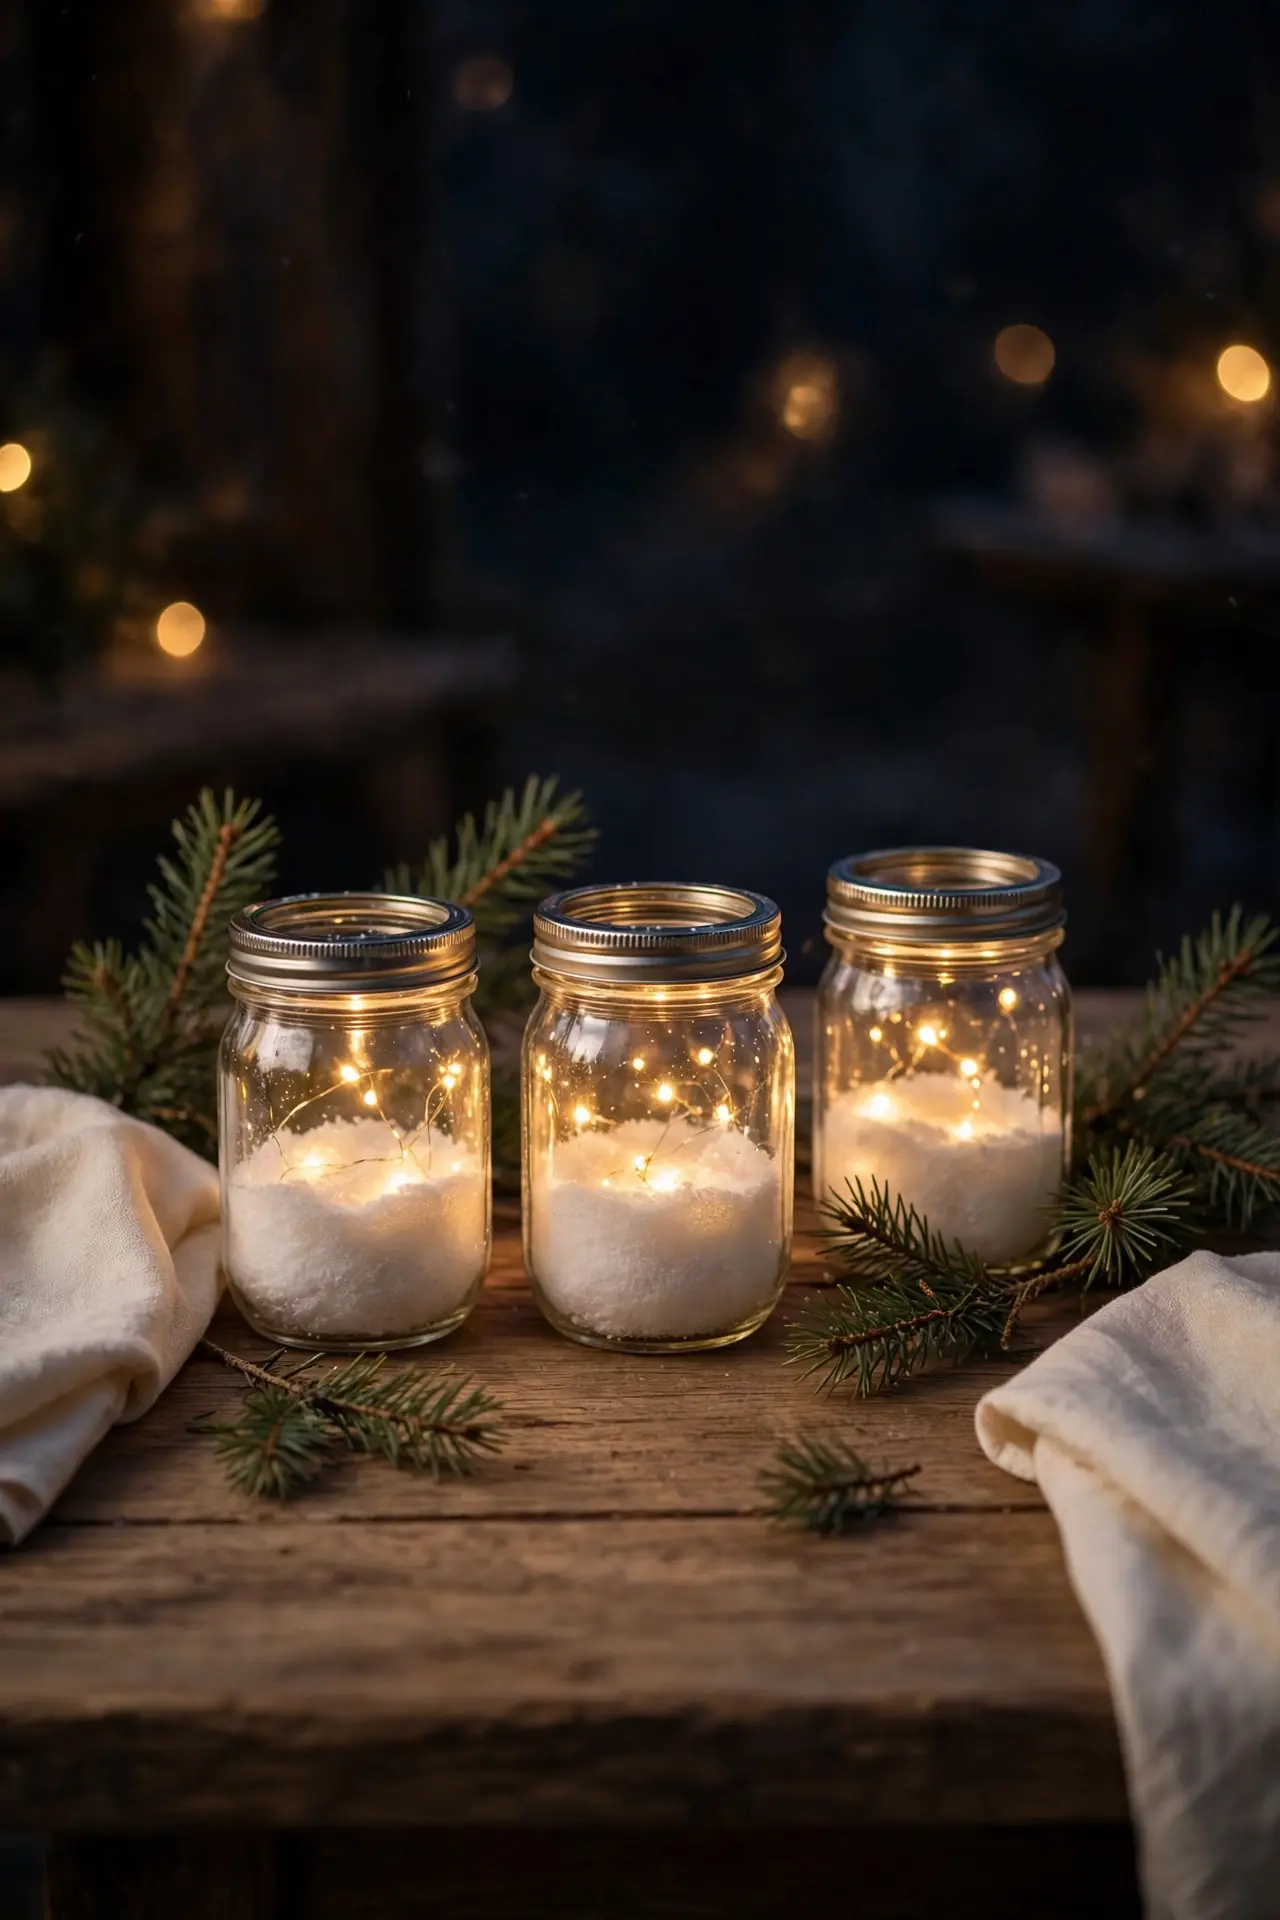
- Group three mason jars in the centre, odd numbers look best
- Fill each jar with a spoonful of faux snow and a battery fairy light strand
- Set the lights on a 6 hour timer so they switch off by themselves
- No flame, no wax, and the jars pack away for next year
Mason jars full of fairy lights look like snow globes, and they are the safest glow on this list. Group three jars in the centre, fill each with a spoonful of faux snow and a battery fairy light strand, and set the lights on a 6 hour timer so they switch off by themselves. There is no flame, no wax and no heat, so the jars can sit beside greenery, fabric or small hands without a second thought. The light shines through the snow and the glass, which makes the whole table sparkle.
The reuse is the quiet win, because these jars cost almost nothing at all and last for years. Coil each light strand gently around your hand when the season ends, pack the jars carefully in tissue, and next December the table is glowing again in about five minutes. If one jar looks dim, swap its batteries before the meal, since a weak strand shows next to a bright one. Add a fresh pine sprig or a cinnamon stick to each jar lid for scent, and the jars smell every bit as good as they look.
Conclusion
Start with the centrepiece that fits your table tonight, not the one that needs a whole weekend. A low cedar runner, three candles on a tray, or a bowl of cranberries can change how the whole table feels, and none of them asks for skill or a big budget. That is the heart of christmas table centerpieces, one clear focal point, low enough to talk across, and easy to lift away when the food arrives. Save this post on Pinterest, try one idea before the guests arrive, and share it with a friend whose table still looks bare.
FAQ
How tall should a Christmas table centerpiece be?
Keep the main body under 12 inches tall so guests can see each other across the table. Slim taper candles can stand taller, because you can see past them easily. Anything in the middle band, between 12 and 24 inches, blocks faces and should be avoided.
How long should a centerpiece be for my table?
About a third of the table length is the rule that works most often. For a 6 seat table around 160 to 180 cm long, that means a centrepiece about 55 to 60 cm long. On a small 4 seat table, 40 to 45 cm is enough, and on a long table over 72 inches, use two or three matching pieces spaced along it.
Can I use real candles in a centerpiece with greenery?
Only with a clear gap of at least 12 inches between the flame and anything that can burn, and never tucked into the greenery itself, since greenery dries indoors within days. If the layout is tight, use flameless LED candles instead, which give the same warm glow with no flame and no risk.
How far ahead can I make a fresh greenery centerpiece?
Fresh cedar, pine and fir hold for three to four weeks indoors if you soak the stems overnight first and mist them every 2 to 3 days. For the freshest look, build it 2 to 3 days before the meal, keep it away from heat vents and sunny windows, and mist it daily until the guests arrive.