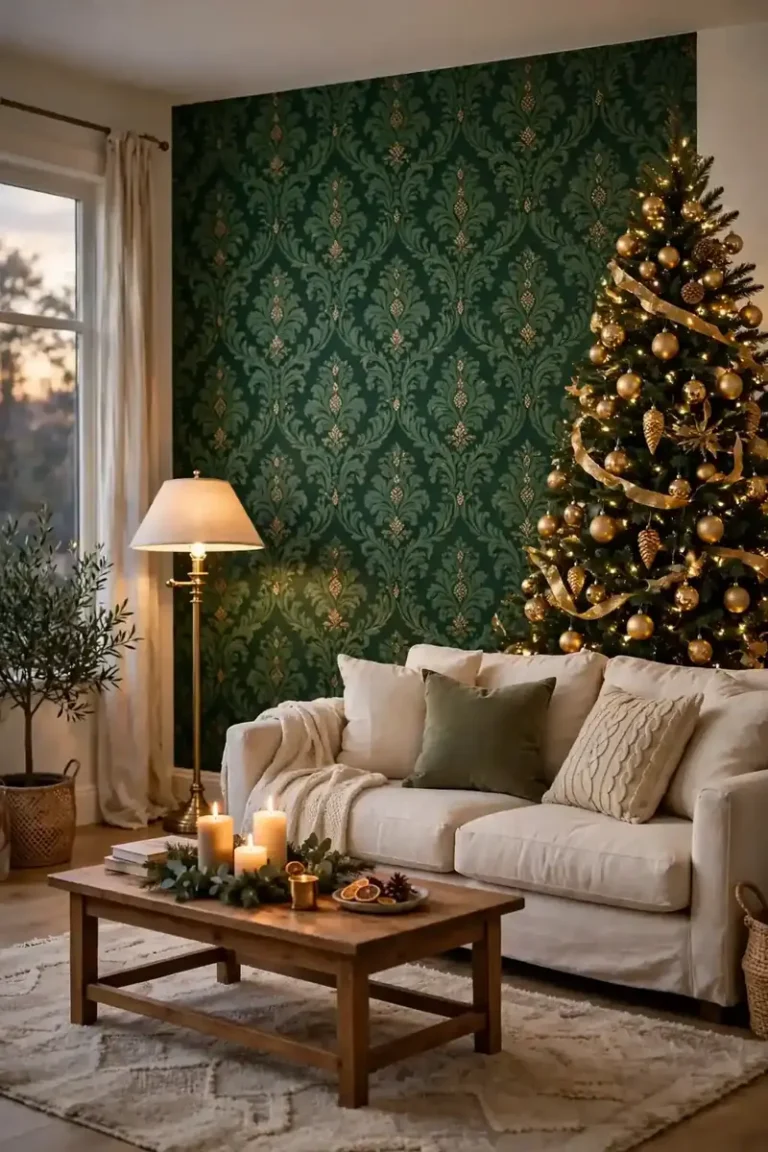
The coffee table is the first thing your eyes land on when you walk into the living room in December, so it deserves a little festive love of its own. These christmas coffee table decor ideas are made for real homes, the kind where mugs, remote controls and board games still need a place to sit. You do not need a big budget or a whole afternoon to make the table look ready for the season. Most of the looks in this list take one tray, one bit of greenery and one warm light, and they come together in about twenty minutes. I have kept every idea practical, so the table still works as a table while it looks like Christmas. Pick the one that fits your room, gather the pieces you already own, and start with the tray.
Wooden Tray Base
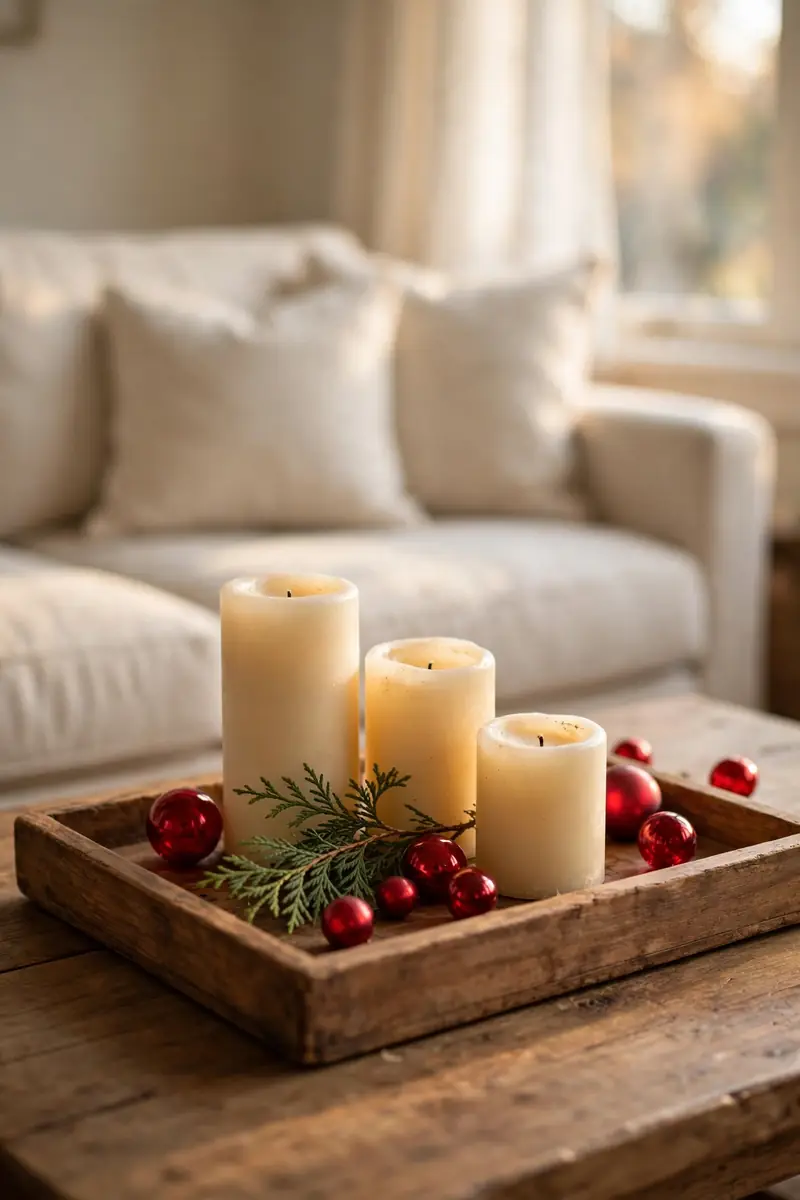
- Pick a wooden tray about one third as long as your table, so it anchors the display without swallowing the whole surface.
- Set the tray slightly off centre, which looks more relaxed than a tray parked dead in the middle.
- Keep candles, greenery and ornaments inside the tray, so the whole display lifts off in one move.
- Leave the rest of the table clear for mugs and books, and the tray still reads as one finished arrangement.
A wooden tray turns a scattered pile of decorations into one arrangement that looks like you meant it. Measure your table first, because a standard coffee table runs about 48 to 54 inches long, and a tray around one third of that length sits comfortably in the middle with room to spare. Wood suits every colour scheme you might try, from deep red and green to soft cream and gold, and its warm grain softens the shine of glass baubles and metal holders. Set the tray down, step back, and check that both ends of the table stay clear.
The real win is how fast the whole thing clears away when life needs the table back. Lift the tray, set it on the kitchen counter, and the coffee table is empty for pizza night or a board game, then the display goes back in one move when the evening is over. That is why a tray beats taping decorations straight onto the tabletop, because nothing is stuck and nothing gets knocked over in pieces. Choose a tray with low sides and a flat base, so candles sit steady and small baubles do not roll off.
Mini Tabletop Tree
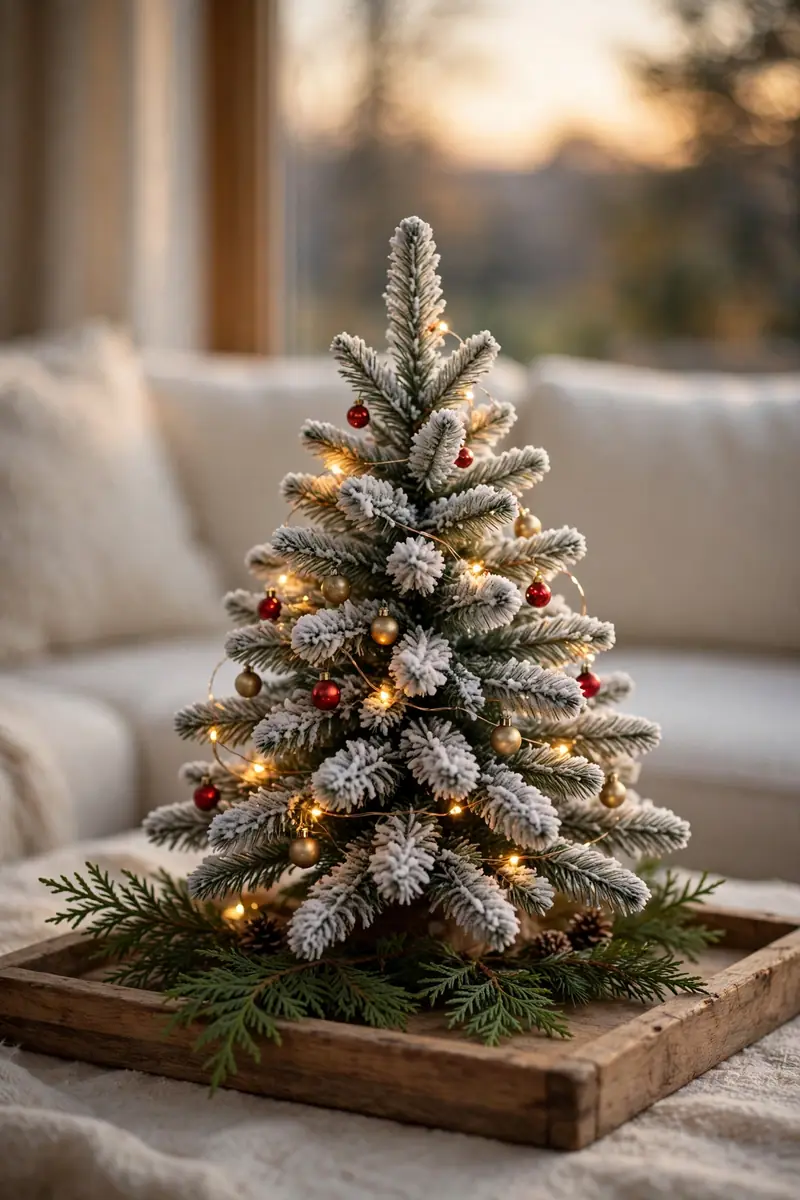
- Choose a tree 12 to 18 inches tall, which gives the table a real centrepiece without blocking anyone’s view across the sofa.
- Pick mini ornaments 1 to 1.5 inches wide, the size made for small trees, and use only six to eight of them.
- Set the tree slightly off centre on the tray, and tuck the garland around its base so it looks planted, not placed.
- Add one short strand of fairy lights and stop there, because a small tree needs very little to look finished.
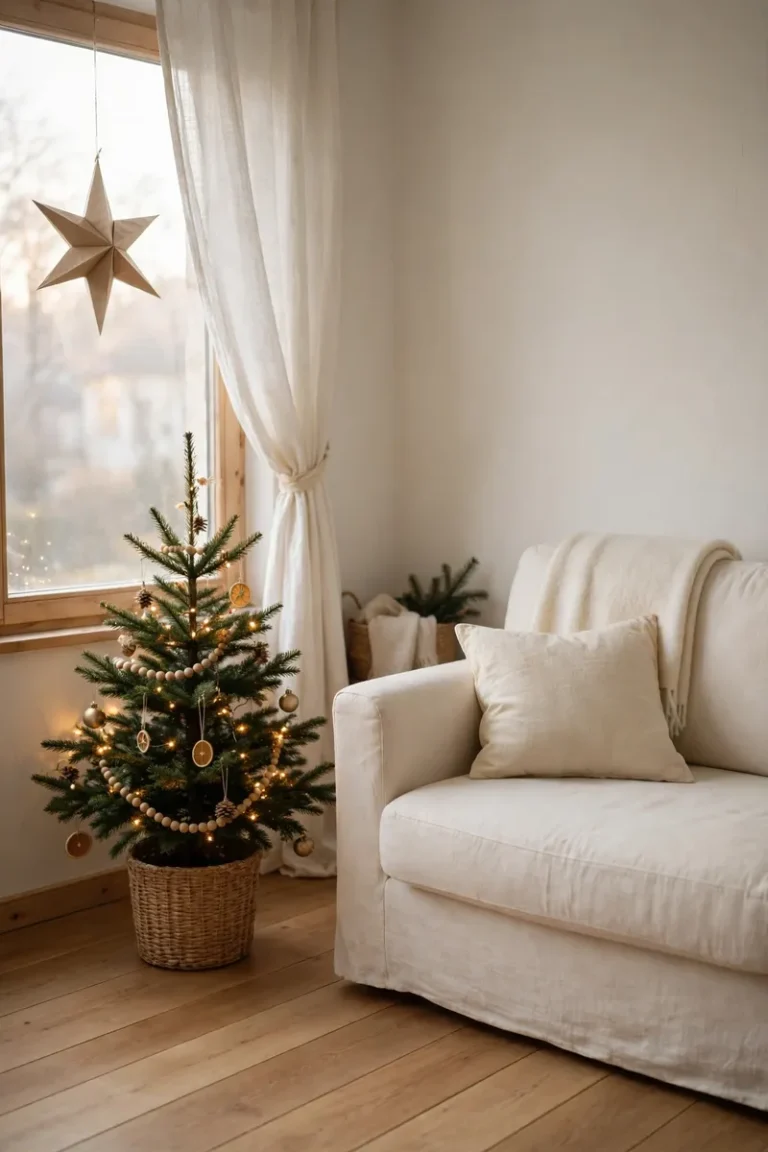
A small tree brings the big tree in the corner down to where you sit. A tree 12 to 18 inches tall is the right scale for a coffee table, tall enough to be noticed from the sofa and low enough that it never blocks the television or the person sitting opposite you. Dress it with mini ornaments, the tiny ones made for small trees, and keep the count low, because six to eight baubles fill a tabletop tree without weighing its branches down. Set it slightly off centre and the whole table feels relaxed instead of staged.
The mistake most people make is treating a tabletop tree like a full-size one and loading it until the branches sag. A small tree has thin branches, so heavy ornaments pull them down and the tree ends up looking tired by the second week of December. Keep the decorations light, use short lengths of ribbon instead of long heavy garlands, and let the green show through between the ornaments. When the tree looks a little bare from one side, turn it a quarter turn every few days so the fuller side faces the room.
Cedar Garland Runner
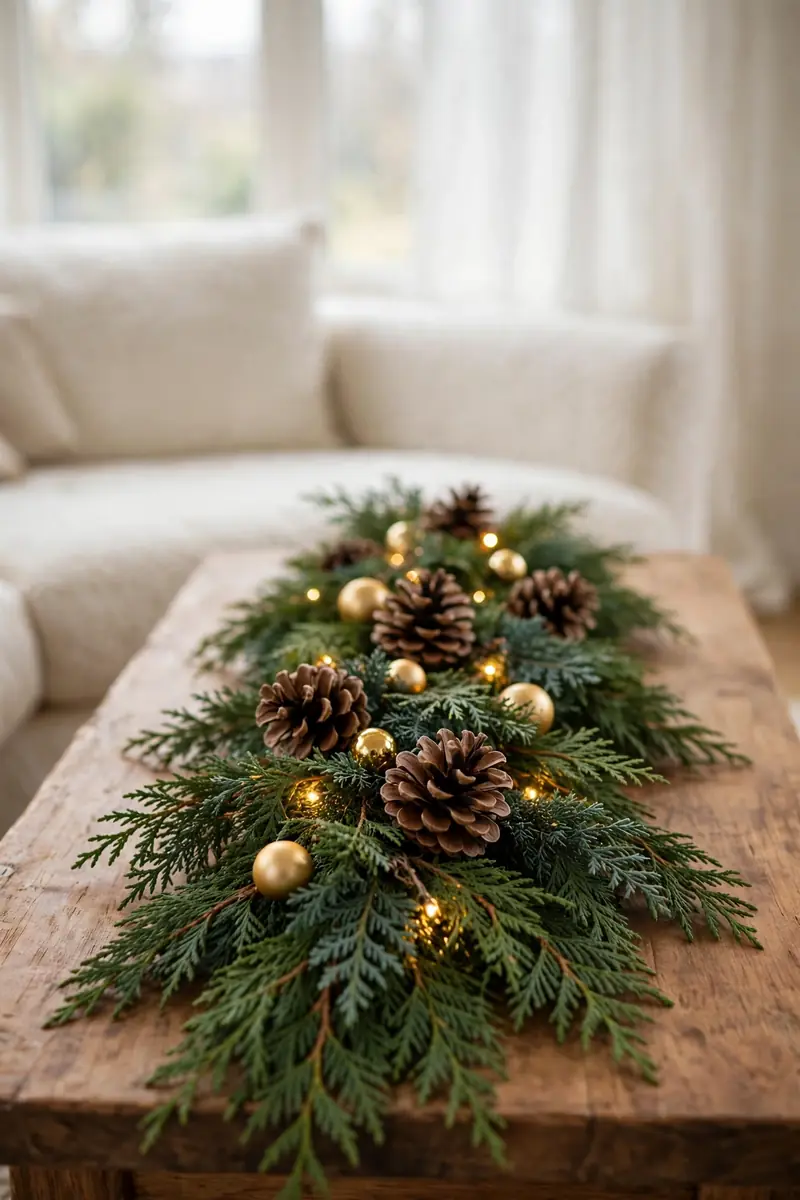
- Lay one six-foot garland straight down the centre of the table, letting it puddle slightly at the ends.
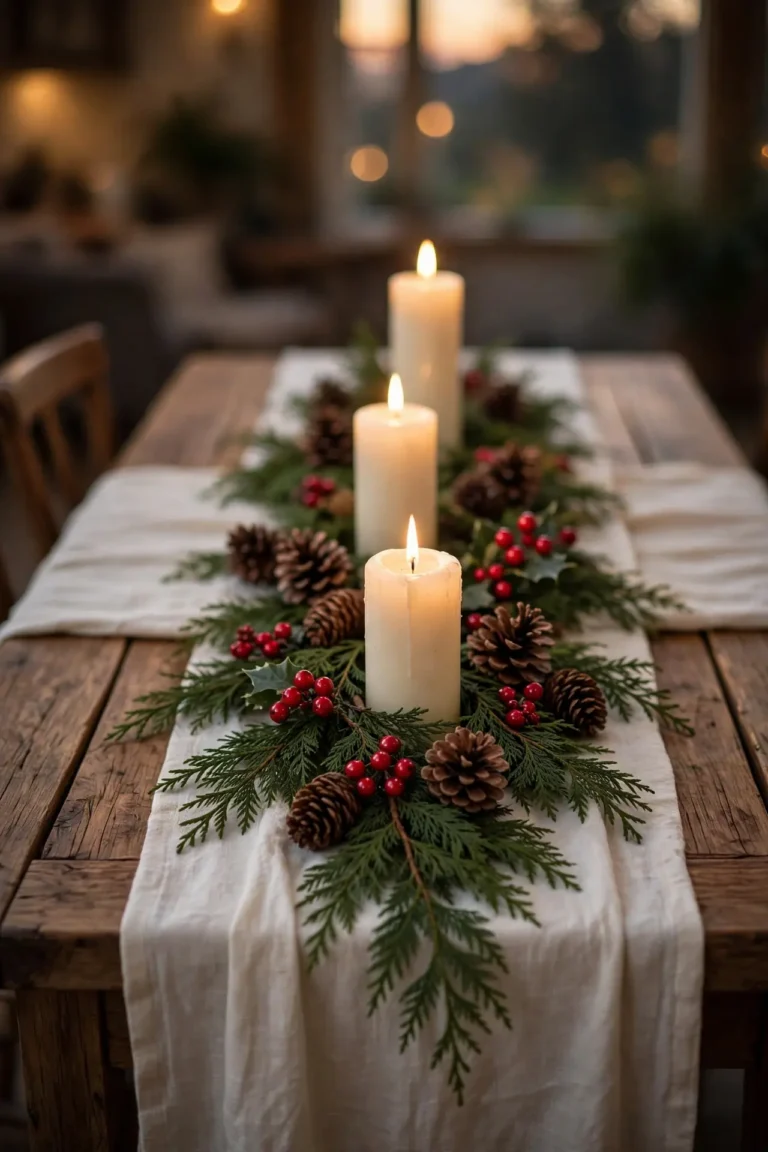
- Fluff each branch outward so the garland looks full, then tuck pinecones and small gold baubles into its folds.
- Weave a single thin strand of fairy lights through the greenery and hide the battery pack underneath.
- Keep the rest of the table simple, because the garland already fills the length on its own.
One garland can do the work of ten separate decorations. A six-foot garland suits most coffee tables, running the full length with just enough left over to puddle softly at each end, and the green line ties every object on the table together. Fluff the branches outward with your fingers before you lay it down, because a garland straight from the box looks flat and thin, while a fluffed one looks twice as full. Tuck three or four pinecones and a few small gold baubles into the folds, and the whole table reads as one connected display.
The trick is to let the garland stay the star and resist adding more on top of it. A long table can take a gentle double swag with a dip in the middle, but a standard table only needs the single straight run, and anything extra starts to look crowded. Lay the garland first, then place candles and ornaments along it, not on top of it, so the greenery stays visible between the pieces. When the table is needed for dinner or games, roll the garland up from one end and it comes away in seconds.
Flameless Candle Trio
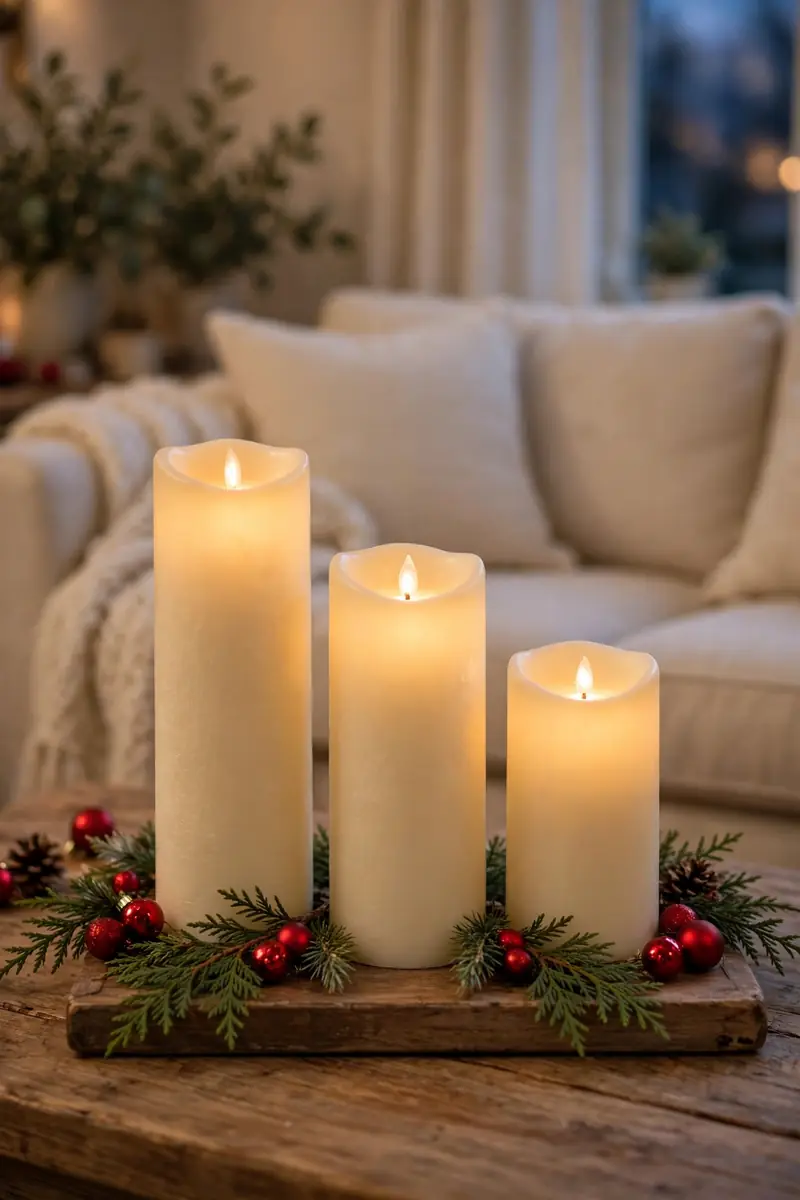
- Group three flameless LED candles at different heights, tall, medium and short, on one small tray.
- Choose warm-toned flicker, never blue-white, so the light feels like a real flame.
- Set the timer for five hours so the candles light themselves at dusk and switch off on their own.
- A set costs about eight to twelve dollars, which is less than one good scented candle.
Candlelight is half the Christmas mood, and the coffee table is where real flames are riskiest, with sleeves and wrapping paper passing over it all evening. Flameless LED candles give a warm flicker without the worry, and a set of three costs about eight to twelve dollars, which is less than one good scented candle. Group them at three heights on a small tray, tall, medium and short, so the light falls at different levels and the eye travels across the group. Choose warm-toned flicker, never blue-white, because cool light makes the table look like a shop display.
The timer is the feature that makes these candles worth owning, and most sets switch on for five hours and then off for nineteen, repeating the cycle every day. Set it once and the table lights itself at dusk, so you never worry about leaving the candles burning overnight. The batteries last around two hundred to six hundred hours, so one set usually carries you through the whole season. Keep the candles on the tray and away from the table edge, and they will glow through a whole film night without anyone supervising them.
Fairy Light Weave
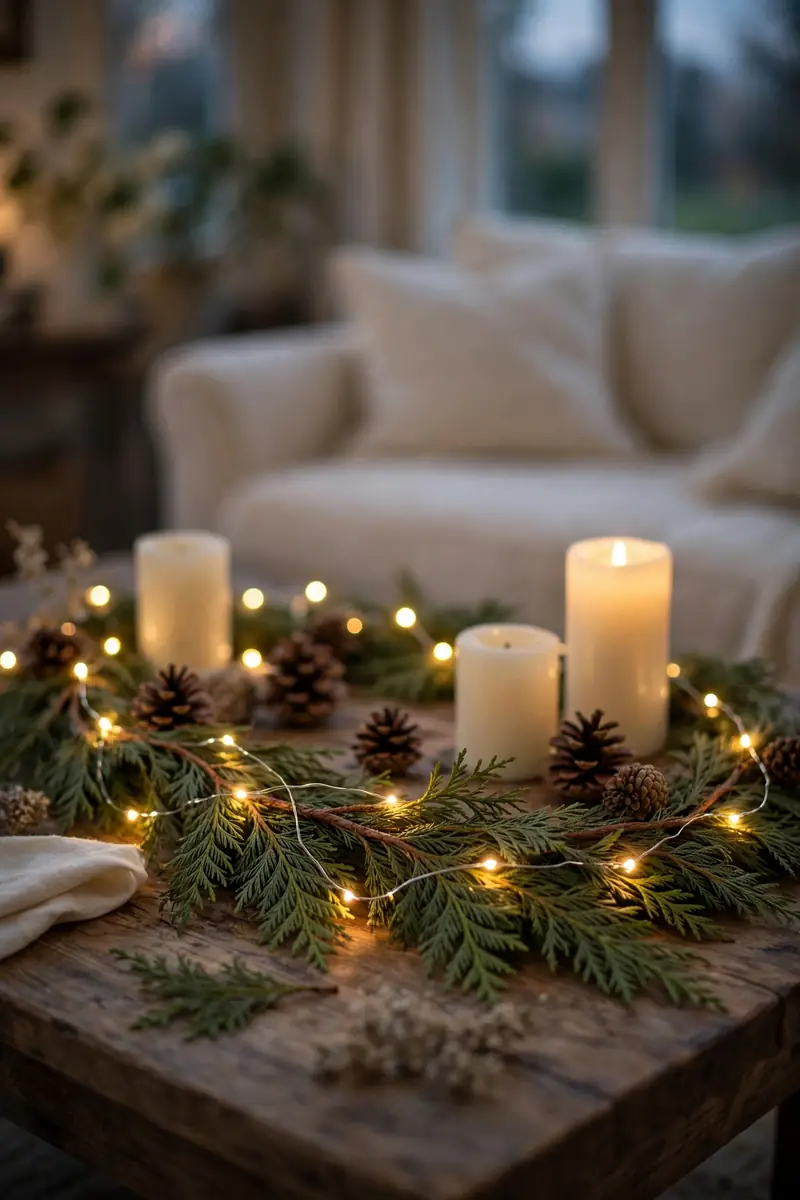
- Weave one 6.6-foot strand of warm white fairy lights through the garland, about twenty tiny LEDs on a thin wire.
- Hide the battery pack under the tray or behind a stack of books, so all anyone sees is the light itself.
- Pick warm white, around 2500K, because cool white looks harsh against wood and greenery.
- Coil a second strand inside a glass vase if one strand does not give enough glow.
Fairy lights do something no solid decoration can do, because they make the table glow from the inside. One battery strand, about six and a half feet long with twenty tiny LEDs on a thin wire, is enough to weave through a garland or coil inside a glass vase, and it needs no plug socket. The wire is so fine that it disappears in daylight, then at dusk the table lights up like the inside of a snow globe. Warm white is the colour to buy, because cool white turns the greenery grey and makes the wood look cold.
The battery pack is the one ugly part, and hiding it is a two-second job that makes the whole display look twice as good. Tuck it under the tray, behind a stack of books, or inside the hollow of a lantern, and run the wire out from underneath so no plastic shows. Two small coin batteries power a short strand for more than forty-eight hours, so you can leave the lights on through the whole evening without thinking about them. When the season ends, coil the strand around your hand and it stores flat in a drawer until next year.
Cocoa Station Tray
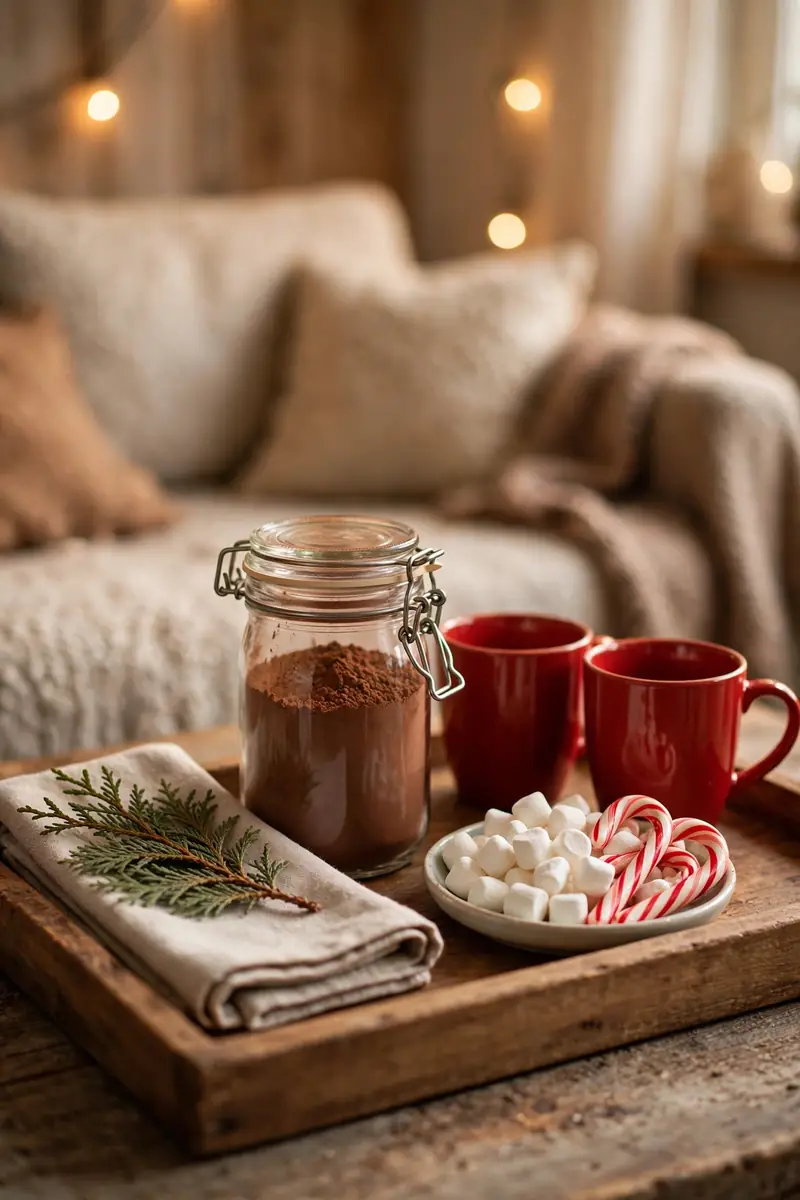
- Corral the cocoa setup on a wooden or rattan tray: two mugs, a jar of cocoa mix, a small dish of marshmallows and two candy canes.
- Fold a linen napkin under the mugs to catch drips and keep everything tidy.
- Choose mugs in red or green so the tray ties into the rest of the table.
- When the cocoa runs out, add a small candle and a sprig of pine and the tray still looks styled.
A cocoa station turns the coffee table from a display into an invitation, because guests reach for it without anyone offering. Set it on a wooden tray with two mugs, a jar of cocoa mix, a dish of marshmallows and a couple of candy canes, and the table feels like a cafe corner rather than a museum shelf. Fold a linen napkin under the mugs to catch drips, and choose mugs in red or green so the tray ties into the garland and the baubles. It is the one idea on this list that people use every evening.
Keep the station small enough that it never takes over the table. Two mugs are enough, because four mugs turn the tray into a drinks trolley and leave no room for the candles or the greenery. Refill the marshmallow dish when it runs low and swap the candy canes for fresh ones once they go sticky, and the tray stays inviting all month. When the cocoa runs out for good, drop in a small candle and a sprig of pine, and the tray still looks styled until you restock it.
Book Stack Riser
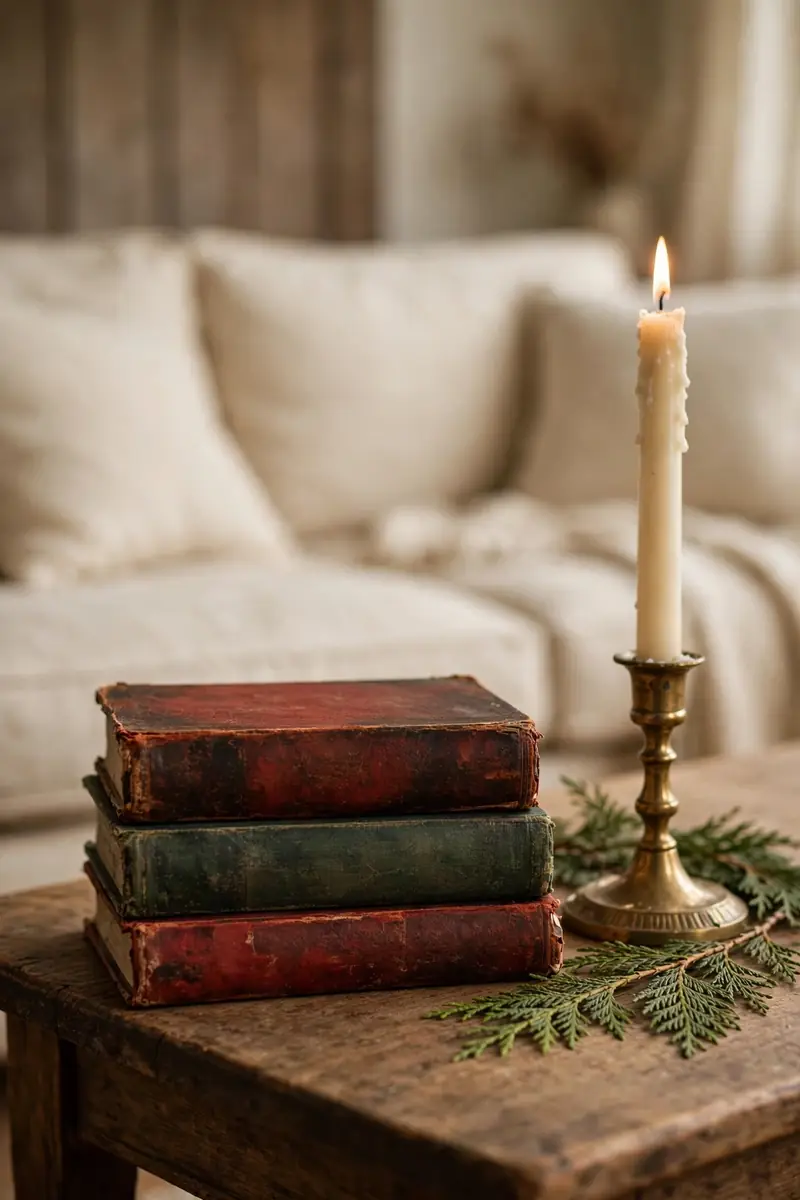
- Stack three or four books flat, in red, green or gold covers, at one end of the table.
- Set a taper candle in a brass holder on top, which lifts it to eye level without buying anything new.
- Mix one thick book with two thin ones so the stack looks collected, not measured.
- Keep the titles festive or classic, because the spines show from the sofa.
Three books from your own shelf can do what a bought riser does. Stack three or four books flat at one end of the table, in red, green or gold covers, and set a taper candle in a brass holder on top, and the candle sits at eye level instead of hiding behind the garland. The stack works because it adds height without adding an object to buy, and the book spines add a stripe of colour that ties the table to the room. Mix one thick book with two thin ones, so the pile looks collected over time.
Before the stack, the candle sat low and the far end of the table looked empty, and after the stack the same candle becomes the tallest point on that side of the table. That height matters, because the eye needs something tall, something medium and something low to travel across, and the books give you the tall piece for free. Choose books you have already read, because the spines will show from the sofa, and a favourite title starts more conversations than a perfect colour match ever will. When the season ends, the books go straight back on the shelf.
Glass Lantern Glow
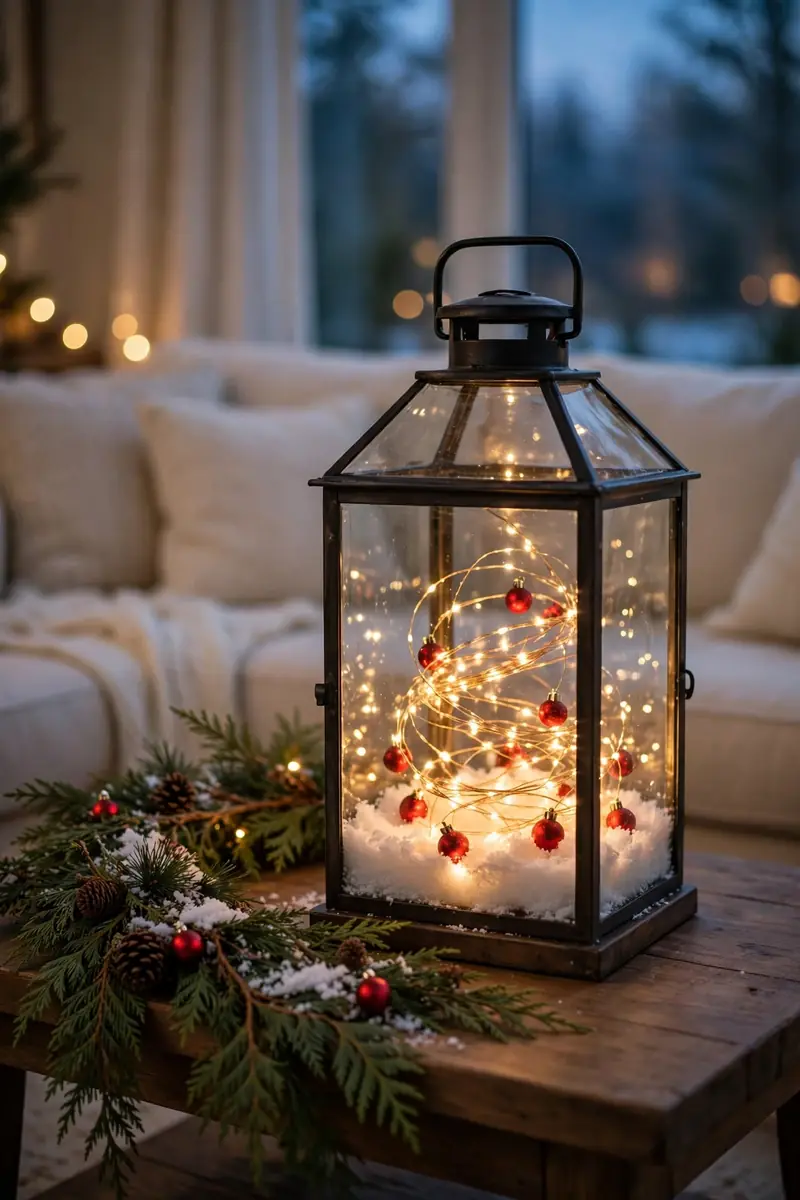
- Set one large glass lantern in the centre of the table and fill it with a coil of warm fairy lights.
- Add a few mini ornaments and a spoonful of faux snow at the base, so the lantern looks like a tiny winter scene.
- Keep the lantern door closed so little fingers cannot reach the lights inside.
- Put the lantern on the tray, not straight on the table, so it moves away in one lift.
A glass lantern gives the table a warm glow that no single candle can match, because the light bounces off the glass. Set one lantern in the centre of the table and fill it with a coil of warm fairy lights, a few mini ornaments and a spoonful of faux snow at the base, and the lantern turns into a tiny winter scene. The glass keeps the lights safe from curious hands and the whole thing reads as one finished object. Put it on the tray and it lifts away in one move when the table is needed.
The layering inside is what makes the difference between a lantern and a lamp, so build it from the bottom up. Start with the faux snow, then coil the lights loosely on top of it, then drop in three or four mini ornaments where they catch the light. Do not pack it tight, because the glow needs empty space to move around, and a lantern stuffed full looks like a storage box. Leave the door closed and the lights on a timer, and the lantern will light itself every evening without anyone touching it.
Dried Orange Slices
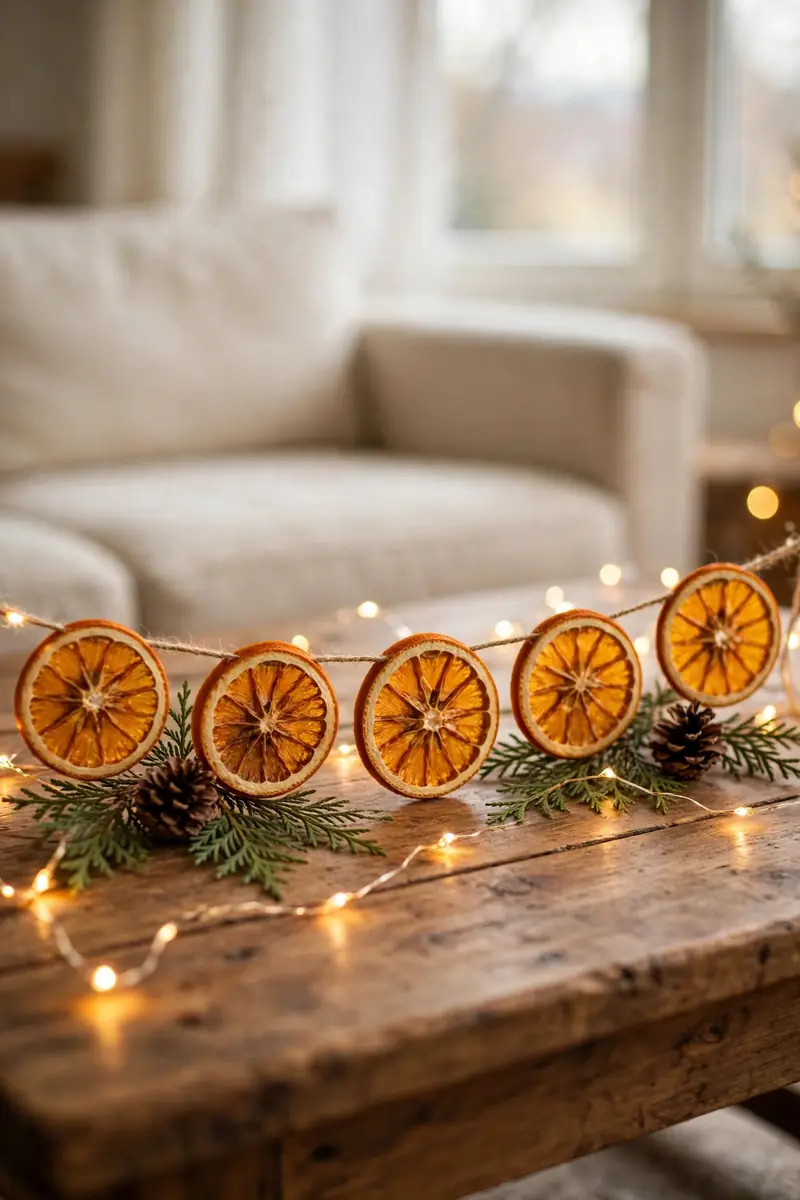
- Slice oranges about a quarter inch thick and dry them in the oven at 175 to 200 degrees for two to four hours.
- Flip the slices every thirty to sixty minutes so they dry evenly and stay flat.
- Thread five or six slices onto twine for a garland, or scatter three across the tray.
- The kitchen smells like Christmas while they dry, which is half the pleasure of making them.
Orange slices take an afternoon to make, and they bring a warm amber colour that no shop-bought bauble can copy. Slice the oranges about a quarter inch thick, and bake them in the oven at 175 to 200 degrees for two to four hours, flipping them every thirty to sixty minutes so they dry evenly. They are done when they feel dry to the touch and no longer sticky, and they need to cool completely before you judge them. Thread five or six onto twine for a short garland, or scatter three across the tray between the candles.
The mistake is turning the oven up to rush the job, because high heat browns the slices before they dry out and they come out dark instead of bright. Low and slow keeps them glowing amber, and the whole kitchen smells like Christmas while you wait, which is half the pleasure of making them. Once they are dry, they last for weeks on the table, and they look just as good tucked into the garland as they do strung across the front of the tray. Make a few extra, because someone always asks to take one home.
Bauble Bowl Display
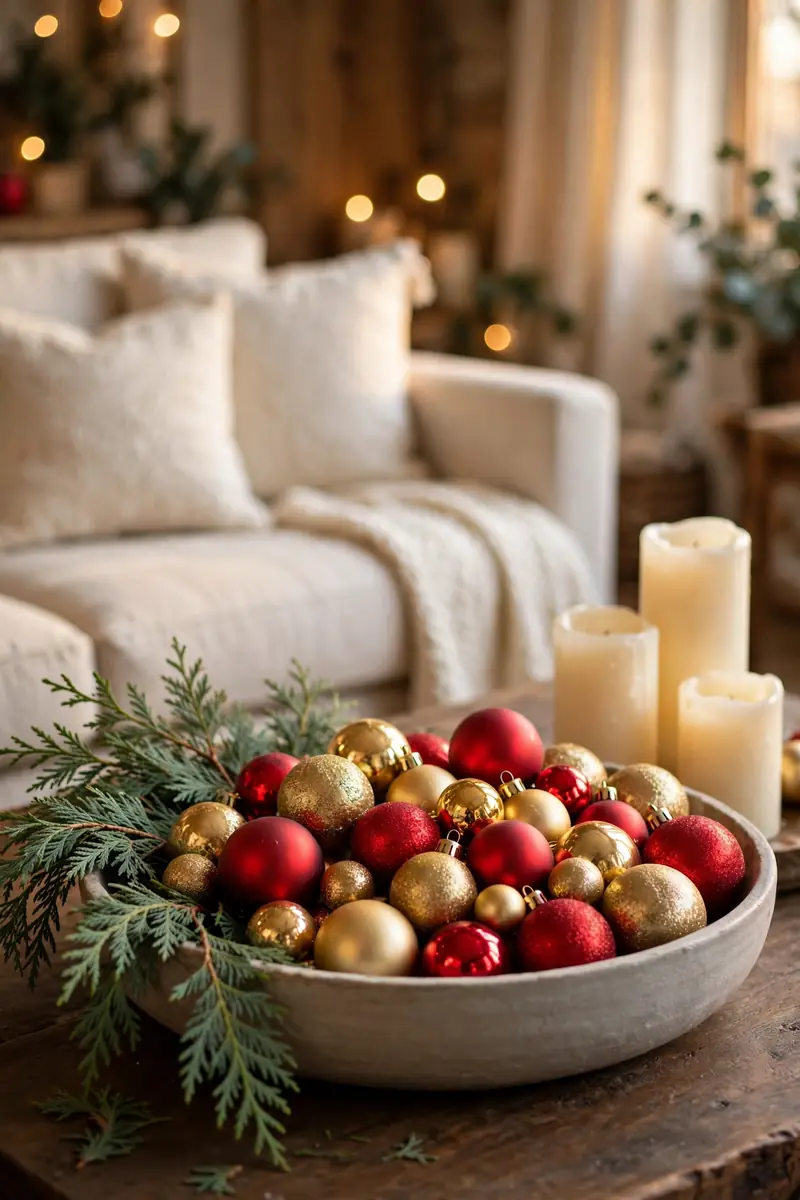
- Fill a low wide bowl with baubles in one colour family, following the 70-20-10 rule for sizes.
- Use mostly medium baubles, two and a half to three inches, with a few large ones and a few small ones.
- Mix matt, shiny and glitter finishes in the same colour so the bowl has depth without looking busy.
- Set the bowl on the tray at the opposite end from the tree, so the table balances.
A bowl of baubles is the fastest idea on this list, because it takes about two minutes and one bowl you already own. Fill a low wide bowl with baubles in one colour family, and follow the 70-20-10 rule: about seventy percent medium baubles, two and a half to three inches across, twenty percent large statement pieces, and ten percent small accent baubles. The mix of sizes is what makes the bowl look full and intentional, while identical baubles look like one emptied box. Mix matt, shiny and glitter finishes in the same colour for depth.
The colour choice matters more than the count, so pick one family and stay inside it. Deep red with gold, forest green with cream, or silver with white all work, but two families fighting in one bowl makes the table look noisy. Set the bowl on the tray at the opposite end from the tree, so the weight of the table balances and the eye moves from one end to the other. When a bauble rolls out, and one always does, pop it back in and the bowl is fixed in seconds.
Pinecone Cluster
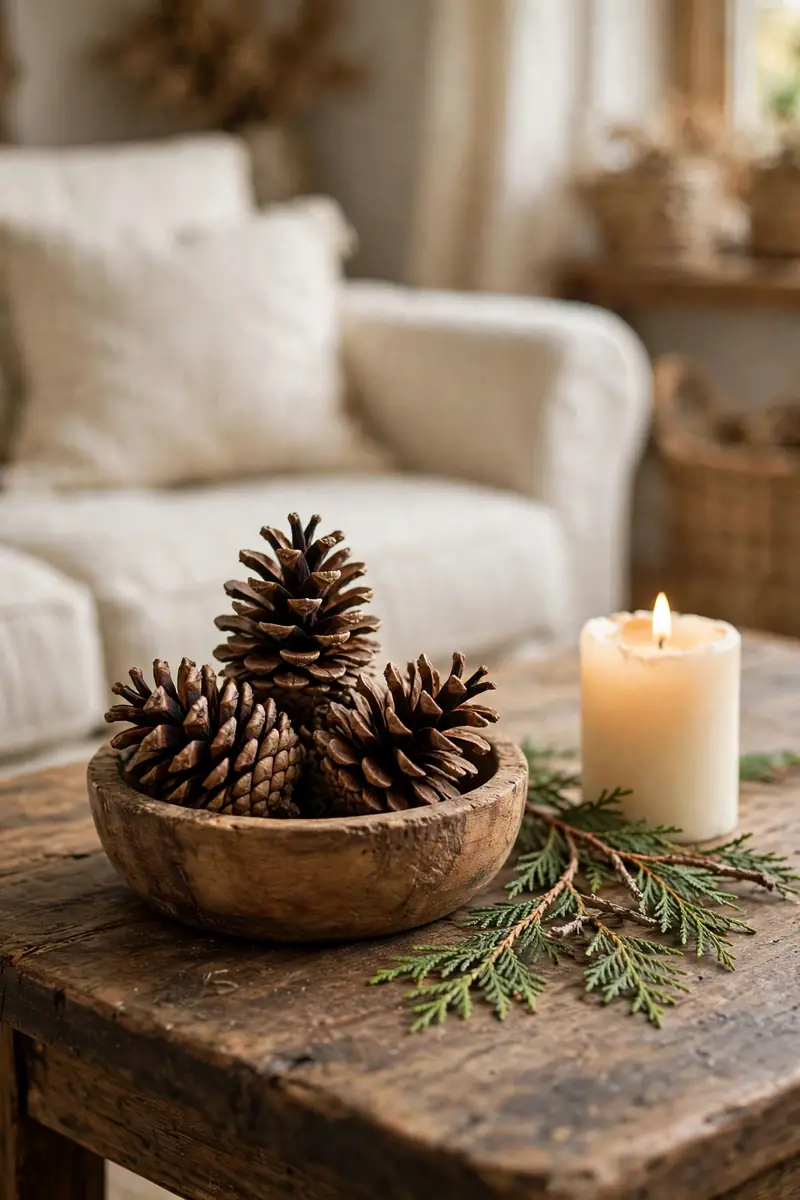
- Gather three pinecones, one large and two small, and cluster them in a small bowl or straight on the tray.
- Brush off loose dirt first, and let garden pinecones dry indoors before you use them.
- Tuck a sprig of cedar beside them so the brown cones sit against green.
- Pinecones cost nothing if you collect them, which makes this the cheapest idea in the whole list.
Pinecones cost nothing if you collect them on a walk, and they bring a rough natural texture that smooth glass baubles never have. Gather three, one large and two small, and cluster them in a small bowl or straight on the tray, because odd numbers look composed where pairs look like stock waiting to be shelved. Brush off the loose dirt first, and tuck a sprig of cedar beside them so the warm brown cones sit against the green. Three pinecones, one sprig and a candle is a complete little scene, and it takes about a minute to put together.
The reason three works and two does not is simple: the eye reads a pair as a matching set and starts looking for what is missing, while a group of three reads as a deliberate arrangement. Stand one pinecone upright, lay one on its side, and lean the third against the candle holder, so the three sit at different angles and catch the light differently. If your pinecones are small, use five instead of three and the same rule holds. When the season ends, the pinecones go back outside and the bowl is free for spring.
Plaid Runner Layer
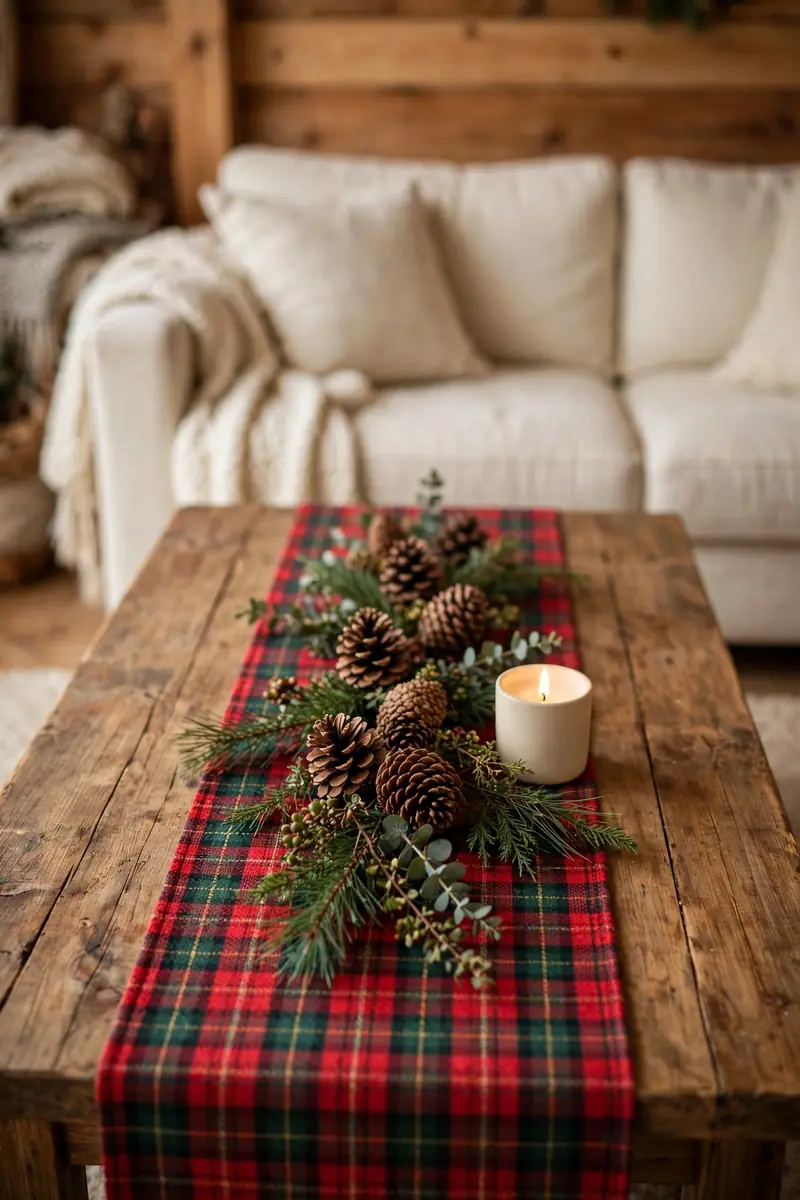
- Drape a strip of red and green plaid fabric down the middle of the table as a runner.
- Let the fabric puddle slightly at each end, and keep it flat in the middle so candles sit steady.
- Top it with a low line of pinecones, a few greenery sprigs and one candle in a simple holder.
- Use a tea towel or a folded throw if you do not own a table runner.
A strip of plaid fabric down the middle of the table does the job of a runner, a tablecloth and a colour scheme. Drape a red and green plaid throw or a long piece of fabric lengthways, let it puddle at each end, and keep it flat in the middle so candles sit steady. The checked pattern gives the table a cabin feeling that plain green garland cannot, and it makes red baubles and brass holders look warmer. Top it with a low line of pinecones, a few greenery sprigs and one candle, and the table is dressed.
The fabric is doing two jobs at once, so keep it smooth where it matters and loose where it shows. Iron the middle section flat before you lay it down, because a wrinkled runner under a candle looks careless, while the puddled ends can stay soft and relaxed. If you do not own a table runner, a folded throw or even a large tea towel works, and the plaid pattern hides small stains better than a plain cloth. When the table is needed for dinner, lift the whole runner off with the decorations still sitting on it.
Mismatched Brass Candlesticks
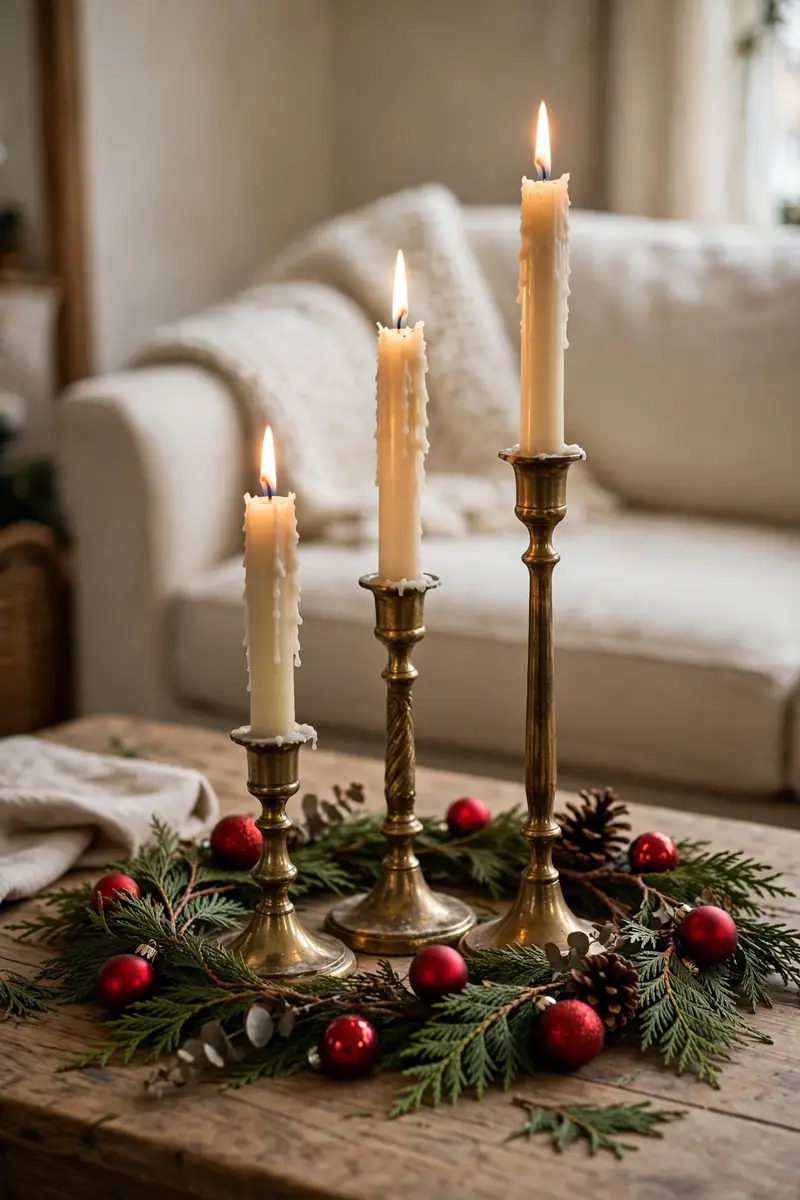
- Gather three brass candlesticks in different heights and shapes, thrifted or collected over time.
- Cluster them down the centre of the table, tallest at the back and shortest at the front.
- Use ivory taper candles in all three, so the brass is the star and the candles stay quiet.
- Polish only the fronts if you like a lived-in look, because perfect shine can look stiff.
Matched candlesticks look like they came from a shop window, and mismatched ones look like they came from a real home. Gather three brass candlesticks in different heights and shapes, thrifted or collected over time, and cluster them down the centre of the table with the tallest at the back and the shortest at the front. Use ivory taper candles in all three, so the brass is the star and the candles stay quiet, and the warm metal catches the fairy lights in a way that silver never does. Three different heights give the eye somewhere to travel.
Buying a matching set feels safer, and then you wonder why the table looks like a catalogue page. A set of identical candlesticks has no story, while three different ones look gathered over years, even if you bought them all last weekend. Check charity shops and market stalls first, because brass turns up there for very little money, and a quick polish brings it back to life. Keep the candles the same colour and let the brass do the varying, and the cluster will look collected, not chaotic, from every seat in the room.
Bottle Brush Trees
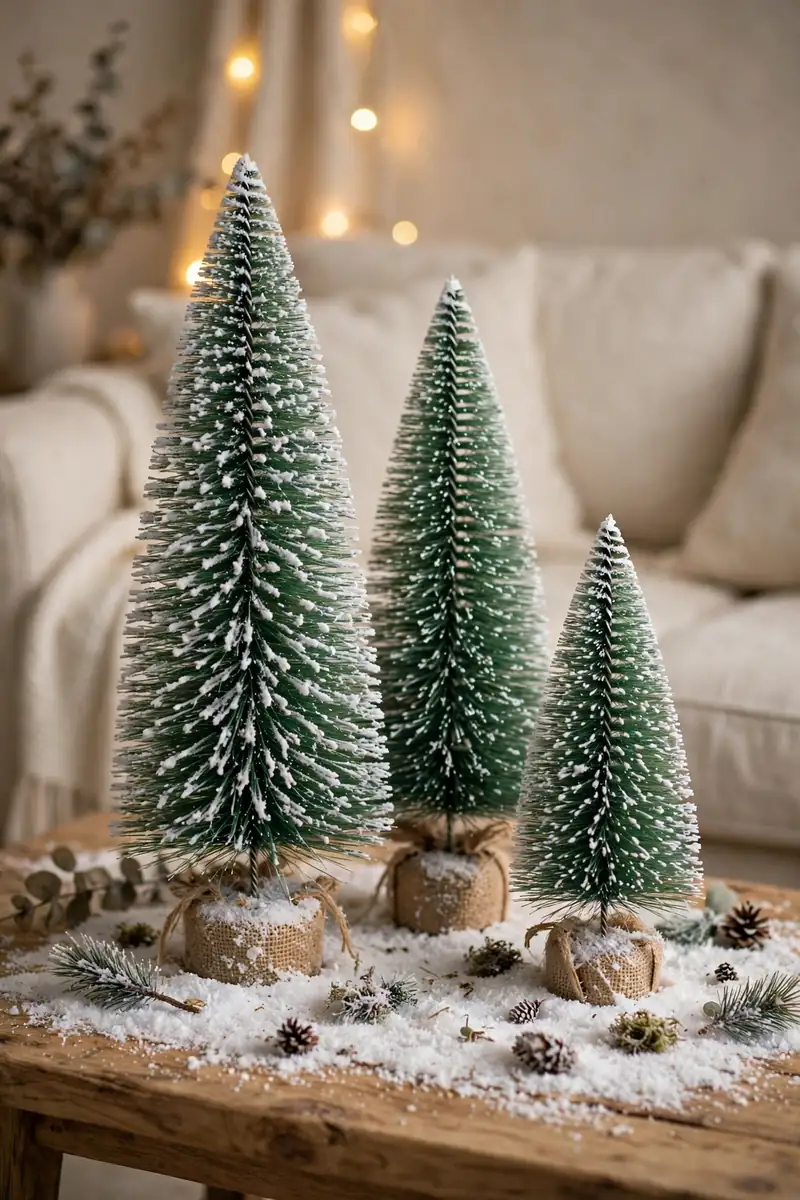
- Group three bottle brush trees in three different heights on one end of the tray.
- Choose one colour family, green with white tips or all white, so the group reads as one forest.
- Set them on a thin layer of faux snow so they look planted in a drift.
- Keep them away from the candles, because the bristles catch heat and dry out fast.
Bottle brush trees are the smallest trees you can buy, and a group of three in different heights reads as a tiny forest on the end of your table. Choose one colour family, green with white frosted tips or all white, so the group reads as a single woodland rather than three separate ornaments. Set them on a thin layer of faux snow, and the white base makes the green pop while the trees look planted in a drift. Keep them at the opposite end from the candles, because the bristles dry out fast near heat.
The height difference is the whole trick, because three trees the same size look like a production line, while a tall, a medium and a short one look like a real little wood. Put the tallest at the back of the group and the shortest at the front, so each tree shows and none hides behind another. If you only own one height, stand one tree on a small stack of books and another on the tray, and you have three heights without buying anything new. Dust them when the season ends and they will last for years.
Snow Village Scene
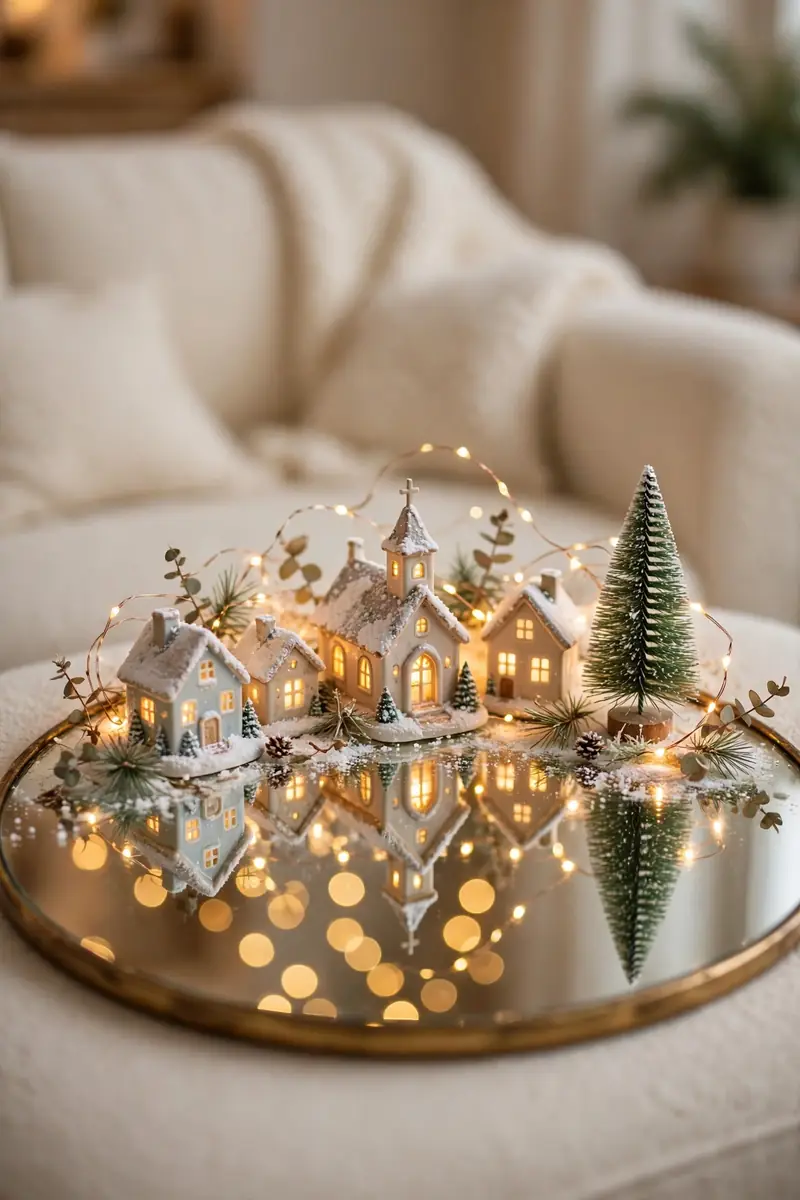
- Build a tiny village on a round mirror, with two or three small houses, a church and a dusting of faux snow.
- Set the mirror on the tray so the scene reflects the fairy lights and looks twice as bright.
- Keep the houses low, so they never block the view across the table.
- Add one tiny bottle brush tree between the houses to finish the street.
A tiny village turns the coffee table into a story, and guests lean in to look at it. Build it on a round mirror with two or three small houses, a church and a dusting of faux snow, and set the mirror on the tray so the scene reflects the fairy lights and looks twice as bright. Keep the houses low, so they never block the view across the table or hide the person sitting opposite you. One bottle brush tree between the houses finishes the street, and the mirror doubles every light in the scene.
The mirror is doing the heavy work here, so choose one with a plain edge and no heavy frame, because a fussy frame fights with the little houses. Place the tallest house at the back of the mirror and the smallest at the front, so the village reads from the sofa in one glance. Do not crowd it, because three houses with space between them look like a village, while six houses packed tight look like a toy box tipped over. When the lights go on at dusk, the mirror throws the glow across the table.
Red Berry Sprigs
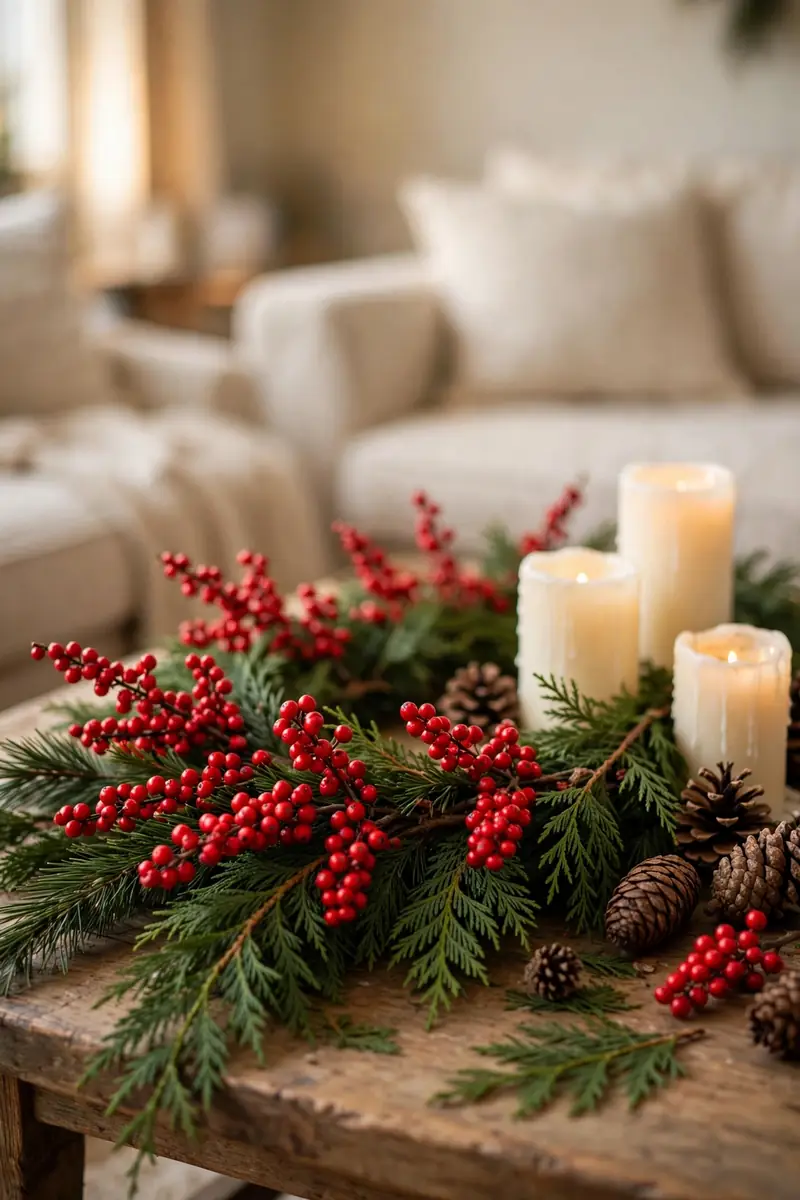
- Tuck three sprigs of red berries into the garland, one at each end and one in the middle.
- Keep the berries the only red on the table if the rest of the palette is green and cream.
- Use faux berries, because real ones drop and stain the wood.
- Space the sprigs evenly along the garland, about two feet apart, so the red dots read as a rhythm.
Red berries are the smallest decoration that makes the biggest difference, because one sharp colour against the green wakes the table up. Tuck three sprigs into the garland, one at each end and one in the middle, and the red dots pull the eye along the table. Keep the berries the only red on the table if the rest of the palette is green and cream, because one red accent reads as a choice while red everywhere reads as noise. Use faux berries, because real ones drop and stain the wood.
The spacing matters here, and three well-placed sprigs do more than ten scattered ones, because the eye needs empty green between the red dots to notice them. Space them evenly, about two feet apart, so the red reads as a rhythm running down the table instead of a random scatter. Push each sprig deep into the greenery so only the berries show, and bend the stem so the cluster sits upright instead of flopping sideways. When the season ends, the sprigs lift out of the garland and store flat in a bag until next year.
Cinnamon Stick Bundle
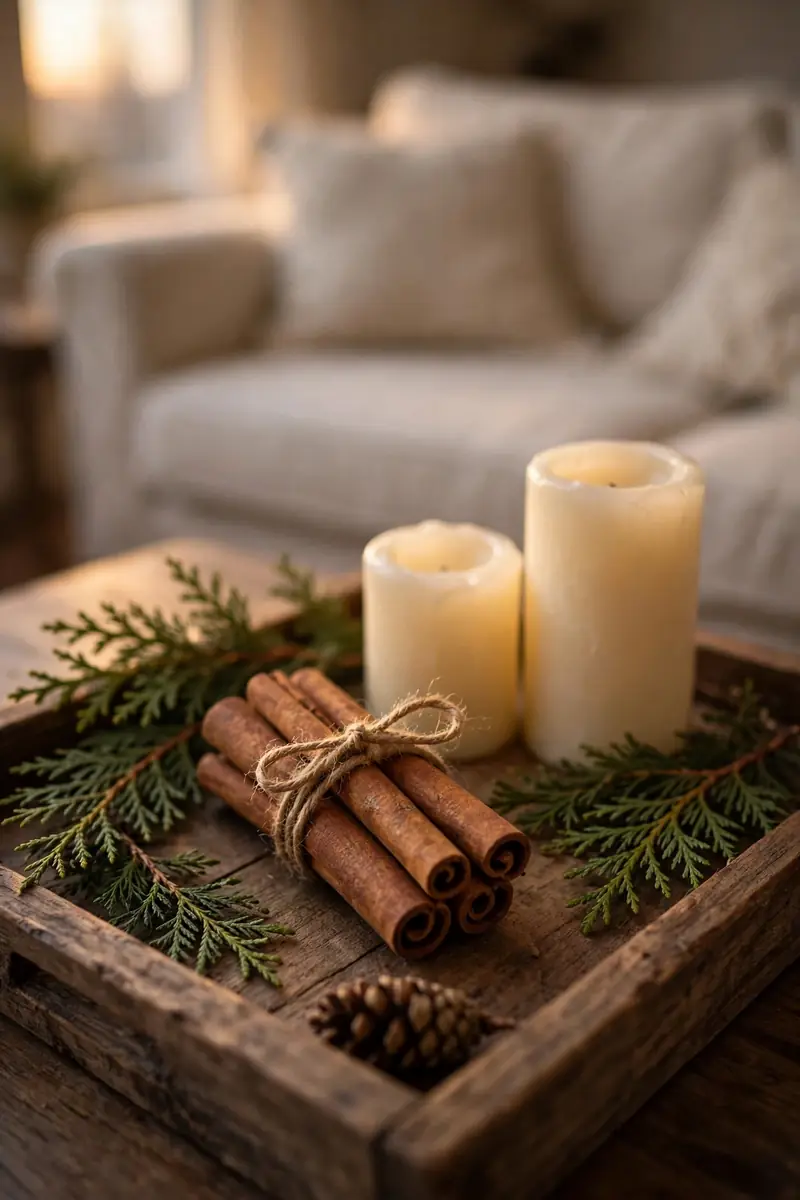
- Tie three cinnamon sticks together with natural twine and lay the bundle across the tray.
- Set the bundle beside a candle, not on top of it, so the scent warms gently without scorching.
- Pair the brown sticks with cream candles and green sprigs for a natural palette.
- Replace the bundle halfway through the season, when the scent starts to fade.
Cinnamon smells like Christmas, and a small bundle on the tray brings that scent to the sofa. Tie three cinnamon sticks together with natural twine and lay the bundle across the tray beside a candle, not on top of it, so the scent warms gently without scorching. The rough brown bark adds a texture that smooth baubles and glass never have, and the bundle pairs with cream candles and green sprigs for a natural palette. Three sticks are enough, because a bigger bundle looks like a spice rack and the scent gets too strong in a small room.
The bundle works hardest in the first two weeks, and after that the scent fades even though the sticks still look the same. Replace it halfway through the season, and keep a spare bundle in a sealed bag so the fresh one is ready when you need it. Do not set the sticks on a lit candle or near a naked flame, because cinnamon bark is dry wood and it will catch if it touches the flame. Lay the bundle flat on the tray, twine facing up, and the table smells like a bakery every time someone sits down.
Winter White Palette
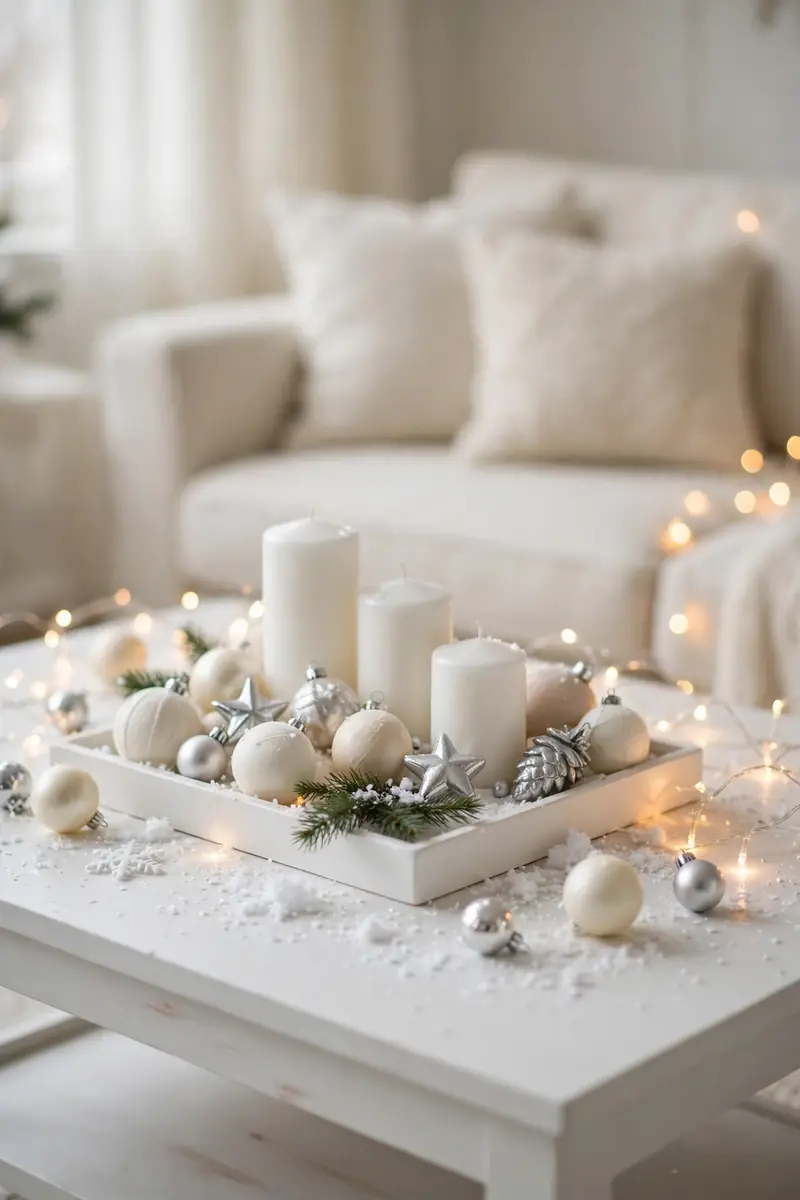
- Build the whole table in cream, ivory and white, with silver as the only cool note.
- Use white candles, a white tray and cream baubles, so the table reads as one calm block of colour.
- Add one green sprig for contrast, but keep it small, because too much green breaks the white spell.
- Faux snow under the trees and baubles ties the white pieces together.
An all-white table looks calm in a room full of red and green. Build the whole table in cream, ivory and white, with silver as the only cool note, and use white candles, a white tray and cream baubles, so the table reads as one quiet block of colour. The palette works because it lets texture do the talking: matt ceramic, shiny glass, soft faux fur and rough pinecones all show up more clearly when the colour stays the same. Add one green sprig for contrast, but keep it small, because too much green breaks the white spell.
The risk with white is that it can look cold, and the fix is warm light, not more colour. Use warm white fairy lights, never cool white, and the cream tones glow while the silver baubles catch the light without looking icy. Faux snow under the trees and baubles ties the white pieces together, and a cream linen napkin under the mugs adds a soft layer. When the room is full of colour from the big tree and the wrapping paper, the white table becomes the quiet corner that everyone’s eyes rest on.
Conclusion
The table is ready, and none of these ideas asks for much, just a tray, a little greenery and one warm light. Start with the idea that fits what you already own, and add one new piece each year until the table tells your own Christmas story. This christmas coffee table decor will look different in every home, and that is the point, because the prettiest table is the one that fits the people who sit around it. Save this post to your Christmas board, try one idea tonight, and share the list with someone whose living room could use a little warmth.
Frequently Asked Questions
How do I decorate a coffee table for Christmas without cluttering it?
Start with a tray, keep everything inside it, and leave at least half the table empty. Three objects in the tray, a candle, something green and one shiny piece, is a complete display, and the tray lifts away when you need the table.
How big should a Christmas centrepiece be on a coffee table?
A tray about one third of the table length, and a mini tree 12 to 18 inches tall, is the right scale for a standard 48 to 54 inch table. Anything taller blocks the view across the sofa.
Are LED candles safe to leave on a coffee table?
Yes, flameless LED candles have no open flame, so they are safe around children, pets and wrapping paper. Most sets have a timer that switches them off after five hours, and the batteries last for months.
What is the cheapest way to decorate a coffee table for Christmas?
Pinecones from a walk, greenery cuttings from the garden, books from your shelf and oranges dried in the oven cost almost nothing. A six-foot faux garland costs only a few dollars, and one strand of fairy lights finishes the table.