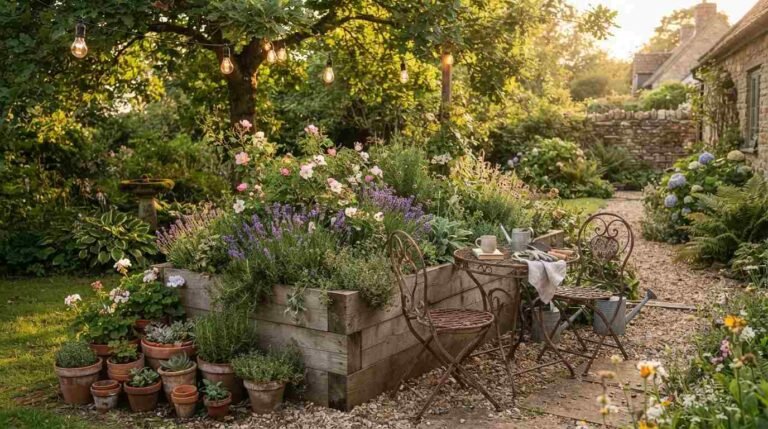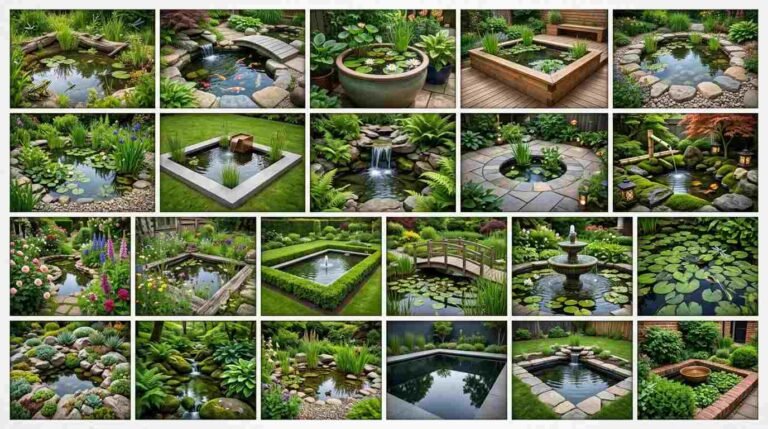
Your garden can look completely different by Sunday evening and that is not an exaggeration. Most people assume a beautiful outdoor space takes months of planning, thousands of dollars, and professional help to achieve, but these 22 weekend garden projects prove that wrong in the most satisfying way possible.
Every single idea on this list can be started Saturday morning and finished before the sun goes down on Sunday, using basic tools, an affordable budget, and nothing more than genuine enthusiasm for making your backyard a place you actually love spending time in. Get ready to be amazed.
1. Build a Simple Raised Garden Bed From Scratch
A raised garden bed built from untreated cedar or pine planks is one of the most rewarding single-weekend garden projects available to any gardener at any skill level, because the finished structure immediately gives your outdoor space.
A purposeful, organized, and genuinely beautiful look while also creating the perfect growing environment for vegetables, herbs, cut flowers, and salad crops that struggle in compacted or poor-quality native garden soil.
The reason this idea works so powerfully as a weekend project is that a standard 4-foot by 8-foot raised bed requires only basic carpentry skills, eight lengths of timber, sixteen screws, and an afternoon of confident work to go from flat boards to a finished, filled, plantable growing space.
1. (a)Choosing the Right Wood for Your Raised Bed
Cedar is universally considered the best timber choice for a raised garden bed because it contains natural oils that resist rot, insects, and moisture damage for 10 to 15 years without any chemical treatment making it the most durable and genuinely food-safe option available for growing edible plants in direct contact with the wood.
Fill your completed raised garden bed with a mixture of 60 percent quality topsoil, 30 percent garden compost, and 10 percent horticultural grit for drainage this blend gives plant roots the perfect combination of nutrition, moisture retention, and air circulation that makes raised bed gardening.
However, dramatically more productive than growing in unprepared ground. Position the bed where it receives a minimum of six hours of direct sunlight daily, orient the long side running east to west so all plants get equal light exposure throughout the day, and water thoroughly before planting so the growing medium settles and any air pockets below the surface are eliminated before your first seeds or seedlings go in.
2. Create a Gravel Pathway Between Garden Beds
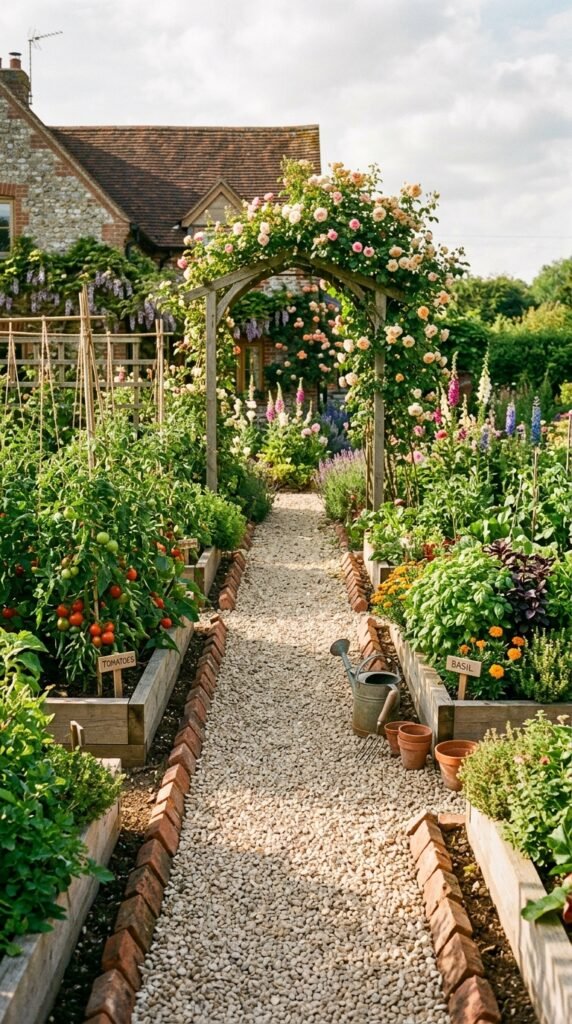
A gravel garden path installed between planting beds is one of the most transformative single-weekend improvements you can make to any garden because it instantly solves the muddy, compacted soil problem that ruins countless garden spaces every winter, while simultaneously giving the entire garden a structured, designed appearance that makes even a basic plot look like it was professionally planned and laid out with real intention.
The practical benefits of a gravel pathway go far beyond aesthetics a properly installed path with a weed-suppressing membrane beneath means you can access your garden beds in any weather condition without compacting the surrounding soil or tracking mud across the lawn or patio.
Excavate the path area to a depth of 3 inches, lay a high-quality woven weed membrane cut precisely to size, fold the edges up neatly against your chosen brick or timber edging, then pour 10mm pea gravel to a depth of 2 inches and rake it level.
This entire process for a standard garden path takes four to five hours and costs a fraction of what a hard-paved path would require in materials, specialist tools, or professional labor.
Choose pale golden gravel or warm buff-colored pea gravel rather than cold grey stone for a cottage or farmhouse garden, because warmer tones reflect light beautifully, complement the green of surrounding planting, and look genuinely stunning in garden photography whether the sun is shining or the sky is overcast and flat.
3. Paint Your Garden Fence a Bold New Color
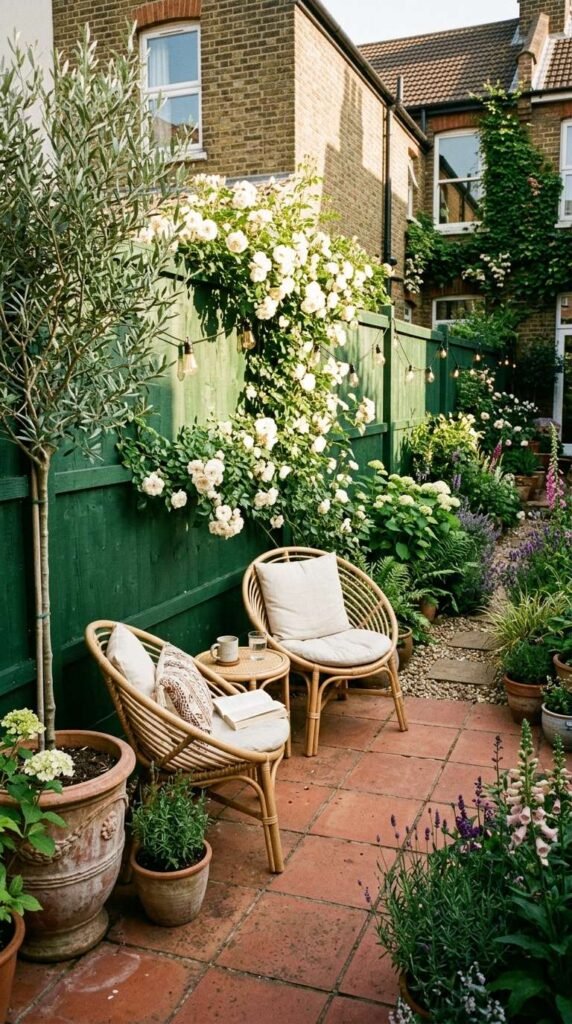
Painting a tired, weathered timber garden fence in a fresh, confident color is the single highest-impact, lowest-effort garden transformation available because it costs very little money, requires no specialist skills beyond a decent brush and a steady arm, and can be completed entirely within a single Saturday.
The finished result makes the entire garden look like a completely different, professionally designed outdoor space that people genuinely stop and admire.
The psychological effect of a painted fence backdrop is remarkable and consistently underestimated a deep sage green, charcoal, navy blue, or forest green fence makes every plant color in front of it appear more vivid, more saturated, and more beautiful, turning even modest planting into something that looks genuinely lush and considered.
Choose a dedicated exterior wood fence paint rather than a standard garden timber treatment, because quality fence paints offer far superior UV resistance, weather protection, and color retention in rain and frost.
They typically last three to 5 years before needing a refresh, compared to basic treatments that fade noticeably within a single season. Apply two full coats using a wide 4-inch decorating brush rather than a roller for better penetration into the grain and between fence boards.
It allow the first coat to dry completely for at least four hours before applying the second, and work from the top of each board downward so any drips land on unpainted wood below rather than running over a freshly finished surface.
4. Install a DIY Drip Irrigation System Over One Weekend
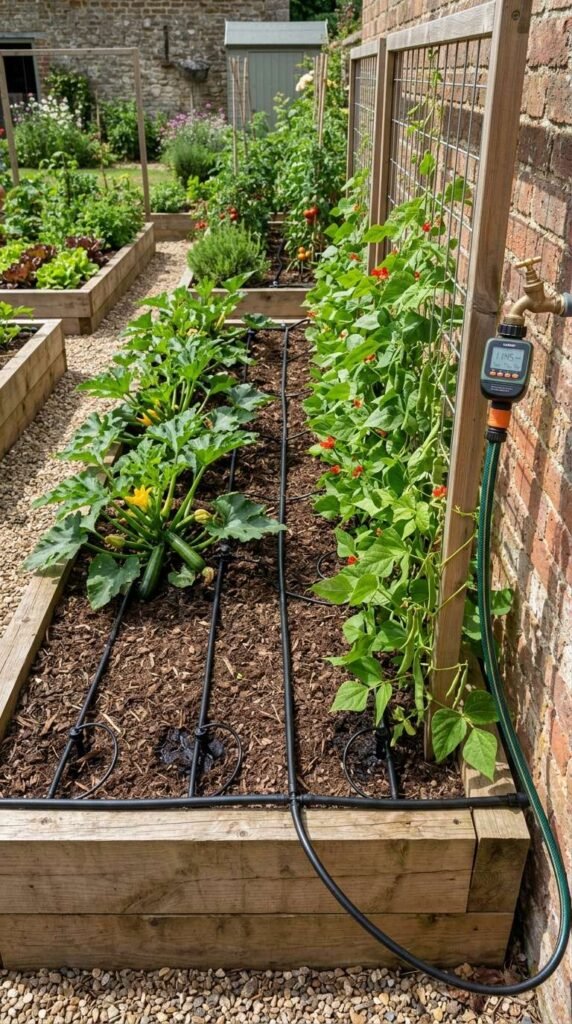
A drip irrigation system installed over a single weekend is one of the most genuinely life-changing garden improvements a busy gardener can make, because once it is connected to a simple tap timer it waters every plant in the garden automatically.
At the right time, with the right amount of water, directly at the root zone where it is needed most which reduces water waste by up to 70 percent compared to overhead sprinklers, completely eliminates the daily chore of hand watering, and actually produces healthier plants
The consistent root zone watering prevents the wet-dry stress cycle that weakens plants and makes them more vulnerable to disease. The entire system for a medium-sized garden main supply hose, drip tubing, emitters, connectors, and a battery-powered timer costs less than a single visit from a professional irrigator and installs in a single afternoon using nothing more than a sharp knife and a hole punch tool.
Plan your drip irrigation layout by sketching your garden beds on paper first and marking the position of every plant that needs watering, then calculate the total length of drip tubing required and order 20 percent extra to allow for corners, adjustments, and future additions to the system.
Bury the main supply line just 1 inch below the soil surface to protect it from UV degradation and accidental damage from trowels and forks, run individual lateral tubes along the surface of each bed with drip emitters positioned 6 to 8 inches from each plant
stem. You can set your garden tap timer to water for 20 minutes every morning before sunrise when evaporation rates are at their lowest and plants can absorb moisture most effectively.
5. Plant a Container Herb Garden for Your Kitchen
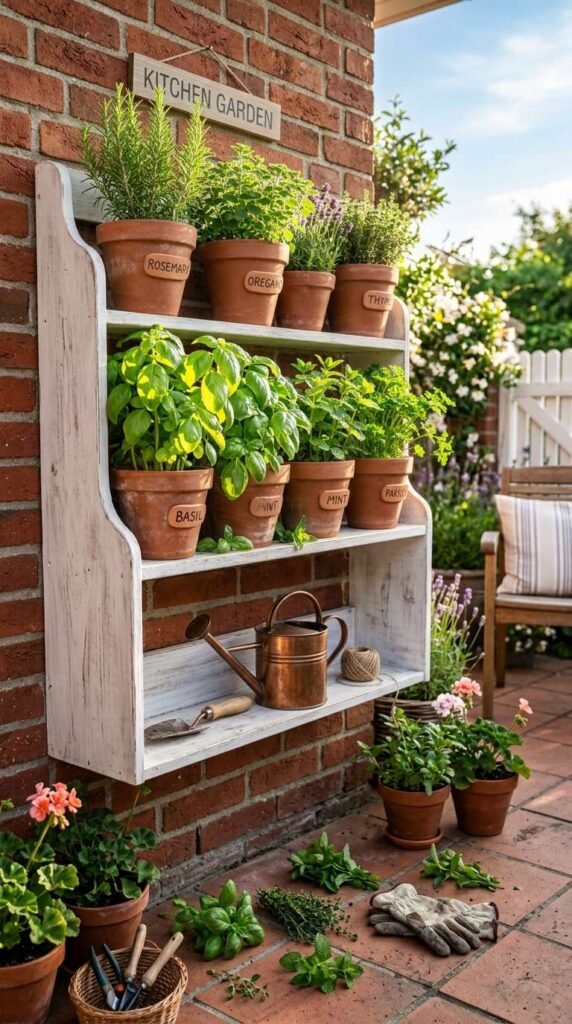
A container herb garden planted and arranged in a single weekend gives you an immediately productive, incredibly beautiful, and endlessly useful garden feature that earns its place in the garden both visually and practically every single day, because fresh culinary herbs picked just seconds before cooking taste incomparably better than anything bought in a supermarket.
It act of walking into the garden to snip fresh rosemary, thyme, or basil into a meal creates a connection between the garden and the kitchen that makes cooking genuinely more enjoyable and more rewarding every time.
The container herb garden is also the most forgiving type of garden project for beginners because each plant grows in its own pot with its own controlled soil and watering regime, which means one struggling plant never affects its neighbors and can simply be replaced without disturbing anything else.
Group your herb containers by watering needs rather than purely by aesthetics Mediterranean herbs like rosemary, thyme, sage, and oregano prefer dry conditions and should share a sunny, well-drained spot, while moisture-loving herbs like mint, parsley, chives, and coriander appreciate slightly more regular watering and do well in a slightly shadier position.
Always plant mint in its own separate container rather than in a shared pot or directly in the ground, because mint spreads aggressively through underground runners and will take over every other herb in a shared container within a single growing season a dedicated 12-inch terracotta pot keeps it beautifully productive and completely contained without limiting how much you can harvest.
6. Build a Pallet Garden Planter Wall in One Weekend
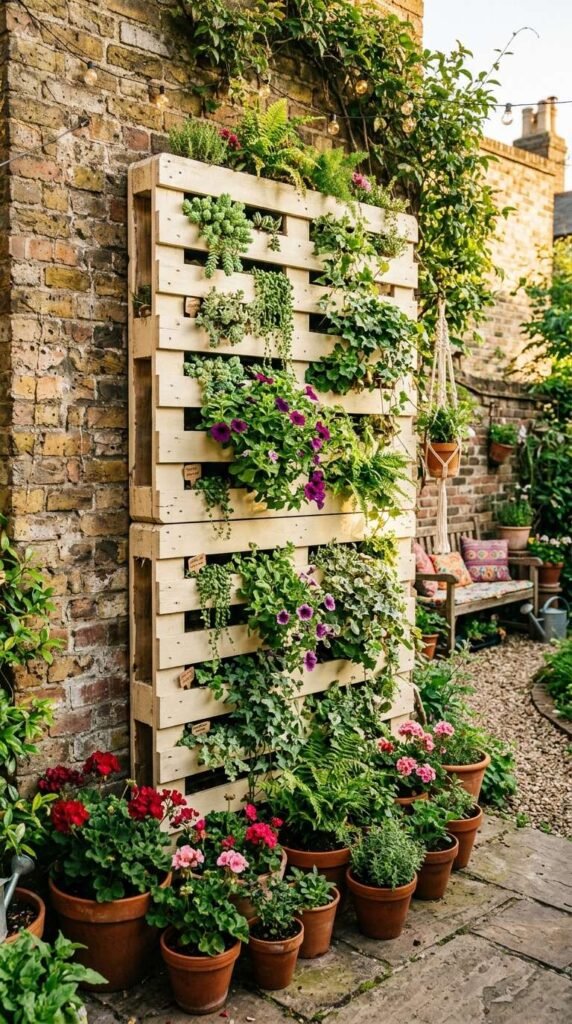
A vertical pallet planter built from reclaimed wooden pallets and mounted against a garden wall is one of the most budget-friendly and creatively satisfying weekend garden projects possible, because the raw materials cost almost nothing free pallets are available from hardware stores, garden centers, and online marketplaces daily.
Yet the finished living wall adds an extraordinary amount of visual interest, plant diversity, and genuine garden personality to even the most boring blank wall or fence in any outdoor space.
The vertical format of a pallet garden wall also makes it the perfect solution for very small urban gardens and courtyard spaces where horizontal ground is too precious to spare for traditional planters, because it takes growing space upward rather than outward and creates a lush, layered display that photographs beautifully from every angle.
Sand all surfaces of your chosen pallets thoroughly before painting or planting, then apply two coats of exterior wood paint in a color that complements your garden palette, and allow both coats to dry completely overnight before adding plants this step is essential because raw, unfinished pallet wood splinters easily, weathers badly within a single season, and can harbor insects or mold that damage plant roots over time.
Line each pallet cavity with a piece of landscape fabric stapled firmly to the inside before filling with multipurpose potting compost, then pack the compost tightly so it does not fall out when the pallet is tilted upright, water thoroughly, and leave the planted pallet lying flat for two weeks before mounting it vertically so plant roots have time to establish properly and anchor the compost before gravity starts working against you.
7.Outdoor String Lights to Your Garden This Weekend
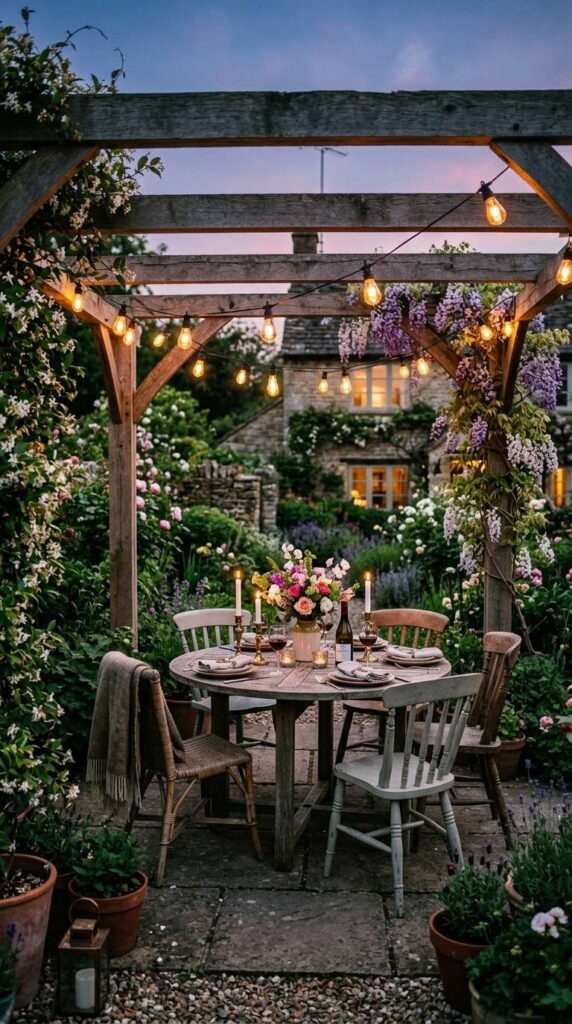
Outdoor string lights installed across a garden patio, pergola, or between garden posts over a single weekend create a level of evening atmosphere and genuine magic that no other single garden improvement can match for its cost, because the warm amber glow of Edison bulb fairy lights transforms any ordinary outdoor seating area into a space that feels deliberately beautiful, romantically lit, and worth lingering in long.
After the sun goes down which effectively doubles the number of hours you actually spend enjoying your garden each week from late spring right through to early autumn. The installation process requires only two sturdy anchor points, a length of outdoor-rated string light cable, and a weatherproof outdoor socket or a solar-powered string light set that requires no electrical connection at all.
Choose warm white Edison bulb string lights rated at 2700 Kelvin or below rather than cool white or daylight versions, because warm amber light makes skin tones look beautiful, makes food look appetizing, and creates the cozy, golden atmosphere that makes outdoor evening dining feel genuinely special rather than harshly lit and clinical.
Hang the lights with a gentle droop of 8 to 12 inches between each fixing point rather than pulling them taut and straight, because the casual curved drape looks far more relaxed, romantic, and authentically festive than a rigid straight line and always use outdoor-rated hooks or cable ties at every fixing point rather than staples or tape, which loosen and fail within a few weeks of exposure to rain and temperature changes.
8. Create DIY Garden Edging With Reclaimed Bricks
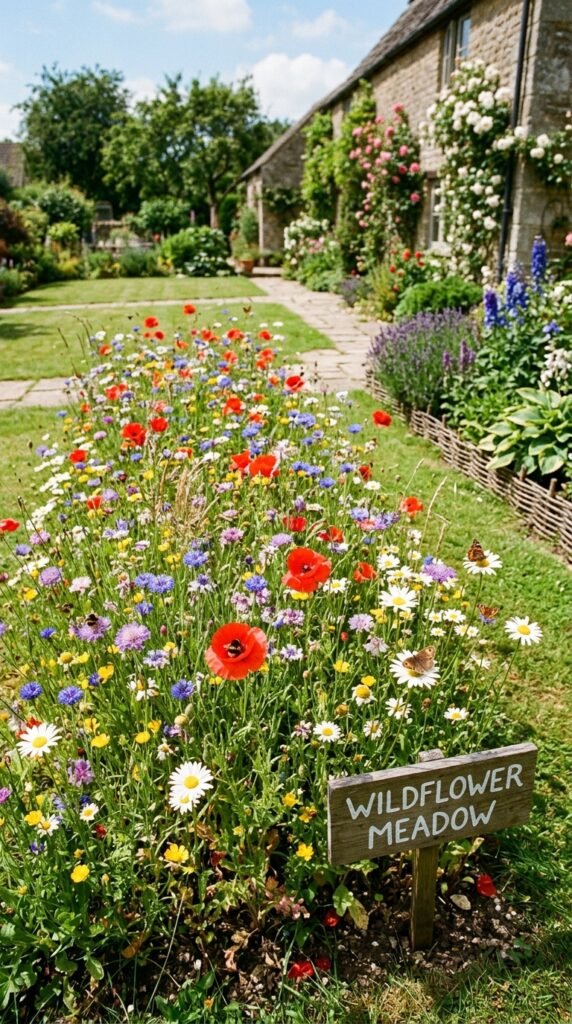
Reclaimed brick garden edging installed along your lawn borders over a weekend is one of those garden improvements that seems deceptively simple on the surface but delivers a completely disproportionate visual impact, because a clearly defined, neatly edged border immediately makes.
The entire garden look tidier, more structured, and more professionally designed even if the planting inside the bed is still developing and not yet at its most impressive.
The angled sawtooth brick edging style in particular has a timeless, classic quality that suits cottage, farmhouse, and traditional garden styles beautifully, and reclaimed bricks sourced from architectural salvage yards or demolition sites cost very little and bring a warm, aged character that brand new materials simply cannot replicate.
Mark out your border line with a garden hose or sand before cutting any turf, so you can stand back and assess the curve or line visually before committing to digging adjusting a sand line takes seconds while adjusting already-cut turf edges takes considerably more effort and patience.
Excavate a narrow trench along your marked line to a depth of half a brick, then set each reclaimed brick at a consistent 45-degree angle pressed firmly into compacted soil at the base of the trench.
However, backfill with soil on both sides to lock each brick firmly in position, and finish by pressing the lawn edge firmly back against the outside face of the new brick edging so no gap remains between grass and brick at ground level.
9. Build a Simple Garden Bench From Treated Timber
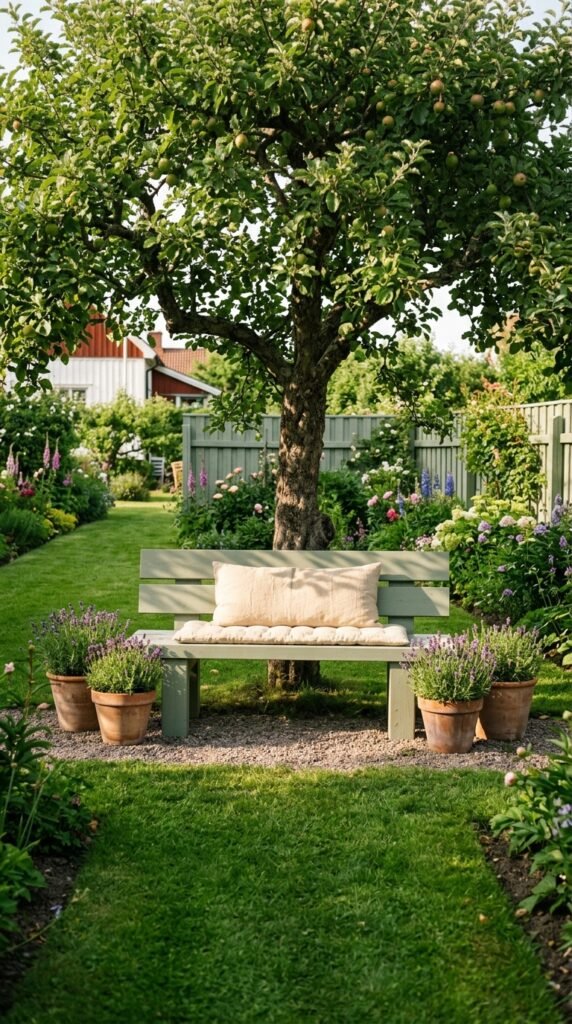
A homemade garden bench built from treated or painted timber over a single weekend gives your outdoor space a genuine sense of permanence, character, and invitation that a store-bought flat-pack bench of the same size and material quality could never quite replicate, because a handmade garden seat carries.
The quiet satisfaction of having been made with your own hands for your specific space and that invisible quality is something visitors and family members sense and respond to every time they sit on it.
Even if they cannot articulate exactly why the garden feels so right.
The construction itself is well within the capability of any gardener with basic DIY skills, requiring only a saw, a drill, a few lengths of 2×4 treated pine, eight bolts, and four to five hours of careful, unhurried work.
Cut your bench legs and seat planks to length first, sand all surfaces thoroughly to remove splinters and sharp edges before assembly, and apply two full coats of exterior wood paint or decking oil before assembling the final structure rather than after painting components flat before assembly makes every surface far easier to coat evenly.
Pre-painting ensures that cut ends and jointed faces are fully protected from moisture penetration from the very first day of outdoor use.
Position the finished garden bench in a spot that receives afternoon sunlight rather than morning sun if possible, because afternoon light is warmer in tone, more comfortable to sit in, and creates the most beautiful, atmospheric garden photographs that make you want to be outside every time you see them.
10. Plant a Wildflower Patch From Seed in One Weekend
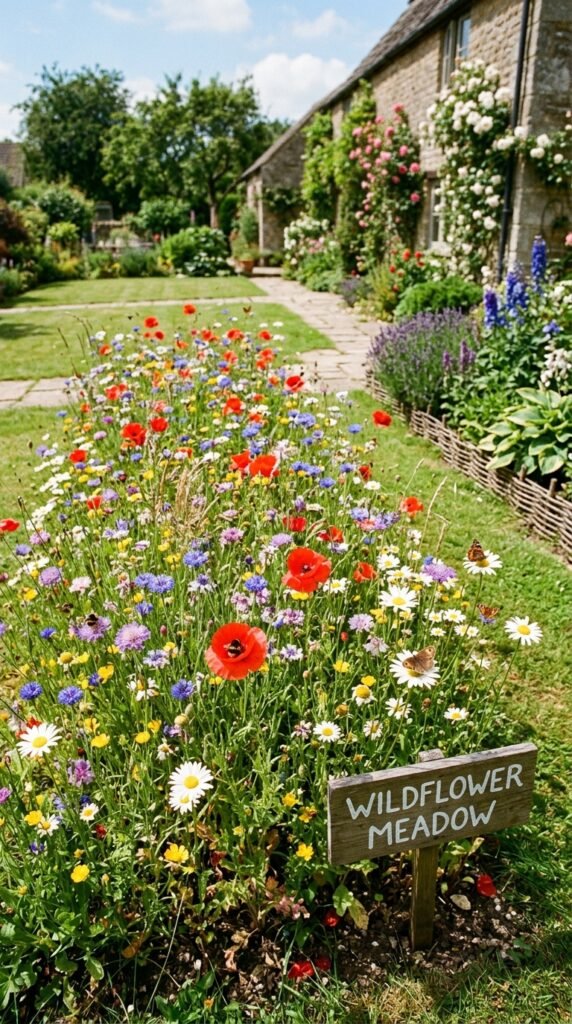
A wildflower meadow patch sown from seed over a single weekend is the most transformative, most ecologically valuable, and frankly most joyful thing you can do with a neglected patch of lawn or bare soil in your garden, because within 8 to 12 weeks of sowing a quality native wildflower seed mix you will have a self-sustaining explosion of color
fragrance.
The pollinator activity that draws bees, butterflies, hoverflies, and hedgehogs into your garden and turns what was previously dead space into the most alive and beautiful corner of your entire outdoor area.
The practical preparation required is also reassuringly minimal wildflowers deliberately thrive in poor, low-nutrient soil, which means you should never add compost or fertilizer to the planting area, as rich soil encourages aggressive grasses to outcompete the delicate wildflower seedlings before they have a chance to establish.
Prepare your wildflower patch by removing all existing grass and weeds from the area, then raking the bare soil to a fine tilth and scattering your wildflower seed mix at the rate specified on the packet typically 2 to 3 grams per square meter then raking lightly once more to make gentle seed-to-soil contact without burying the seeds too deeply.
Water gently using a fine rose watering can rather than a hose, check the area daily for the first two weeks and water lightly whenever the soil surface looks dry, and resist every temptation to weed.
The patch during the first month many wildflower seedlings look almost identical to common garden weeds in their earliest stages and pulling them out by mistake is the single most common reason first-time wildflower gardens fail to reach their full magnificent potential.
11. Install a Garden Gate From Scratch This Weekend
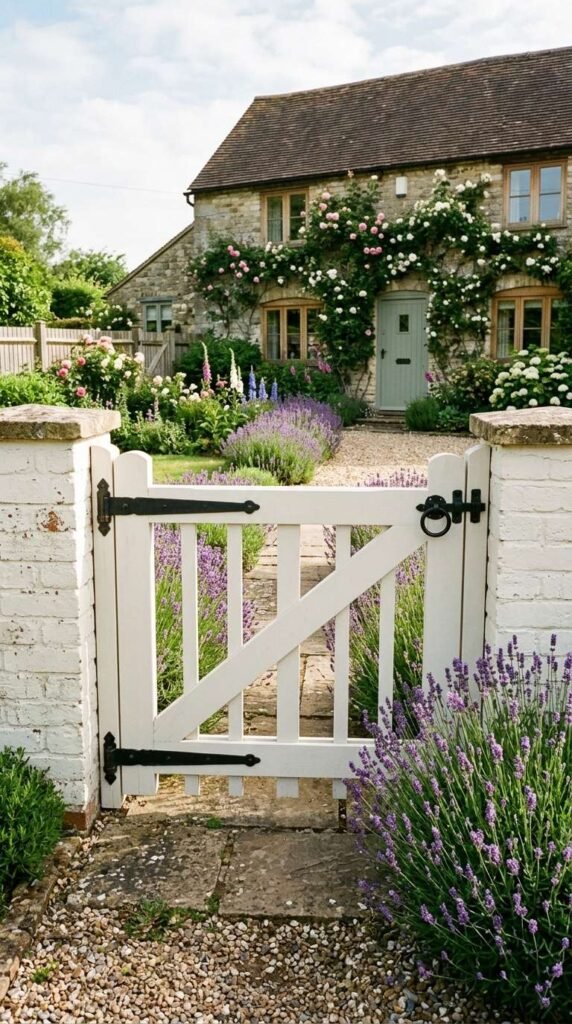
Installing a timber garden gate from scratch over a weekend is one of those projects that dramatically improves the appearance of the entire front or back garden the moment it is finished, because a well-made, properly hung gate changes the whole character of an outdoor space by creating a clear, defined entrance that signals intention, privacy, and genuine care for the property.
The visual difference between a garden with a beautiful gate and one with a gap in the fence is significantly larger than most people expect before they make the change. A standard garden gate built from treated cedar or pine with a diagonal brace.
It also structurally straightforward enough for any competent DIYer to build and hang confidently in a single weekend using basic woodworking tools and a good quality gate hinge set.
Cut all your gate components vertical boards, horizontal rails, and diagonal brace from the same batch of timber so the finished gate has a consistent grain and color throughout, then assemble the frame on a flat workshop floor and check every corner with a carpenter’s square before driving any screws permanently.
Hang the completed gate on heavy-duty cranked gate hinges rated for at least double the actual gate weight, as undersized hinges cause gates to sag within a few months of installation and create the misaligned, drooping appearance that makes even a beautifully constructed garden gate look neglected and poorly made from the very first season of use.
12. Create a Sensory Garden Corner for Relaxation
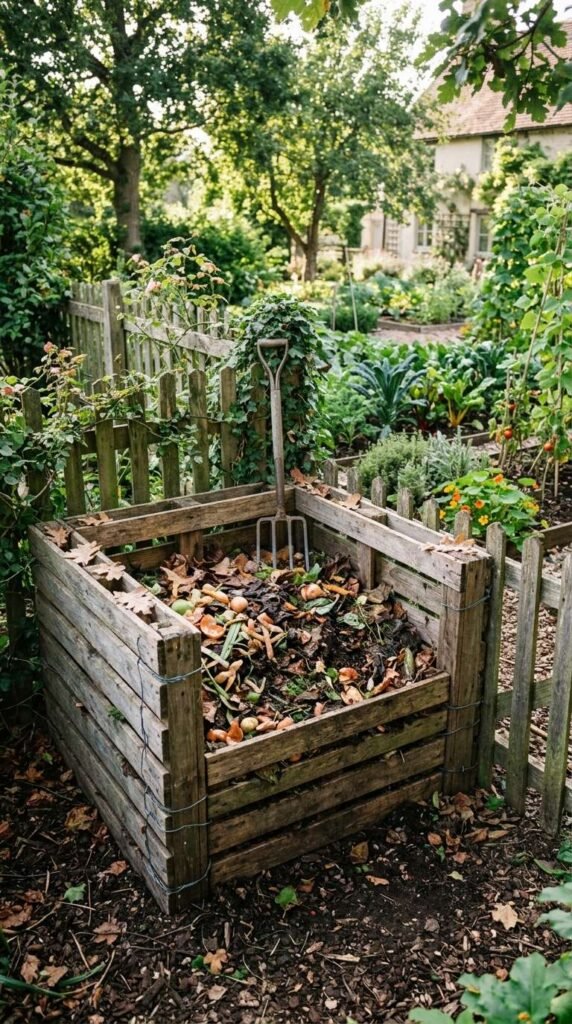
A sensory garden corner designed around fragrance, texture, sound, and color is the most personally rewarding single-weekend garden transformation available, because it creates a dedicated outdoor space specifically designed to help you decompress, slow down, and genuinely rest.
The garden experience most people actually need most but almost never intentionally design for in their outdoor planning. The power of a sensory garden lies in its multi-layered experience.
The fragrance of lavender and jasmine, the sound of wind chimes and rustling grasses, the soft texture of lamb’s ear leaves against the hand, and the visual calm of a carefully chosen muted color palette all work together simultaneously to reduce mental stress in a way that a purely visual garden feature simply cannot achieve.
Choose a quiet, sheltered corner of the garden for your sensory space ideally one that receives afternoon sun but is protected from prevailing winds on at least two sides and edge.
The seating area with a simple ring of large smooth cobblestones or a low woven willow border to define the space visually and give it a sense of enclosure and sanctuary. Plant the surrounding beds heavily with fragrant species.
It perform at different times of day night-scented stock and jasmine for evening fragrance, lavender and rosemary for warm afternoon scent, and sweet peas and roses for peak midday fragrance so the sensory experience in your garden corner changes richly and rewarding throughout every hour you spend in it.
13. Build a DIY Compost Bin in One Afternoon
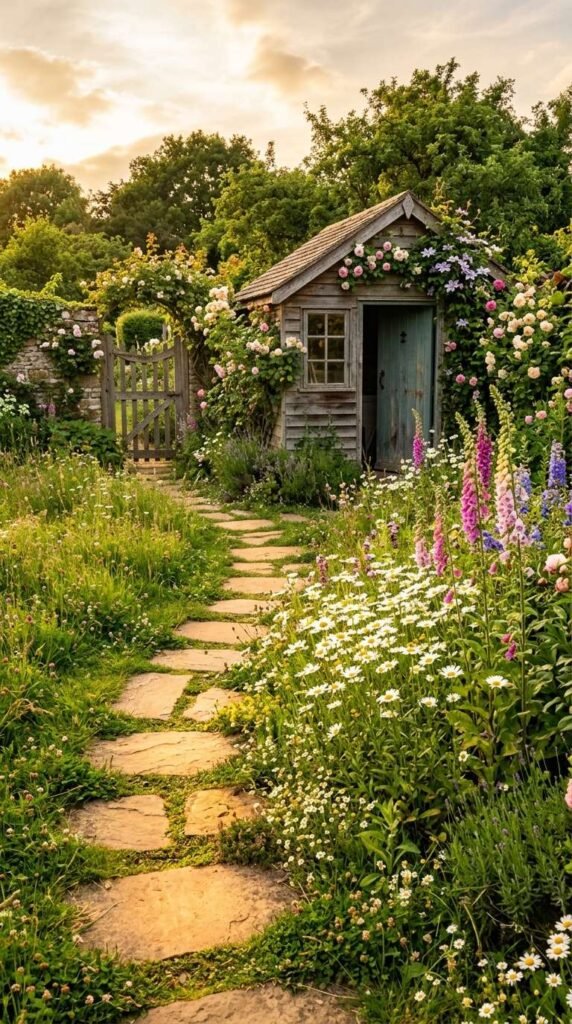
A DIY compost bin built from four reclaimed pallets wired at the corners is the single most practical garden improvement you can make in a single weekend afternoon, because a working garden compost system turns every vegetable peeling, fallen leaf, spent plant, and grass clipping from your garden into a completely free supply of rich garden compost.
Its nutritionally superior to anything you can buy in a bag from a garden center and doing this completely eliminates the need to send garden waste to landfill, which is better for the environment and quietly satisfying in a way that is hard to fully explain until you experience it.
The four-pallet design is also genuinely ideal for most home gardens because the slatted sides allow air circulation which is essential for aerobic composting while the open top makes adding material and turning the heap with a fork very easy and completely frustration-free.
Site your compost bin on bare soil rather than on paving or concrete so beneficial composting worms, insects, and soil bacteria can move freely upward into the heap from the ground below these organisms are the real workforce doing the decomposition, and without access from the soil beneath, the composting process is significantly slower and less complete.
Add a balanced mixture of green material (vegetable scraps, fresh grass clippings, coffee grounds) and brown material (cardboard, dried leaves, straw, shredded newspaper) in roughly equal layers by volume, keep the heap as moist as a wrung-out sponge throughout the year.
The entire pile with a garden fork every 3 to 4 weeks to introduce oxygen and accelerate the breakdown process with this simple routine a well-managed garden compost bin produces usable, crumbly dark compost within three to six months.
14. Lay a Stepping Stone Garden Path This Weekend
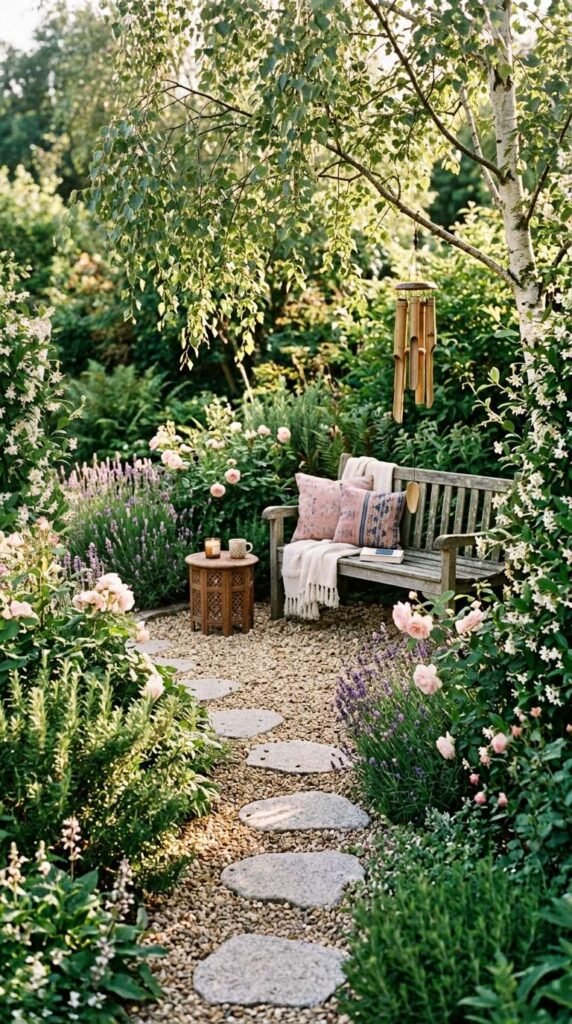
A stepping stone path laid through a garden lawn or planting bed over a single weekend solves one of the most persistent practical problems in any garden the desire lines of flattened, muddy grass that appear wherever people walk the same route repeatedly while transforming that worn track into something genuinely beautiful that looks like it was always meant to be there.
The simple act of placing large, flat natural stone stepping stones at comfortable stride intervals through a garden immediately makes the entire space feel more considered, more navigable, and more intentionally designed.
The gaps between the stones become an opportunity to establish low-growing ground cover plants like creeping thyme, chamomile, or mind-your-own-business that release a wonderful fragrance when lightly crushed underfoot.
Choose stepping stones that are at least 18 inches across and a minimum of 2 inches thick so they sit stable and solid underfoot without rocking or tilting when weight is applied — thinner stones look beautiful when first installed but crack under repeated footfall within a single season.
Set each stone by removing the turf beneath, excavating 2 inches of soil, adding a 1-inch layer of sharp horticultural sand, placing the stone level on the sand bed, and pressing down firmly each stone should sit approximately half an inch below the surrounding lawn level so a lawnmower can pass over the stones without hitting them and the entire path remains maintenance-free once installed.
15. Create a Garden Trellis for Climbing Plants
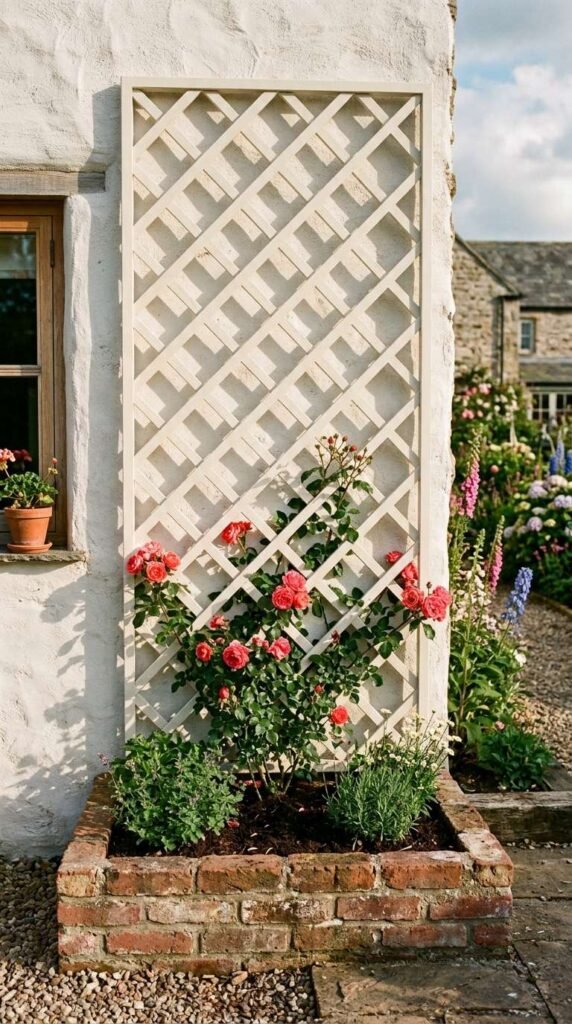
A garden trellis built and mounted against a wall or fence over a single weekend unlocks the single most underused growing space in almost every garden the vertical plane of walls and fences that typically remains completely bare and wasted despite representing as much growing area as several square meters of valuable ground space below.
The addition of a climbing plant trellis to a blank garden wall immediately begins transforming that space into a living, textured, fragrant vertical garden that improves in beauty.
With every single season as climbing roses, wisteria, clematis, or jasmine weave further through the structure and create exactly the kind of lush, established garden atmosphere that most gardeners spend years working toward.
Build your DIY trellis from 1×2 inch lengths of treated pine cut to equal lengths and assembled in a diamond or square grid pattern with stainless steel staples or exterior screws at every crossing point the diamond orientation is stronger than a square grid and also looks considerably more elegant when the trellis is viewed without plants covering it during winter.
Mount the finished trellis panel on timber spacer blocks fixed to the wall at 6 to 8 inch intervals rather than directly against the wall surface, because the air gap between trellis and wall allows climbing plant stems to wrap fully around.
the structure from all sides, prevents moisture from being trapped against the wall, and makes it dramatically easier to pull the panel slightly away from the wall for repainting or maintenance without disturbing the plants growing through it.
16. Plant a Cut Flower Garden Border From Scratch
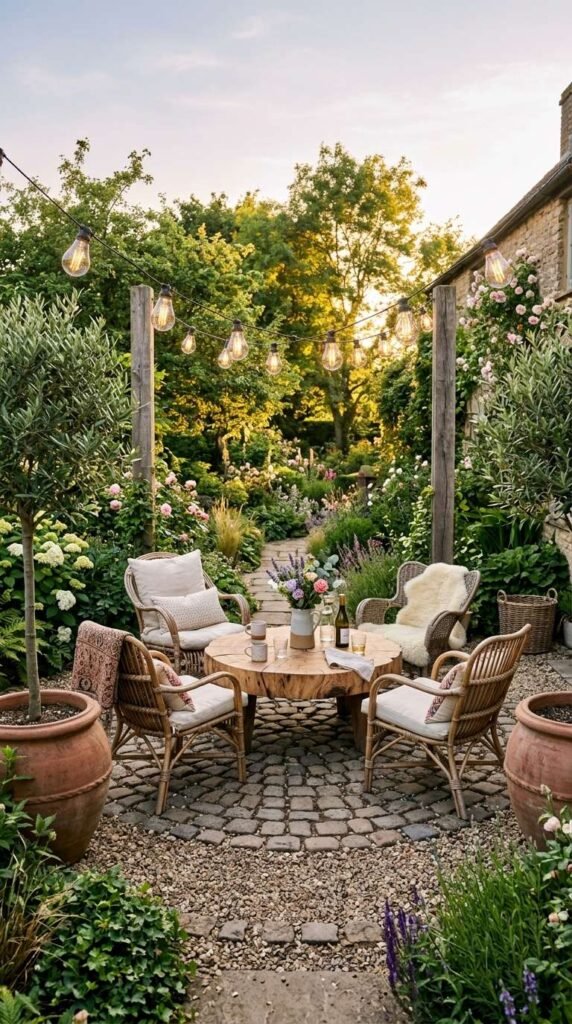
A cut flower garden border planted over a single weekend gives you an endlessly replenishing supply of fresh, beautiful garden flowers for the house from midsummer right through to the first autumn frosts.
The act of cutting flowers from your own garden and arranging them in vases throughout your home delivers a daily dose of genuine pleasure and connection to the outdoor world that most people massively underestimate the value of before they experience it for the first time.
The key insight that makes a cut flower border so productive is the cut-and-come-again principle most annual cutting flowers like zinnias, cosmos, dahlias, and sweet peas actually produce more blooms the more frequently they are cut, meaning regular harvesting from the garden actively stimulates the plant to flower more heavily rather than depleting it.
Choose a south or west-facing border that receives at least six hours of direct sunlight daily for your cut flower garden, as most productive cutting flowers are sun-hungry plants that flower poorly and produce weak stems in shaded or partially shaded positions.
Plant in generous single-variety rows or blocks rather than mixing everything together randomly, because block planting makes cutting much more efficient, allows you to water and feed each variety according to its specific needs, and creates the kind of bold.
The structured display that looks extraordinary both in the garden itself and in the flower arrangements you bring inside particularly when you combine complementary colors like coral zinnia with burgundy dahlia or white cosmos with deep blue lisianthus in the same gathering trug.
17. Build a Simple Garden Arch Over One Weekend
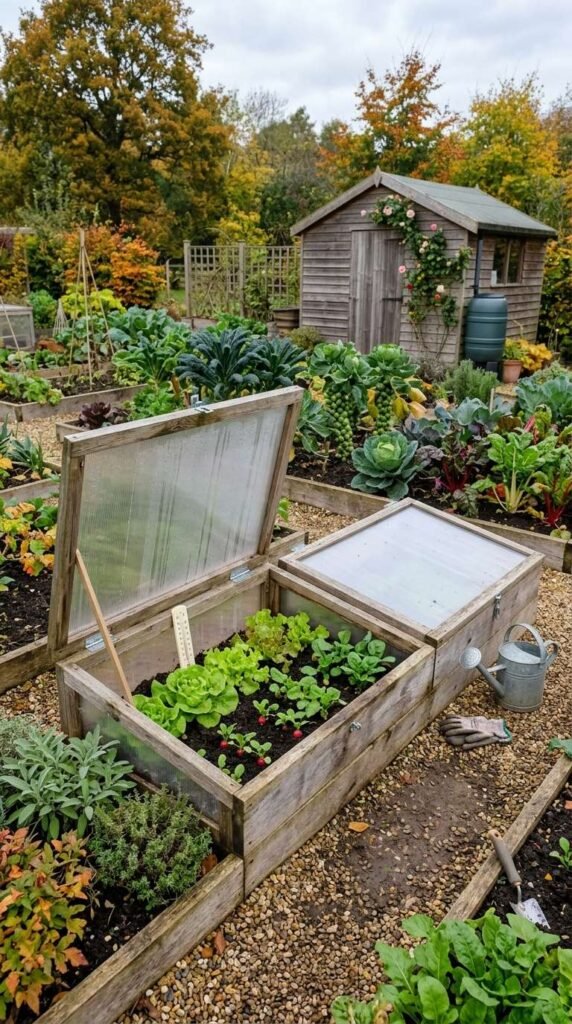
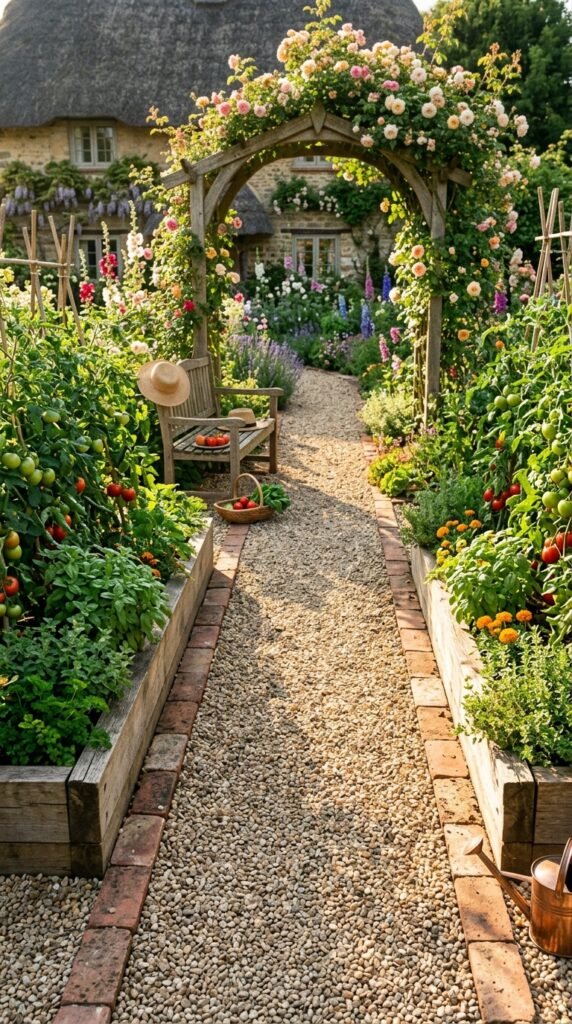
A garden arch built and installed over a single weekend creates the most dramatic sense of journey, anticipation, and destination in any garden, because a well-positioned arch frames a view, marks a transition between two distinct garden spaces, and makes even a very small garden feel as though it has depth, mystery, and rooms within rooms.
A quality that is the hallmark of every truly great garden design regardless of its size or budget. The climbing plants that grow over a garden arch in subsequent seasons roses, clematis, wisteria, honeysuckle gradually transform.
The raw timber structure into something that appears to have grown organically from the garden itself, making it one of the longest-lived and most beautiful returns on a single weekend of garden investment.
Sink the arch uprights at least 24 inches into the ground and set them in quick-setting concrete rather than simply driving them into the soil, because a garden arch carries the considerable weight of mature climbing plants in full leaf and flower and the leverage of strong winds against.
The covered structure an arch that is not properly anchored will lean, sway, and eventually fall over, causing real damage to the plants trained through it and considerable disappointment to the gardener who spent a weekend building it.
Space the uprights wide enough to walk through comfortably with a wheelbarrow a minimum internal width of 4 feet is recommended and position the arch so it frames a genuinely beautiful view beyond it, because what you see through the arch as you approach it is as important to the garden experience as the arch structure itself.
18. Create a Bird-Friendly Garden Corner in One Weekend
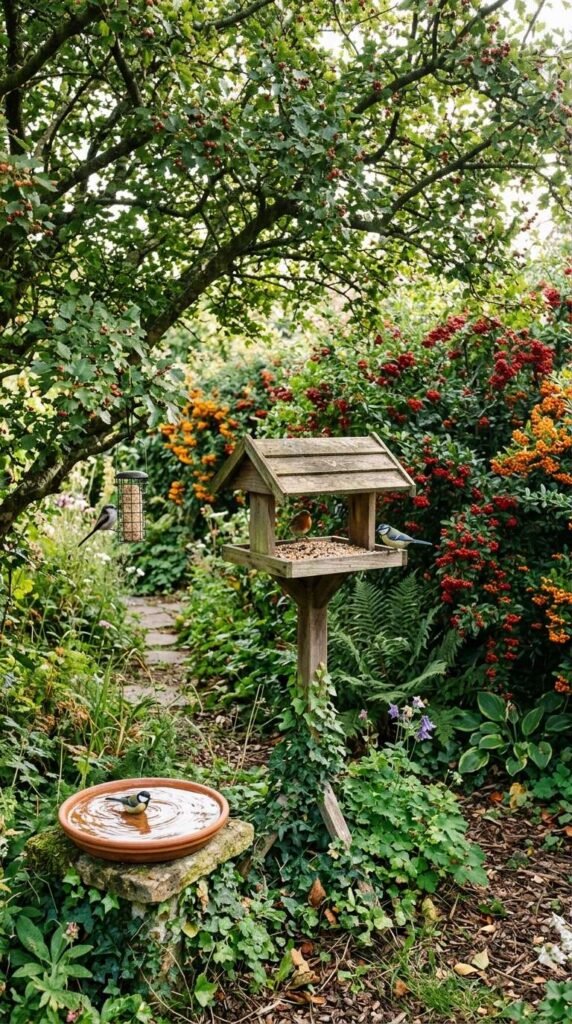
A bird-friendly garden corner created over a single weekend by installing a bird table, bird bath, and feeding station surrounded by berry bearing shrubs and seed-producing plants will bring more life, color, movement, and genuine joy into your garden than almost any other improvement.
You could make in the same amount of time, because wild birds arrive quickly often within hours of a new feeder being installed and their daily visits create an ever-changing, endlessly entertaining garden display that costs almost nothing to maintain.
It delivers genuine wellbeing benefits to every person who watches from the kitchen window on a quiet weekday morning.
Creating garden habitat for birds also helps with natural pest control, as many common garden birds feed heavily on aphids, slugs, caterpillars, and vine weevil grubs during the breeding season when they need high-protein food for their chicks.
Plant at least one berry-bearing shrub as part of your bird garden corner cotoneaster, pyracantha, rowan, or native elder are excellent choices that establish quickly, provide winter berries that sustain birds through the hardest months, and require almost no maintenance once established in a suitable position.
Site your bird bath in a spot that is open enough for birds to see approaching cats from all directions at least 3 feet from dense ground-level cover and refresh the water every two to three days.
As standing water in a bird bath becomes a breeding ground for mosquito larvae within a week and may spread disease between the birds that drink from it if left unchanged for too long.
19. Install Raised Bed Covers and Cold Frames This Weekend
Raised bed cold frame covers built and installed over a single weekend extend your vegetable growing season by four to six weeks at both ends of the year protecting young spring seedlings from late frosts in March and April, and keeping salad crops, spinach, and hardy herbs
It producing fresh harvests well into November and December when uncovered beds have long since shut down for winter. The ability to harvest fresh homegrown vegetables in the depths of winter from a garden that would otherwise be bare.
An unproductive is one of the most satisfying experiences kitchen gardening can offer, and the entire investment in materials for a simple timber-framed polycarbonate cold frame is recovered within a single season by the fresh produce it protects.
19 (A) Best Materials for Cold Frame Covers
Twin-wall polycarbonate sheet is consistently the best glazing material for DIY cold frames because it is virtually unbreakable unlike glass, provides excellent heat retention due to its twin-layer air gap construction, weighs very little so hinged lids are easy to prop open for ventilation, and costs a fraction of equivalent horticultural glass panels cut to the same dimensions.
Build the cold frame frame from 2×2 inch treated timber for lightweight lids that are easy to prop open daily for ventilation and close every evening to retain heat, and cut the polycarbonate glazing 1 inch larger than the timber frame on all sides.
So you can fold and staple the edges over the timber for a weathertight seal that needs no additional gasket or sealant.
Ventilate your cold frame every day when outdoor temperatures exceed 10 degrees Celsius by propping the lid open with a notched wooden stick poor ventilation causes fungal diseases like damping off to devastate seedlings within days, making daily ventilation the single most important maintenance habit for successful cold frame growing throughout the season.
20. Create a Relaxing Garden Seating Area This Weekend
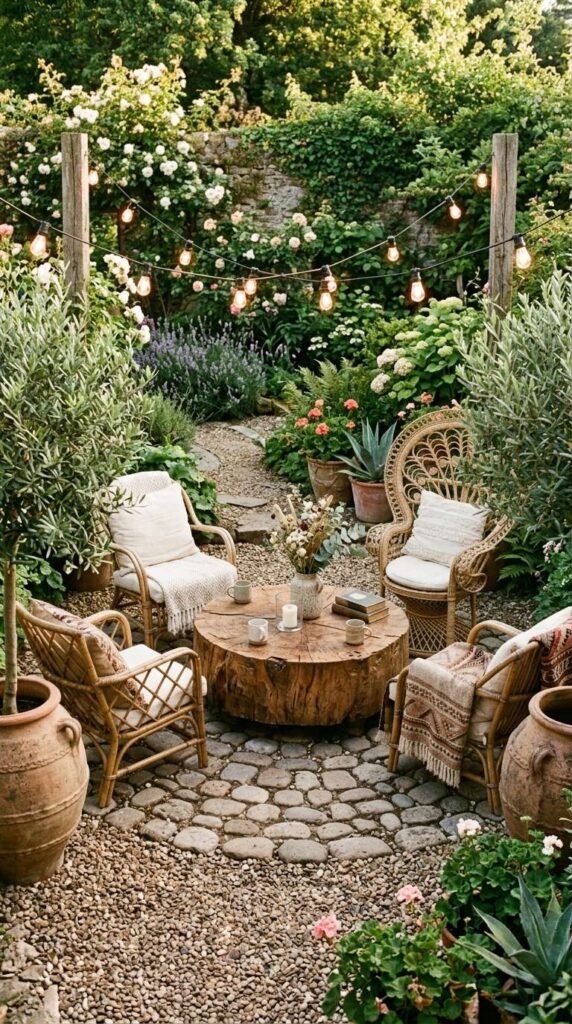
A garden seating area designed and created over a single weekend transforms your outdoor space from somewhere you occasionally walk through into somewhere you genuinely want to spend time every single day, because a purposefully designed outdoor living space with comfortable seating.
A defined boundary, and thoughtful details communicates to your brain that this is a place designed for rest and enjoyment and that psychological signal is surprisingly powerful in changing how often and how deeply you actually use and appreciate your garden.
The secret to a garden seating area that feels genuinely inviting rather than merely functional is defining the space clearly with a gravel circle, decking platform, or ring of cobblestones so it feels like a distinct outdoor room rather than a collection of chairs placed randomly on a lawn.
Position your seating area to face the best view the garden offers even if that view is simply a beautiful flower border, a garden pond, or a well-planted corner because the orientation of outdoor furniture determines.
Whether you use and enjoy the space or ignore it, and furniture facing a blank fence or a utility area will always feel less inviting than furniture positioned to look toward something genuinely beautiful.
Invest in weather-resistant cushions rated for outdoor use year-round rather than bringing indoor cushions outside, as outdoor-rated UV and water-resistant fabrics maintain their color, shape, and comfort through multiple seasons without fading, mildewing, or losing their lof.
It makes the difference between a seating area that looks beautiful all season and one that looks tired and neglected within a few weeks of the first rain.
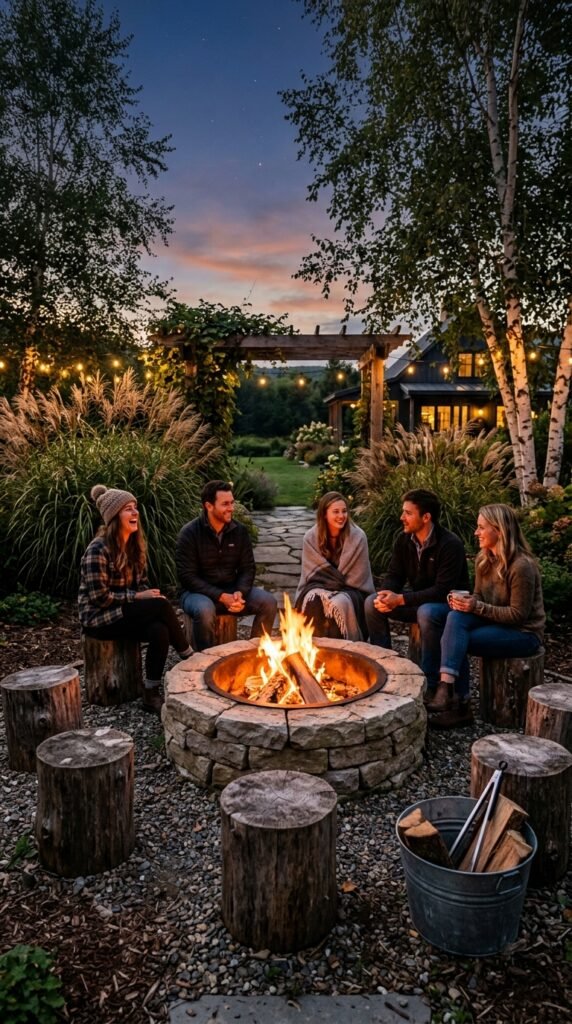
21. Build a DIY Fire Pit Seating Circle This Weekend
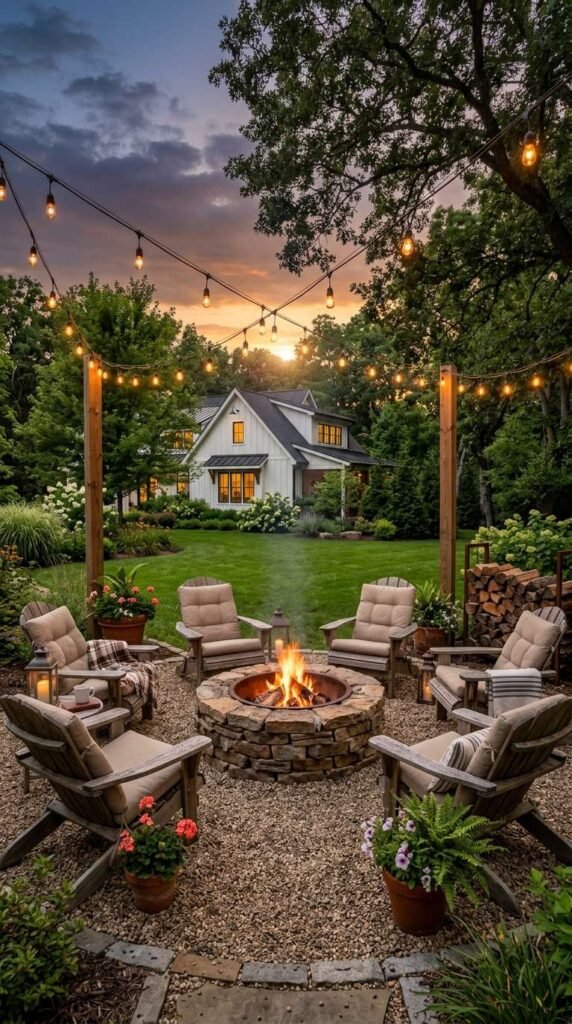
A DIY fire pit built from stacked natural stone or reclaimed bricks and surrounded by a simple garden seating circle is the outdoor improvement that delivers the greatest return in actual quality of life per hour of construction time invested, because a garden fire pit extends,
The outdoor entertaining season by at least two months in both spring and autumn, creates an immediatT gathering point that draws family and friends together in the garden in a way that no other feature can quite replicate, and transforms a cold autumn evening into something.
However, it feels genuinely celebratory and worth remembering. The construction of a dry-stacked stone fire pit ring requires zero mortar, zero specialist skills, and zero equipment beyond a selection of flat natural stones and the willingness to stack them carefully in a circle making it one of the most accessible major garden projects available.
22. Plant a Garden Privacy Screen With Tall Ornamental Grasses
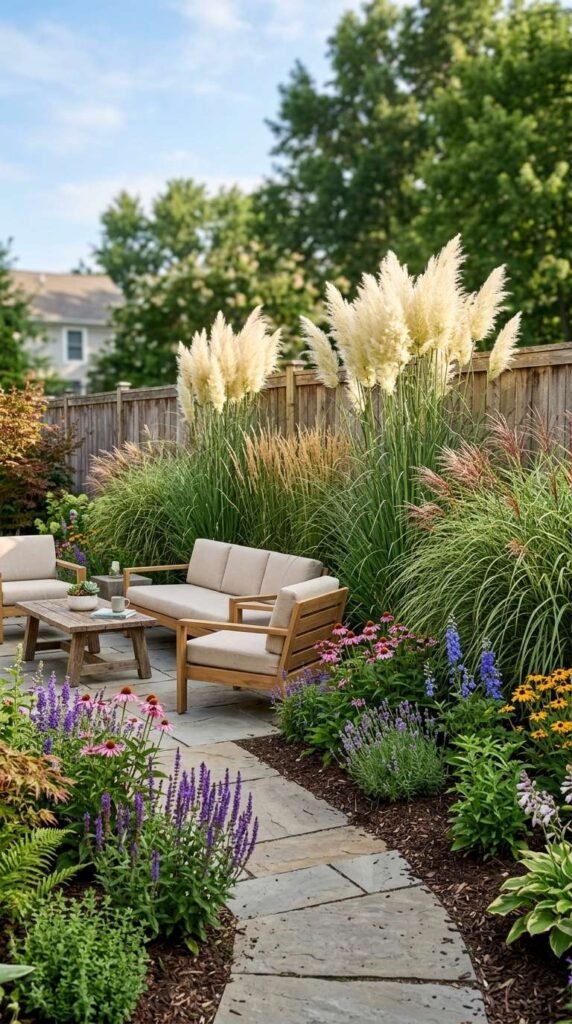
A living privacy screen planted with tall ornamental grasses like Miscanthus sinensis, Stipa gigantea, or Calamagrostis is the most visually beautiful, ecologically friendly, and genuinely low-maintenance alternative to a solid fence or trellis screen available to any gardener, because tall ornamental grasses grow to their full screening height within a single season, move and sway beautifully in the breeze.
It creating a dynamic, living boundary rather than a static, dead one, produce stunning feathery plumes from midsummer that catch low autumn light in an extraordinary way, and provide excellent nesting cover and seed food for garden birds right through the winter months.
The speed of establishment is the quality that makes this idea so perfectly suited to a weekend garden project plants installed on Saturday will be visibly growing and filling out by the following weekend, creating genuine privacy much faster than any woody shrub or hedge plant of equivalent height and cost.
Plant your ornamental grass privacy screen into a prepared border or a raised timber trough filled with free-draining topsoil and horticultural grit, spacing Miscanthus varieties 3 feet apart center to center so adjacent plants fill the gaps between them completely by midsummer without becoming so overcrowded that airflow is restricted.
Cut the entire grass privacy screen back to 6 inches from the ground every February before new growth emerges — this single annual maintenance task, which takes 30 minutes with a pair of sharp garden shears.
It keeps the planting permanently healthy, prevents the unattractive dead brown center that establishes in neglected clumps over time, and ensures the screen looks completely fresh and beautiful from the first warm day of every new garden season for many years to come.
Certainly! Here’s an SEO-friendly Conclusion and FAQs for your article titled “22 Garden Ideas You Can Finish in Only One Weekend.”
Before the reusable text, here’s a draft you can copy into your article.
Frequently Asked Questions (FAQs)
1. What are the easiest garden projects to complete in one weekend?
Some of the easiest weekend garden projects include building raised garden beds, adding mulch, planting colorful flowers, creating a garden path, installing solar lights, and setting up container gardens. These projects require minimal tools and can usually be completed in a day or two.
2. How much should I budget for a weekend garden makeover?
A simple garden makeover can cost anywhere from $50 to $500, depending on the size of your yard and the materials you choose. Many DIY projects use affordable supplies available at local garden centers or home improvement stores.
3. Can beginners complete these garden ideas?
Yes. Most weekend garden projects are beginner-friendly and require only basic gardening tools. Following step-by-step instructions and choosing simple designs makes them accessible even if you’re new to gardening.
4. What is the best time of year to tackle weekend garden projects?
Spring and fall are generally the best seasons because temperatures are mild and plants establish more easily. However, many landscaping projects, such as installing edging, building pathways, or adding outdoor décor, can be completed throughout the year.
5. Which garden improvements add the most value to a home?
Projects that improve curb appeal—such as fresh flower beds, defined garden borders, outdoor lighting, mulching, attractive pathways, and comfortable seating areas—can make your property more appealing and may increase its perceived value.
6. How can I make my garden look more expensive on a budget?
Use repeating plant varieties, fresh mulch, decorative edging, solar lighting, stylish planters, and cohesive color schemes. Keeping the garden neat and well-maintained often creates a high-end appearance without a large budget.
7. What are some low-maintenance weekend garden ideas?
Plant drought-tolerant perennials, install drip irrigation, use mulch to reduce weeds, add ornamental grasses, create rock gardens, and choose native plants that thrive in your local climate with minimal care.
8. Do I need special tools for these DIY garden projects?
Not necessarily. Most projects require only basic tools such as a shovel, rake, garden gloves, hand trowel, pruning shears, wheelbarrow, measuring tape, and a watering can or garden hose.
Conclusion
Transforming your outdoor space doesn’t have to take weeks or require a professional landscaper. With these 22 garden ideas you can finish in only one weekend, you can refresh your yard, boost curb appeal, and create a more enjoyable place to relax without a major investment of time or money.
Whether you choose to build a cozy fire pit seating area, plant a natural privacy screen, install raised garden beds, or add decorative lighting, each project offers a simple way to make a noticeable difference. Start with the idea that fits your space, budget, and style, and by the end of the weekend, you’ll have a garden that feels fresh, functional, and inviting for seasons to come.